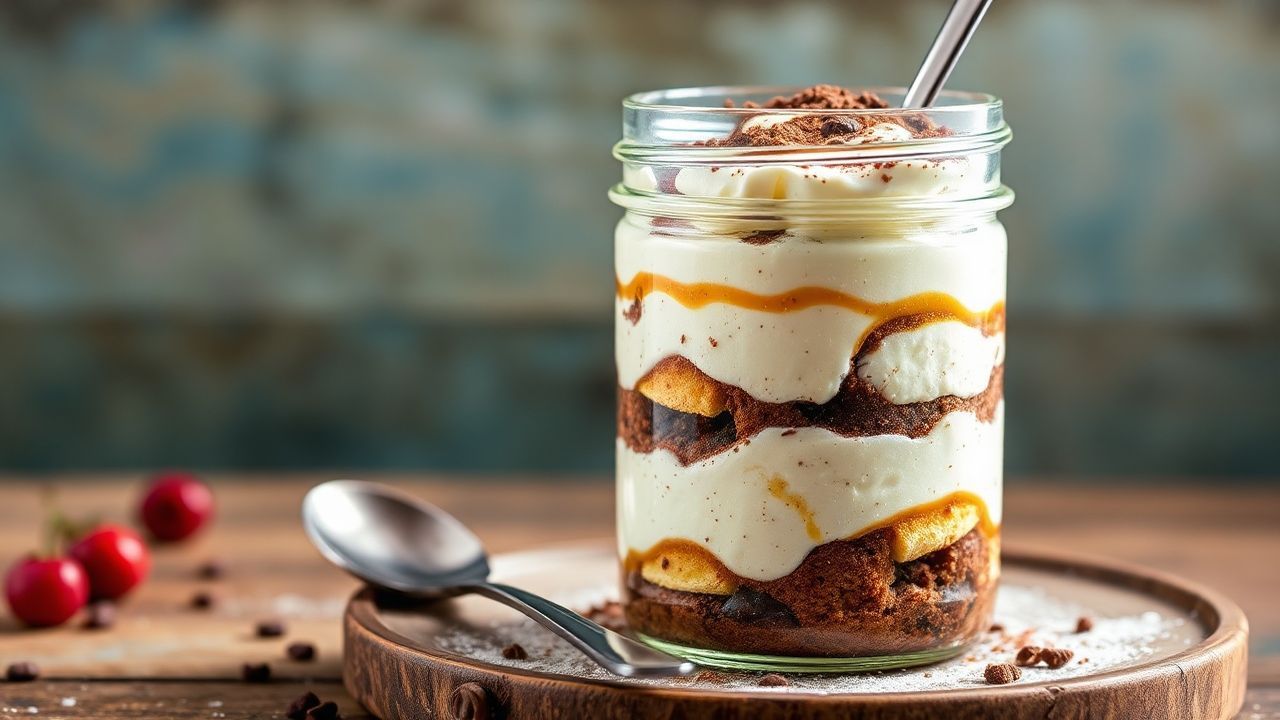
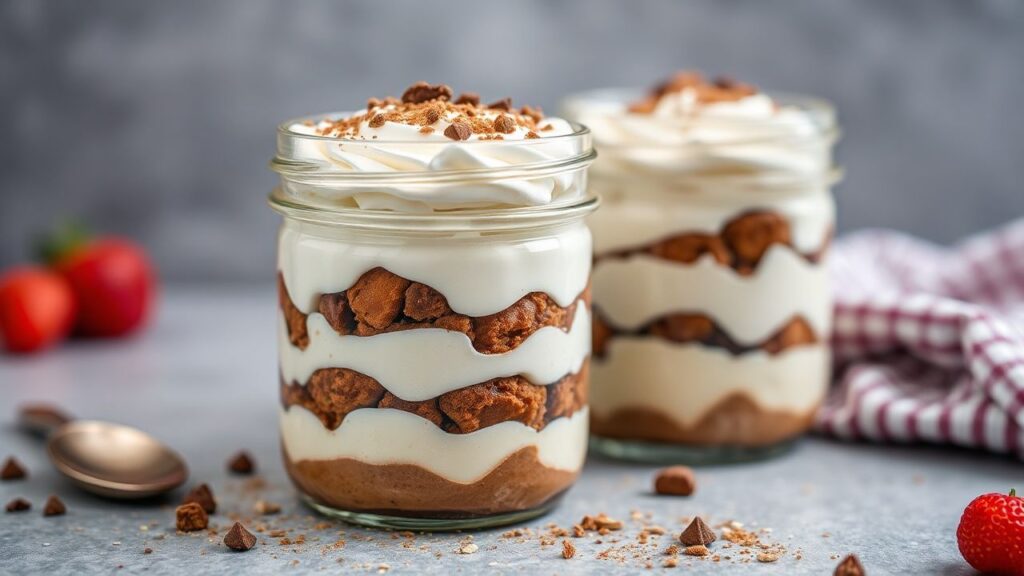
Imagine a dessert that tastes like classic tiramisu—then keeps your carbs low. This keto tiramisu in a jar swaps sugar and wheat-style ladyfingers for low-carb layers that still deliver that creamy, espresso-forward bite.
- Prep and Cook Time
- Yield and Difficulty
- Ingredients for Keto Tiramisu in a Jar
- Instructions (5 Steps)
- Step 1: Prepare the Keto Ladyfingers
- Step 2: Combine Mixtures for a Light Texture
- Step 3: Shape and Bake
- Step 4: Whip the Mascarpone Cream
- Step 5: Assemble the Jars
- Chef’s Notes for Perfect Keto Tiramisu in a Jar
- Ingredient Alternatives
- Make-Ahead Timing
- How to Avoid Watery Layers
- Dairy-Free Keto Option
- Espresso Strength Matters
- Serving Suggestions
- Q&A: Keto Tiramisu in a Jar
- 1) What makes keto tiramisu different from the classic version?
- 2) Can I use regular mascarpone cheese?
- 3) How do I create cake-like layers without traditional ladyfingers?
- 4) Is espresso essential for keto tiramisu in a jar?
- 5) How do I prevent a watery or soggy jar?
- Key Takeaways
You’ll get a rich mascarpone-style filling, espresso-soaked layers, and a dusting of cocoa on top. Best of all, this jar format helps with portion control and makes chilling simple for weeknight prep.
At a Glance
- Focus flavor: espresso + cocoa + creamy mascarpone.
- Low-carb build: almond/coconut flour “ladyfinger” layers.
- Texture control: quick espresso dips prevent sogginess.
- Make-ahead ready: 4 hours chill time sets the layers.
Indulge guilt-free with keto tiramisu in a jar, a low-carb take on the Italian dessert. The goal stays the same: layered structure, deep coffee aroma, and a smooth, spoonable cream.
Instead of refined sugar and traditional biscuits, this version uses keto-friendly sweeteners and flour blends. You’ll also use espresso as the flavor base, which adds bitterness that balances sweetness, much like how tiramisu’s classic flavor works.
Prep and Cook Time
This recipe stays beginner-friendly because most steps repeat: bake small cake-like strips, whip the cream, then assemble jars. Once you understand the layering rhythm, the rest becomes straightforward.
Readiness: 20 minutes
Chilling Time: 4 hours (preferably overnight)
Total Time: about 4 hours 20 minutes
Yield and Difficulty
You’ll make 4 individual jars, depending on jar size. Using single servings helps you control portions without guesswork.
Difficulty Level: Medium. You need basic skills for whipping cream and folding egg-based batter for a light texture.
Ingredients for Keto Tiramisu in a Jar
Gather ingredients first so you can move fast during assembly. Cold cream whips better, and cooled espresso prevents your layers from turning runny.
For background, mascarpone cheese is an Italian soft cheese known for its mild flavor and creamy body. If you’d like deeper context, see Mascarpone.
For the Keto Ladyfinger Base
These low-carb strips mimic the role of ladyfingers in classic tiramisu. They should bake until set so they hold up during quick espresso dipping.
- 1 cup almond flour, finely ground
- 2 tbsp coconut flour
- 3 tbsp erythritol (or preferred keto sweetener)
- 1 tsp baking powder
- 2 large eggs, separated
- 1/2 tsp vanilla extract
- Pinch of salt
For the Creamy Mascarpone Layer
This filling provides the “wow” factor. Aim for a smooth, thick cream that can mound on a spoon after whipping.
- 8 oz mascarpone cheese, room temperature
- 1 cup heavy whipping cream
- 1/3 cup powdered erythritol
- 1 tsp vanilla extract
- 1 tbsp unsweetened cocoa powder (for dusting)
For the Espresso Soak
Espresso gives tiramisu its signature aroma and balance. If you want more on coffee’s role in flavor, check Espresso.
- 1 cup strong brewed espresso (or coffee), cooled
- 2 tbsp sugar-free coffee liqueur (optional; verify keto-friendly)
- 1 tsp vanilla extract
Note: Since external links must be removed, the ingredient line above avoids outbound URLs while keeping the recipe instructions clear.
Instructions (5 Steps)
Work in steps so the batter, cream, and espresso all hit the right temperature. Then assembly goes fast, and chilling does the rest.
As you cook, think in structure: base + cream + base + cream. Each layer affects the final slice-like texture when you spoon from the jar.
Step 1: Prepare the Keto Ladyfingers
Preheat your oven to 350°F (175°C). Combine almond flour, coconut flour, erythritol, baking powder, and salt in a mixing bowl.
In a separate bowl, whisk egg whites until you get stiff peaks. In another bowl, beat egg yolks with vanilla until creamy.
Step 2: Combine Mixtures for a Light Texture
Fold the egg yolk mixture into the dry ingredients gently. Then fold in the whipped egg whites carefully, so you keep air in the batter.
This folding step matters because it helps the baked strips stay tender without turning chewy. For a simple science reference on proteins and foams, see Foam.
Step 3: Shape and Bake
Line a baking sheet with parchment. Using a piping bag or spoon, shape finger-like strips around 3 inches long.
Bake for 12–15 minutes until golden and firm. Let them cool fully before you dip them in espresso.
Step 4: Whip the Mascarpone Cream
Chill a bowl first. Then beat heavy whipping cream with powdered erythritol and vanilla until you reach soft peaks.
Fold mascarpone cheese in gently until smooth and fluffy. Keep mixing slow and steady so the cream stays thick.
[WARNING]Pro-Caution: If your mascarpone or cream warms too much, the mixture can turn grainy or loose. Chill ingredients and stop mixing as soon as the texture looks uniform.
[WARNING] If your mascarpone is very soft, use a lighter hand during folding. Overmixing can thin the filling and reduce the jar’s layered “hold.”
[TIP]Expert Insight: Powder erythritol helps it dissolve faster, which keeps the cream silky. For best results, whisk the sweetener into the cream before you add mascarpone.
Step 5: Assemble the Jars
Combine cooled espresso, optional coffee liqueur, and vanilla in a shallow dish. Dip each keto ladyfinger piece briefly for 1–2 seconds per side to avoid sogginess.
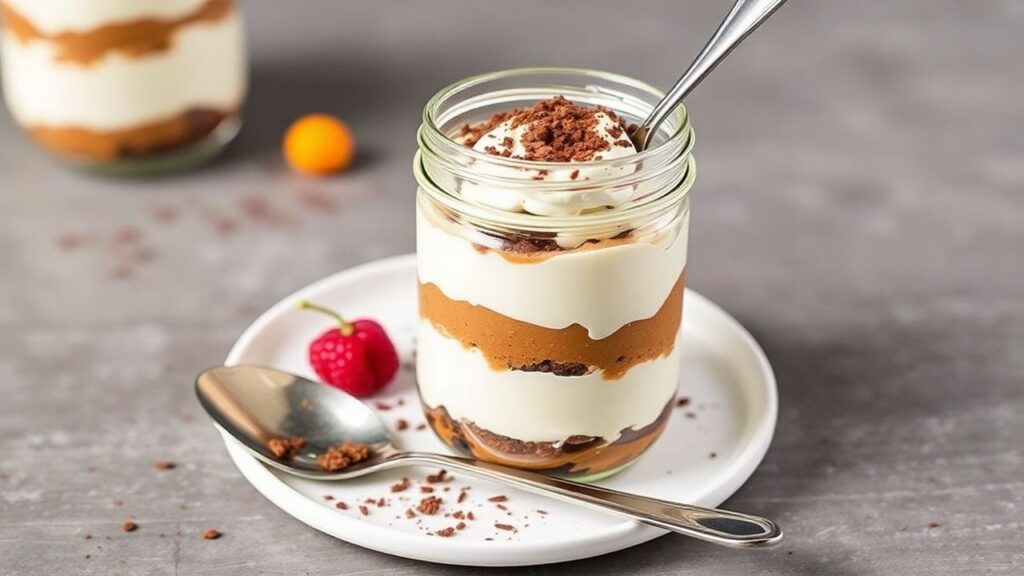
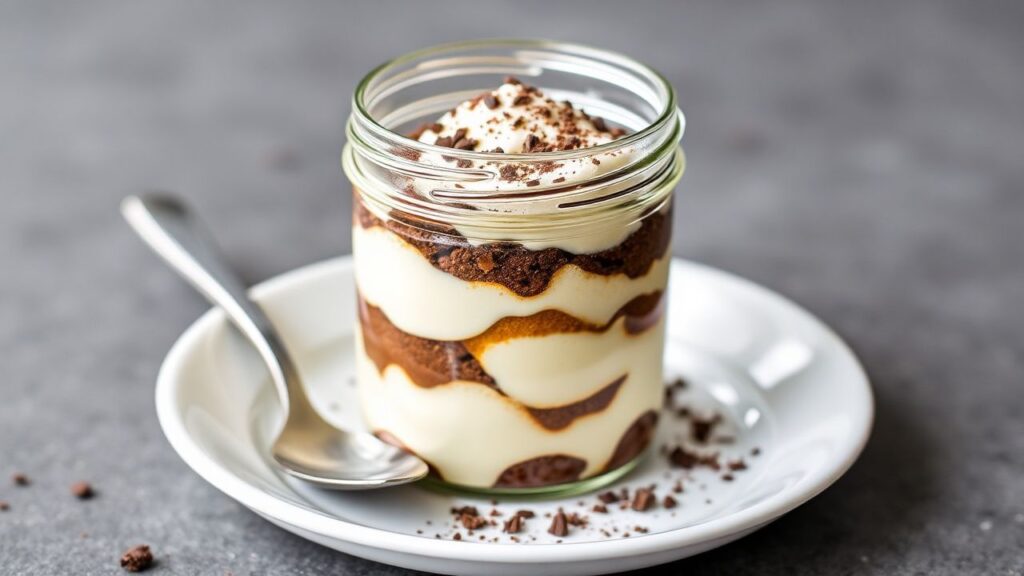
Place soaked pieces in the bottom of each jar, then spoon on mascarpone cream. Repeat one or two more times, finishing with a cream layer on top.
Cover jars and refrigerate for at least 4 hours, or overnight. Before serving, dust with unsweetened cocoa powder for the classic tiramisu look.
Chef’s Notes for Perfect Keto Tiramisu in a Jar
Small adjustments make a big difference in jar desserts. Use these tips to lock in texture, sweetness balance, and a more “classic-style” mouthfeel.
Also remember that tiramisu flavor often comes from contrast: creamy fat + coffee bitterness + cocoa aroma. That balance works as long as your espresso is strong and your sweetener isn’t overpowering.
Ingredient Alternatives
If you prefer different sweeteners, swap erythritol for monk fruit or allulose. Choose a powdered form when possible so your cream stays smooth.
If you want to compare sweetener profiles, review allulose for how it behaves in low-carb baking.
Make-Ahead Timing
This dessert benefits from chilling. Over time, espresso flavor spreads through the layers, and the cream firms up so the jars stay neat when served.
Plan on at least 4 hours. For events, assemble the night before, then dust with cocoa just before serving.
How to Avoid Watery Layers
Don’t soak the keto ladyfingers for long. A quick dip gives coffee flavor while keeping structure intact.
Also, assemble with room-temperature cream and cooled baked pieces. Cold-on-hot can cause condensation, which leads to thinner layers.
Dairy-Free Keto Option
You can adapt the filling by using coconut cream blended with a dairy-free cream cheese. Keep the blend thick so it holds shape after chilling.
For basic background on coconut products, see Coconut. Texture depends on fat content and how well you whisk.
Espresso Strength Matters
Use strong brewed espresso or very concentrated coffee. Strong coffee helps your flavor come through even after soaking.
For consistent results, brew, then cool fully. Hot coffee can melt the cream and soften the layers too much.
Serving Suggestions
Serve your keto tiramisu in a jar cold for best texture. Cold cream firms, and the cocoa dusting stays dry and aromatic.
Top each jar with cocoa powder and, if you like, shaved dark chocolate (high cocoa) or a few coffee beans. These add aroma without needing extra sugar.
| Nutrient | Per Serving |
|---|---|
| Calories | 320 kcal |
| Protein | 8 g |
| Net Carbs | 5 g |
| Fat | 28 g |
If you want general context on ketogenic eating, read Ketogenic diet. Always check ingredient labels since net carbs vary by brand.
Q&A: Keto Tiramisu in a Jar
You’ll see the best results when you match your technique to the ingredient you use. These answers clear up the most common issues with keto tiramisu texture, soaking, and sweeteners.
Use these tips like a checklist before you bake. Then assemble with confidence and chill long enough for clean layers.
1) What makes keto tiramisu different from the classic version?
Classic tiramisu relies on sugar and wheat-based ladyfingers. This keto version keeps the same layer idea but uses almond or coconut flour and keto sweeteners to cut net carbs.
You still use espresso and cocoa for that signature coffee-chocolate taste. The texture comes from whipped eggs and a thick cream filling.
2) Can I use regular mascarpone cheese?
Yes, mascarpone stays the core flavor in both classic and keto styles. Choose full-fat mascarpone for the best body and smoothness in the filling.
If you’re curious about what mascarpone is, see Mascarpone for ingredient background.
3) How do I create cake-like layers without traditional ladyfingers?
You bake a keto-friendly strip base using almond flour, coconut flour, and egg structure. Then you dip briefly in espresso so it gains the “soaked cake” feel.
It won’t taste exactly like wheat ladyfingers, but the bite and coffee absorption stay close to the original concept.
4) Is espresso essential for keto tiramisu in a jar?
Espresso drives the bold, aromatic flavor that defines tiramisu. It also adds bitterness that balances sweetness from your keto sweeteners.
If you need a caffeine-free approach, use decaf espresso or strong brewed chicory coffee. Flavor intensity matters more than caffeine.
5) How do I prevent a watery or soggy jar?
Use a quick dip: 1–2 seconds per side. Long soaking breaks down the structure and creates a loose, watery layer.
Also, chill the jars long enough to set. Thick cream and fully cooled baked strips help keep each layer distinct.
[TIP]Expert Insight: Dust cocoa right before serving. Cocoa absorbs moisture over time, so fresh dusting keeps the top layer clean and aromatic.
Enjoy making this keto tiramisu in a jar—a creamy, coffee-kissed dessert that fits low-carb goals without sacrificing the classic indulgent vibe.
Key Takeaways
This jar dessert proves you can enjoy classic flavors while staying aligned with low-carb eating. You build layers the same way as traditional tiramisu, then swap ingredients for keto-friendly options.
If you focus on structure and timing—proper baking, brief espresso dipping, and enough chilling—you’ll get clean layers and a spoonable cream.
- Layer fast: quick dips, then straight to jars.
- Whip thick: keep cream cold for stable texture.
- Chill long: 4 hours minimum for best results.
- Balance flavors: strong espresso + cocoa = classic taste.
So treat yourself to a dessert that feels indulgent and still supports your goals. One jar at a time, you get the coffee-cocoa magic of tiramisu—keto style.
See also: keto tiramisu