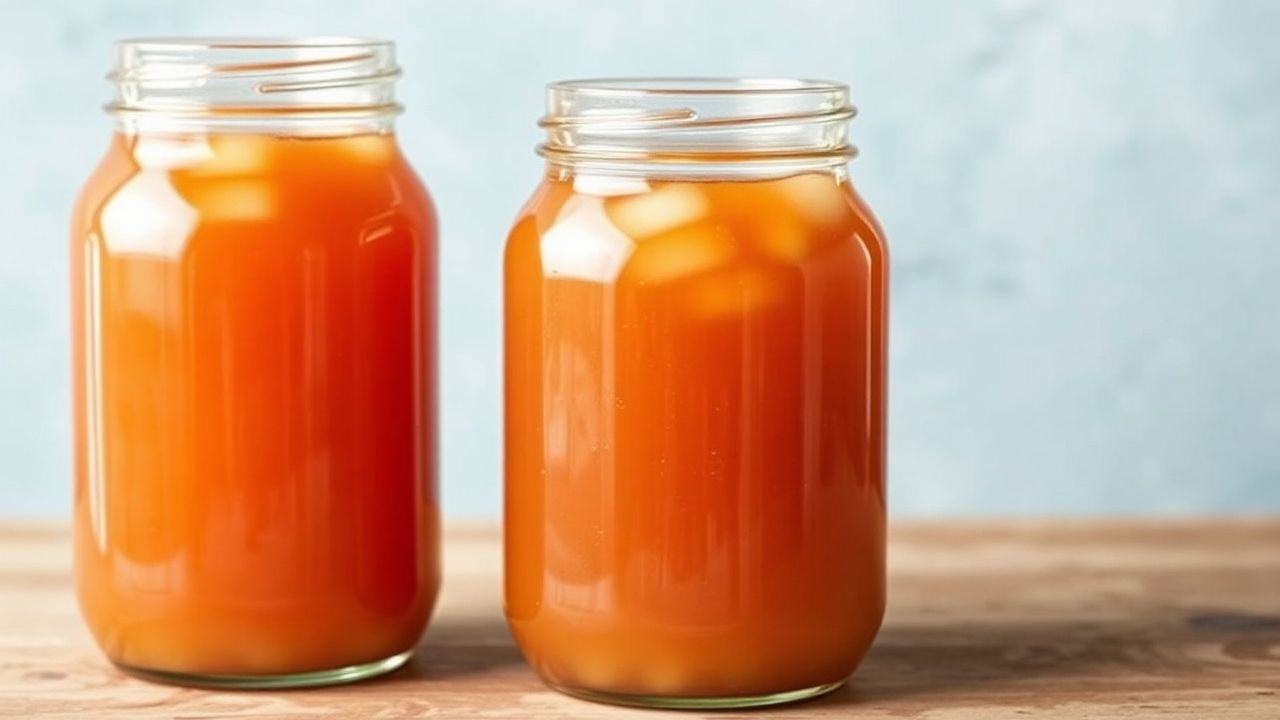
Homemade kombucha is a simple fermented tea you can tailor to your taste, right from your kitchen. You control the tea, the sweetness, the fermentation time, and the flavors for a drink that stays lively and tart.
- What Makes Kombucha Ferment (And What You Actually Need)
- Prep and Timing Overview (So You Don’t Brew Blind)
- Ingredients (Standard 1 Gallon / 3.8 Liter Batch)
- Step-by-Step Instructions for Homemade Kombucha
- Step 1: Brew Sweet Tea Base
- Step 2: Cool to Safe Temperature
- Step 3: Combine for First Fermentation
- Step 4: Cover and Ferment (7–14 Days)
- Step 5: Flavor and Second Fermentation (Build the Bubbles)
- Step 6: Chill and Serve
- Tips for Success (Avoid the Most Common Problems)
- Tea Selection and Sugar Quality
- Fermentation Habitat and Cleanliness
- Get the Right Tang (Taste, Don’t Guess)
- Fix Flat Kombucha
- Fix Overly Sour or Harsh Flavor
- Serving Suggestions (Taste Like You Brewed It)
- Storage and Safety Basics
- Q&A
- First fermentation: 7–14 days at a steady temperature for the base flavor.
- Second fermentation: 2–5 days to build natural carbonation.
- Food-safety focus: Use clean tools and watch for true mold.
- Flavor control: Add fruit, ginger, or herbs after the SCOBY is removed.
Welcome to the homemade kombucha guide you can follow like a checklist. Use it to turn sweet tea into a fizzy, probiotic-rich beverage through reliable fermentation steps.
In this guide, you will learn how to choose tea and sugar, build a safe fermentation setup, and troubleshoot common issues like flat kombucha or odd flavors. You will also learn how to bottle correctly so you get bubbles without risking overpressure.
What Makes Kombucha Ferment (And What You Actually Need)
Kombucha forms when a SCOBY (a living yeast-and-bacteria culture) ferments sweet tea. Over time, the culture converts sugar into acids and carbonation precursors, which changes the taste from sweet to tangy.
Your starter liquid (also called starter tea) supplies active microbes and helps the brew reach the right acidity faster. For background reading on microorganisms used in fermentation, see fermentation and yeast.
Choose Tea That Supports Stable Fermentation
Most home batches use black tea or green tea because they supply the nutrients and polyphenols that support the culture. Black tea usually creates a deeper, rounder flavor, while green tea often tastes lighter and more crisp.
Keep your tea unflavored and free of added oils. Oils can interfere with surface film formation and may slow fermentation. For general tea chemistry and what makes tea “tea,” read tea.
Prep and Timing Overview (So You Don’t Brew Blind)
Fermentation works best with consistency. Set up your jar, temperature, and tools before you start heating water, so your timeline stays simple.
Use the schedule below as a planning tool. Then, taste regularly during the later fermentation window to match your preferred sweetness.
Recommended Times
- Steep + sweeten: ~20–30 minutes
- First fermentation: 7–14 days
- Second fermentation: 2–5 days
- Chill: at least a few hours before drinking
Temperature Targets
A warm, stable spot helps fermentation move predictably. Aim for roughly 68–80°F (20–27°C), and avoid cold drafts that slow the culture.
If your home runs cool, extend the first fermentation. If your home runs warm, begin tasting earlier in the 7–14 day range.
Ingredients (Standard 1 Gallon / 3.8 Liter Batch)
This homemade kombucha guide uses a reliable, repeatable recipe. You will make about 1 gallon of kombucha after the first fermentation and bottling for carbonation.
Adjustments work well, but keep the starting ratios consistent until you can taste and predict your results.
Core Ingredients
- 8 cups (1.9 L) filtered water
- 4–5 tea bags of black or green tea (or 2–2.5 tbsp loose tea)
- 1 cup (200–220 g) pure cane sugar (organic preferred)
- 1 SCOBY plus 1 cup starter liquid (unflavored)
Flavor Add-Ins for Second Fermentation
Use fruit, ginger, or citrus after you remove the SCOBY. These additions also provide sugars that help create carbonation in the sealed bottles.
Common options include ginger slices, mixed berries, or orange zest. For flavor science ideas, you can explore carbohydrates and how sugar supports fermentation.
Step-by-Step Instructions for Homemade Kombucha
Follow these steps in order. If you skip steps, you usually see it in the taste, carbonation, or clarity of the batch.
Each step below matches a real fermentation control point, so you can build confidence with your results.
Step 1: Brew Sweet Tea Base
Bring filtered water to a boil, then steep tea for about 10 minutes. Next, remove tea leaves or bags and stir in the sugar until it dissolves fully.
Use room-temperature sugar and a clean spoon. Heating sugar too long can darken flavor and can slightly change the final brew taste.
Step 2: Cool to Safe Temperature
Let the sweet tea cool to roughly 70–75°F (21–24°C) before adding the SCOBY. Hot liquid can stress or kill parts of the culture.
Measure with a thermometer if you can. If you cannot measure, use the “comfortable handling” test: the tea should feel warm, not hot, when you hold your hand near the jar.
Step 3: Combine for First Fermentation
Pour the cooled tea into a large, sterilized glass jar. Add starter liquid first, then place the SCOBY on top.
Do not clamp the lid shut. The culture needs airflow, and you also want to prevent pressure buildup during the open-fermentation stage.
Step 4: Cover and Ferment (7–14 Days)
Cover the jar with breathable cloth or a coffee filter secured with a rubber band. Then store it in a warm, dark place away from direct sunlight.
Start tasting around day 7. Look for a balance of sweetness and acidity that fits your preference.
To reduce contamination risk, keep the jar covered and use clean hands and tools. For general guidance on microbial growth and safety, see microorganisms and basic food preservation concepts from food preservation.
Step 5: Flavor and Second Fermentation (Build the Bubbles)
Remove the SCOBY and set it aside with some starter liquid. Then pour kombucha into airtight bottles, leaving some headspace for carbonation.
Add your flavor ingredients (ginger, berries, or zest) before sealing. Seal tightly and let bottles ferment for 2–5 days while you monitor progress.
Step 6: Chill and Serve
When the drink reaches your desired level of fizz, refrigerate the bottles. Cold temperatures slow fermentation so the flavor stays stable.
Pour carefully to reduce sediment in the glass. Then taste again—many people find chilled kombucha tastes slightly smoother than warm kombucha.
Expert Insight: For consistent carbonation, use similar bottle types each batch (same size and material) and start second fermentation at the same room temperature. Change one variable at a time, then record your results.
Tips for Success (Avoid the Most Common Problems)
Small choices have a big impact in homemade kombucha. Use these tips to improve reliability, especially if your first attempt feels unpredictable.
Fermentation is biology. With good habits, your culture gets more stable over time.
Tea Selection and Sugar Quality
Keep tea plain and unflavored. Also, avoid teas with added oils or heavy flavoring agents.
Pure cane sugar is an easy baseline because it feeds fermentation in a predictable way. When you switch sweeteners, flavor can change and fermentation may run slower.
Fermentation Habitat and Cleanliness
Store your jar where temperature stays stable. Avoid heat sources, direct sunlight, and kitchens with strong odors or heavy airflow.
Clean equipment matters because unwanted microbes can compete with the culture. For a deeper view of fermentation science, see lactic acid fermentation and acetic acid.
Get the Right Tang (Taste, Don’t Guess)
If your kombucha tastes too sweet, ferment longer during the first stage. If it tastes too sharp, shorten the first fermentation next time.
During second fermentation, taste indirectly. Open one bottle gently after 2 days (if safe) and judge carbonation, then adjust your future timing.
Fix Flat Kombucha
Flat kombucha usually means the second fermentation did not build enough carbonation. Common causes include too little time, too cool a location, or bottles that are not sealed well.
Also check that you used enough fermentable additions (like fruit juice or ginger) after bottling. Then repeat with a tight sealing routine.
Fix Overly Sour or Harsh Flavor
Over-sour flavor often comes from extended fermentation at the first stage, especially in warm conditions. It can also happen if you bottle for too long.
Shorten first fermentation, and start checking carbonation earlier during second fermentation.
Serving Suggestions (Taste Like You Brewed It)
Serve your homemade kombucha chilled for the best balance of aroma and acidity. Pour into a glass slowly so carbonation stays lively.
Add garnishes that match your flavor batch. Ginger pairs well with citrus, while berries suit light floral tea profiles.
Pairing Ideas
Kombucha works well with light meals like salads, sandwiches, and grilled vegetables. Its acidity can brighten rich flavors.
If you want a non-alcoholic “mocktail” vibe, mix kombucha with a splash of juice and plenty of ice. Keep it simple so the fermentation flavor stays clear.
Storage and Safety Basics
Once you chill your bottled kombucha, it stays fizzy longer. Refrigeration slows fermentation and helps stabilize flavor.
Always store bottles upright and check them if you did a long second fermentation. Pressure can still build if fermentation continues in the fridge.
How Long Does Homemade Kombucha Last?
Many people drink within a week or two for best flavor. As time passes, acidity can increase and carbonation can decrease.
For a general overview of beverage stability, see food shelf life.
Q&A
How much sugar do I need for homemade kombucha?
Use about 1 cup sugar per 1 gallon batch as a reliable starting point. During fermentation, the culture consumes much of it, leaving the finished drink tangy rather than sweet.
Can I use herbal tea for kombucha?
It is usually best to stick with black tea or green tea for your base. Herbal teas often lack the fermentation support and nutrients that the culture expects, so batches may underperform.
Why does my SCOBY look different over time?
SCOBY thickness and texture can change from batch to batch. Healthy cultures can form layers, and stringy yeast growth can appear on the surface. Use mold checks (fuzzy colored colonies) to judge safety.
What’s the safest way to bottle for carbonation?
Use airtight bottles and keep second fermentation time short at first, especially if your home runs warm. Chill promptly when you reach your ideal fizz to stop further carbonation.
Is kombucha actually probiotic?
Fermented tea often contains live microorganisms. The exact probiotic activity can vary by batch and storage, so focus on consistent home fermentation and safe handling rather than promises about specific strains.
See also: Homemade kombucha