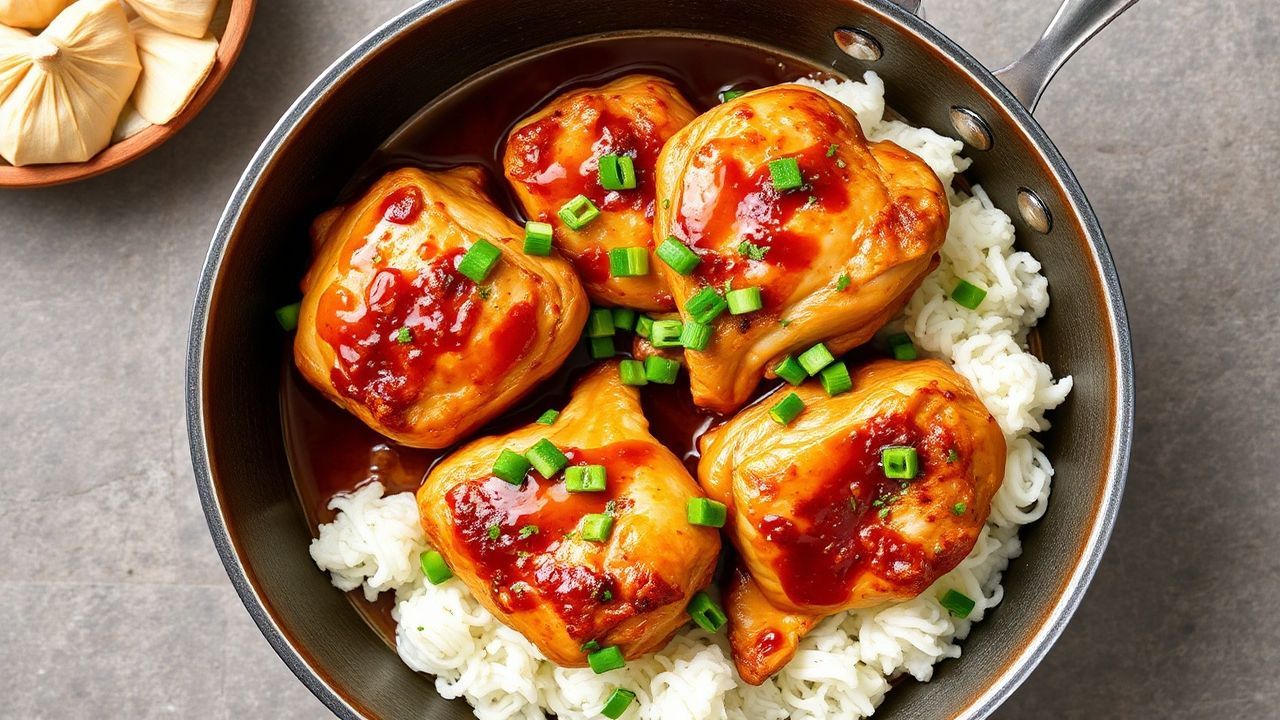
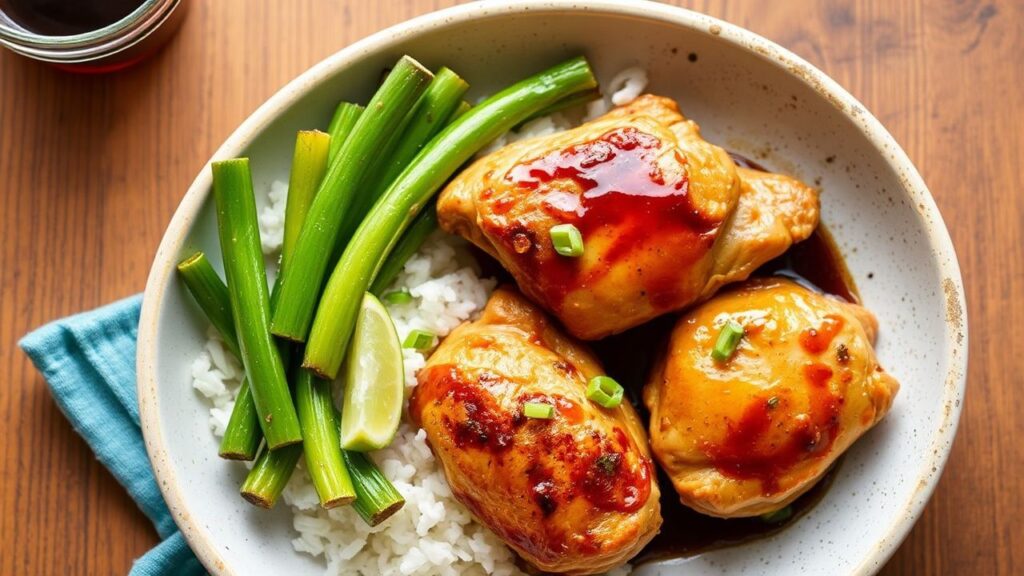
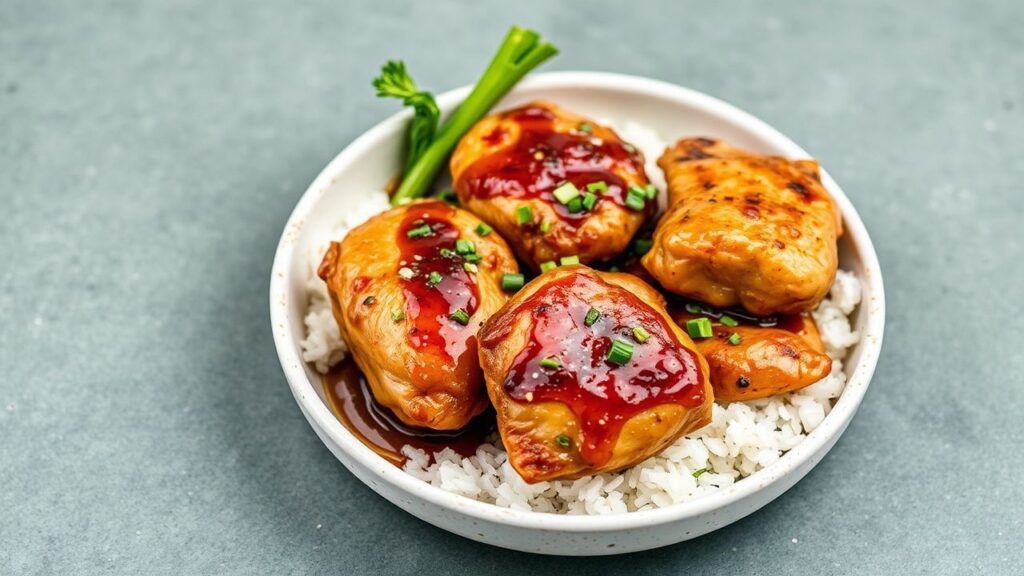
One-Skillet Ginger Soy Chicken Thighs deliver big, savory flavor fast. You get crispy skin, a glossy ginger-soy glaze, and tender meat—all from the same skillet. Dinner stays simple even when your schedule gets busy.
- Discover the Flavor Profile of One-Skillet Ginger Soy Chicken Thighs
- Essential Ingredients for One-Skillet Ginger Soy Chicken Thighs
- Step-by-Step: Perfectly Seared Chicken with a Ginger Soy Glaze
- Step 1: Prep the Chicken
- Step 2: Heat the Skillet
- Step 3: Sear Skin-Side Down
- Step 4: Flip and Cook Through
- Step 5: Make the Ginger Soy Glaze
- Step 6: Glaze and Reduce
- Step 7: Rest in the Glaze
- Tips and Tricks for Serving, Pairing, and Cleanup
- Chef’s Notes for Consistent Results
- Wrapping Up One-Skillet Ginger Soy Chicken Thighs
- FAQ
- 30-minute total time with one-pan cooking
- Ginger + soy makes a caramelized, umami-rich glaze
- Skin-on thighs = better texture and juiciness
- Easy cleanup thanks to simmering in the pan
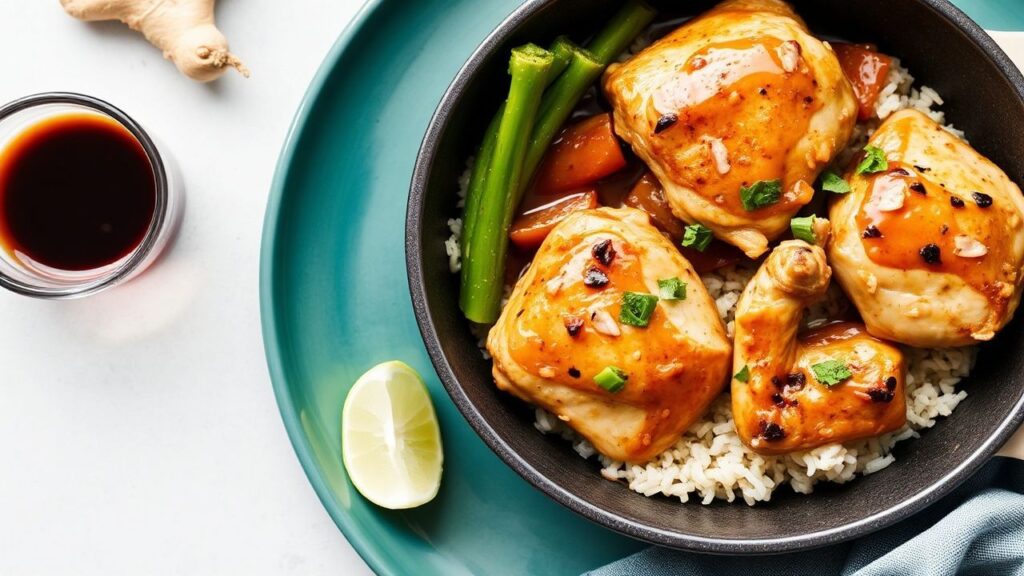
To nail the flavor, you sear the thighs first, then simmer them in the ginger soy sauce. The pan juices thicken into a light syrup that clings to every bite. For the best results, use bone-in, skin-on chicken thighs and don’t crowd the skillet.
Serve the finished chicken over steamed rice, noodles, or greens. Each option gives the glaze a place to shine. If you want more heat, add chili flakes at the glaze stage.
Discover the Flavor Profile of One-Skillet Ginger Soy Chicken Thighs
This dish balances ginger warmth with savory soy sauce depth. The glaze also brings a hint of sweetness, which helps the sauce brown and taste more rounded. When the sauce reduces, it turns from salty liquid into a glossy coating.
The method matters as much as the ingredients. Searing builds a browned crust through the Maillard reaction, which adds flavor complexity. Then simmering in the same pan helps the glaze absorb into the thighs while keeping the surface tender.
For an ingredient refresher, learn how soy sauce ferments and develops its umami character. And if you want more context on ginger’s role, review ginger compounds and how they contribute to warm, aromatic bite.
Prep and Cook Time
Preparation: 10 minutes
Cooking: 20 minutes
Total time: about 30 minutes
Yield
This recipe serves 4 people comfortably. If your family eats large portions, plan on 3 servings instead. The sauce amount works well for spooning extra over rice.
If you meal prep, keep the chicken and glaze together. Reheating stays more flavorful when the sauce is already coating the meat. Stir the skillet while reheating so the glaze re-emulsifies.
Difficulty Level
Easy. You only need basic kitchen tools: a heavy skillet, a bowl for the glaze, and tongs or a spatula. Most of the work happens while the chicken sears and simmers.
New cooks can succeed by following one rule: heat the pan properly before adding chicken. If the oil looks thin and shimmery, you’re ready. If it smokes, lower the heat and wait a minute.
Essential Ingredients for One-Skillet Ginger Soy Chicken Thighs
You can make this recipe with common pantry items plus fresh ginger. Choose ingredients that support fast reduction, since the glaze needs time to thicken. Each item below plays a clear role in taste and texture.
Start with the chicken and build outward. Skin-on thighs provide rendered fat that crisps the surface and carries flavor into the glaze. Then ginger and garlic bring aroma that stands up to soy’s saltiness.
For nutrition context, note that chicken provides protein and can absorb flavor well during simmering. For a quick background on chicken cuts, see chicken and common culinary parts.
Ingredient List
- 6 bone-in, skin-on chicken thighs (about 2 lbs)
- 3 tablespoons soy sauce (low-sodium if you prefer less salt)
- 2 tablespoons fresh ginger, finely grated
- 2 cloves garlic, minced
- 1 tablespoon honey (or brown sugar for a similar effect)
- 2 teaspoons toasted sesame oil
- 1 tablespoon rice vinegar
- 1/4 teaspoon crushed red pepper flakes (optional)
- 2 tablespoons vegetable oil
- 2 scallions, thinly sliced for garnish
- Sesame seeds for garnish
Step-by-Step: Perfectly Seared Chicken with a Ginger Soy Glaze
You’ll get the best results by treating searing like a two-stage process: dry the skin, then cook undisturbed. Next, you simmer in the glaze until it turns glossy and slightly thick. Keep the heat steady so the sauce reduces without burning.
Use a heavy-bottomed skillet for even heat transfer. Cast iron gives strong browning, but any well-heated skillet works. If the pan runs cool, the chicken releases moisture instead of crisping.
Step 1: Prep the Chicken
Pat the chicken thighs dry with paper towels. Season both sides lightly with salt and pepper. Dry skin helps the crust form fast.
Let the chicken sit for a couple minutes while you heat the skillet. This small rest helps surface moisture evaporate. Then you’ll get a cleaner sear.
Step 2: Heat the Skillet
Warm the vegetable oil over medium-high heat. Aim for a shimmering surface, not full smoking. That heat level helps browning happen quickly.
If the oil looks dull, wait 30–60 seconds. When it shimmers, you’re ready to add the chicken skin-side down.
Step 3: Sear Skin-Side Down
Place the thighs skin-side down and press gently with a spatula for contact. Cook undisturbed for 6–8 minutes until the skin turns deep golden and releases easily.
Don’t move the chicken too early. Early flipping tears the crust and slows browning. Use tongs to handle pieces carefully once you lift an edge.
Step 4: Flip and Cook Through
Flip the thighs and cook another 5–6 minutes. Use a meat thermometer if you have one. Target 165°F / 74°C in the thickest part.
If you don’t have a thermometer, cut into the thickest area. The juices should run clear and the meat should no longer look pink. Cooking times vary by thigh size.
Step 5: Make the Ginger Soy Glaze
While the chicken cooks, whisk soy sauce, grated ginger, minced garlic, honey, sesame oil, and rice vinegar in a bowl. Add crushed red pepper flakes if you like heat.
Whisk until honey dissolves. Even small honey lumps can create uneven thickening. If your honey is very thick, warm it for 10 seconds in the microwave first.
Step 6: Glaze and Reduce
Pour the sauce into the skillet once the chicken is nearly cooked. Turn the heat to medium-low and spoon glaze over the thighs as it simmers.
Simmer 2–3 minutes, turning occasionally, until the glaze thickens slightly. You want a clingy texture, not a hard candy coat. If it reduces too fast, lower the heat and add 1–2 tablespoons water.
Step 7: Rest in the Glaze
Remove the skillet from heat. Let the chicken rest in the glaze for 5 minutes, covered loosely with foil if needed.
This rest lets juices redistribute. The glaze also settles and coats more evenly. Then garnish and serve right away.
For an overview of the science behind browning, read Maillard reaction. It explains why searing produces that deeper, roasted flavor in the same pan.
For seasoning context, you can also review umami. Soy sauce and ginger-related aromatics create a satisfying savory profile that feels rich without being heavy.
Tips and Tricks for Serving, Pairing, and Cleanup
One-pan cooking means less mess. After you serve, soak the skillet in warm water for a few minutes. The glaze loosens quickly, so cleanup takes far less effort than scrubbing a baked-on mess.
To prevent residue, pour off excess liquid first, then deglaze with a splash of water or broth. Scrape the browned bits into the soak water. That helps lift stuck-on caramelized soy-glaze.
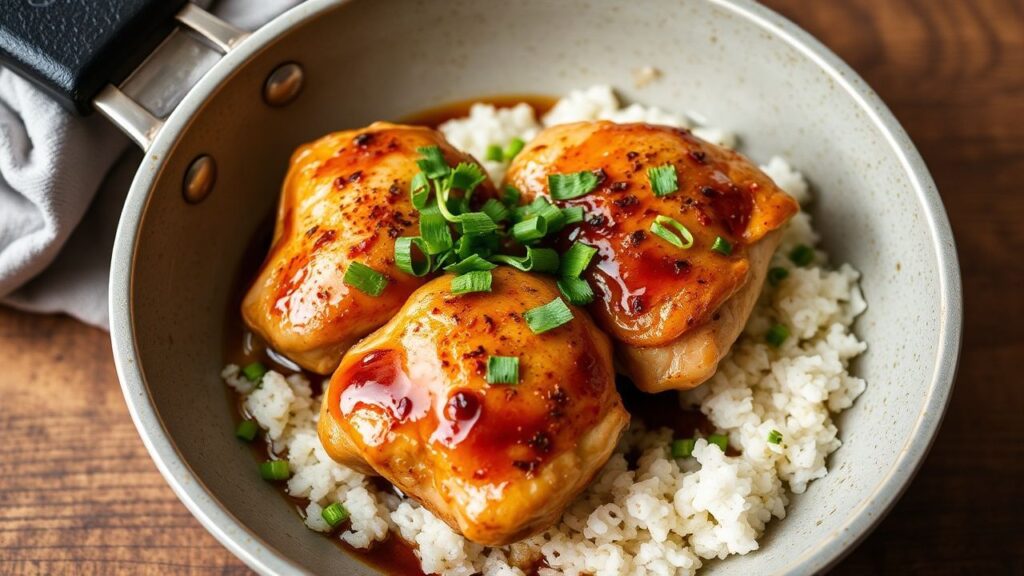
Now for the best finishing moves. Garnish with sliced scallions and sesame seeds right before serving. The fresh crunch contrasts with the sticky glaze and improves every bite.
Serving Suggestions
Plate the one-skillet ginger soy chicken thighs over steamed jasmine rice or noodles. The sauce soaks in lightly and turns each forkful savory and aromatic. If you prefer a lower-carb plate, use cauliflower rice.
For vegetables, keep it simple. Serve with sautéed bok choy or snap peas for color and a crisp edge. You can also add quick blanched greens at the end so they stay bright.
If you want a fresh contrast, pair the chicken with cucumber salad. Mix cucumber with rice vinegar and a little sesame oil for a clean tang. This balance matters because soy-glazed chicken can feel rich without acidity.
Chef’s Notes for Consistent Results
Small technique choices make a big difference with this recipe. Focus on skin contact during searing, then keep simmering controlled during glazing. These two steps decide whether your sauce turns glossy instead of harsh.
If you want leftovers, this recipe reheats well because the glaze already clings to the thighs. Still, gentle reheating keeps the chicken tender instead of drying it out.
Flavor and Texture Notes
- Skin-on, bone-in thighs deliver the best flavor and moisture. Boneless thighs cook faster, so reduce simmer time.
- For a vegetarian twist, use firm tofu slabs. Pat them dry, sear until golden, then simmer with slightly less soy sauce.
- Make extra glaze if you love saucy rice. Doubling also helps if your chicken pieces vary in size.
- Store leftovers in the fridge for up to 3 days. Reheat gently in a skillet with a splash of water to refresh the sauce.
- Cast iron offers strong searing, but stainless steel works too. Nonstick can help release, though browning may be lighter.
Nutritional Information (Estimate)
This estimate assumes one chicken thigh portion with glaze. Actual calories depend on thigh size and exact ingredient amounts. Use it as a planning guide.
Most of the calories come from the chicken fat and the glaze ingredients, especially sesame oil. The dish also includes protein from the chicken and small amounts of carbs from honey.
| Per Serving | Calories | Protein | Carbs | Fat |
|---|---|---|---|---|
| 1 Chicken Thigh with Glaze | 320 | 28g | 6g | 18g |
For more ideas in the same cooking style, use your skillet technique for other quick chicken dinners. Keep the order the same: sear first, then simmer the sauce gently. That flow builds flavor while reducing dishes.
Wrapping Up One-Skillet Ginger Soy Chicken Thighs
One-Skillet Ginger Soy Chicken Thighs bring comfort food flavor with a fast, practical method. You get bold ginger warmth, deep soy savoriness, and a sauce that turns glossy as it reduces.
If you follow the heat steps—hot skillet for searing and controlled simmer for glazing—you’ll repeat the results. This is the kind of weeknight recipe that fits busy schedules and still tastes like a full meal.
When you crave quick dinner with real depth, return to this formula. It works because it combines good browning, balanced seasoning, and smart rest time in one pan.
FAQ
What makes one-skillet cooking ideal for ginger soy chicken thighs?
One-skillet cooking keeps the chicken and glaze flavors together. Searing creates a crust, then simmering uses pan fond to deepen sauce taste. Cleanup also stays simpler because you use one vessel.
When the sauce reduces in the same skillet, it coats the chicken more evenly. That improves bite-to-bite flavor without extra steps.
Why choose chicken thighs instead of chicken breasts?
Chicken thighs stay juicier because they contain more fat than breasts. That fat also helps the skin render and crisp properly during searing. The result feels tender even if cooking times vary a little.
Thighs also forgive small heat mistakes. You can simmer them until tender without drying them out too quickly.
How do I keep the skin crispy while glazing?
Pat the skin dry before searing and cook undisturbed until it releases easily. Then flip and finish cooking before adding the glaze. Glazing happens briefly on medium-low so you don’t steam the skin.
After simmering, rest the chicken for 5 minutes to let the glaze set lightly. That helps the coating cling without making the skin soggy.
Can I make this recipe gluten-free?
Yes. Use tamari instead of traditional soy sauce, since tamari is often made without wheat. Check the label to confirm it fits your gluten-free needs.
Also verify any optional toppings or side ingredients if you use store-bought products. This keeps the dish fully consistent.
What sides pair best with one-skillet ginger soy chicken thighs?
Rice and noodles work best because they soak up the glaze. Cauliflower rice helps if you want a lower-carb meal while still enjoying the sauce.
For vegetables, serve bok choy, snap peas, or sautéed greens. For freshness, add cucumber salad with rice vinegar and a touch of sesame oil.
See also: ginger soy chicken