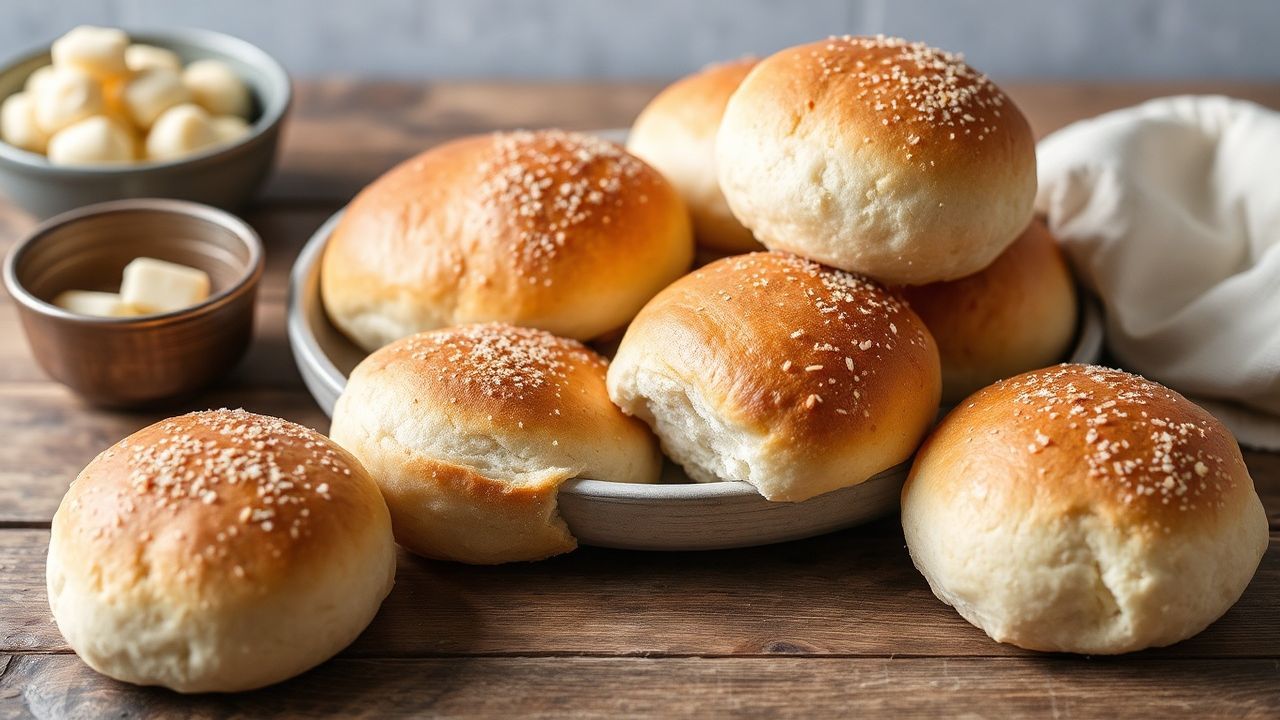
There’s nothing quite like the comforting aroma of freshly baked rolls wafting through the kitchen. For people eating gluten-free, the goal stays the same: soft, light, fluffy yeast rolls with real bread flavor, not a dense substitute.
- Prep and Cook Time
- Yield and Difficulty
- Choosing the Right Gluten-Free Flours for Light and Tender Rolls
- Mastering Yeast Activation for Maximum Rise and Softness
- Tips for Baking and Storing Gluten-Free Yeast Rolls to Retain Freshness
- Ingredients
- Instructions
- Tips for Success
- Serving Suggestions
- FAQ
- What makes fluffy gluten-free yeast rolls rise so well?
- Can I use instant yeast instead of active dry yeast?
- Why do my gluten-free rolls turn dense?
- How do I store and reheat fluffy gluten-free yeast rolls?
- Can I make these rolls vegan?
- Closing Remarks
These fluffy gluten-free yeast rolls blend the right gluten-free flour science with reliable yeast fermentation. The result stays tender, rises well, and holds a soft crumb you can slice, tear, and serve warm.
- Texture comes from flour blend: rice flour for structure plus starch for stretch and softness.
- Lift comes from proofing: warm water and full rises build an airy interior.
- Moisture stays trapped: hydration and careful baking prevent dryness.
- Planning matters: storage and reheating keep rolls fluffy for days.
In practice, gluten-free yeast rolls work best when you treat them like hydrated dough rather than kneaded bread. You’ll mix gently, handle with wet hands, and let time do the heavy lifting while the yeast produces gas for natural rise.
Whether you bake often or you’re new to gluten-free baking, this recipe gives you a repeatable method. Follow the steps, and you’ll get rolls that feel light, slice cleanly, and taste like fresh bakery bread.
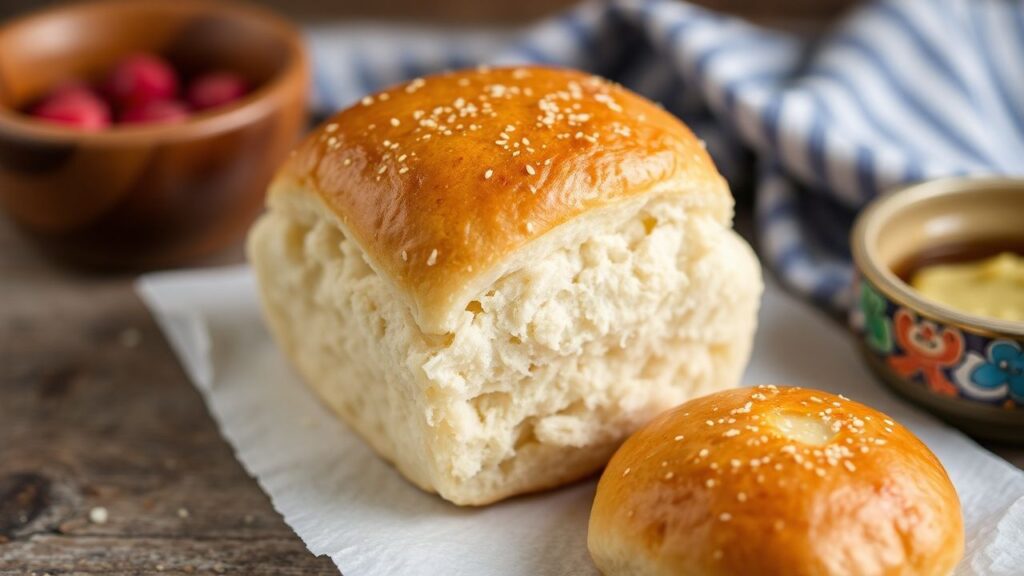
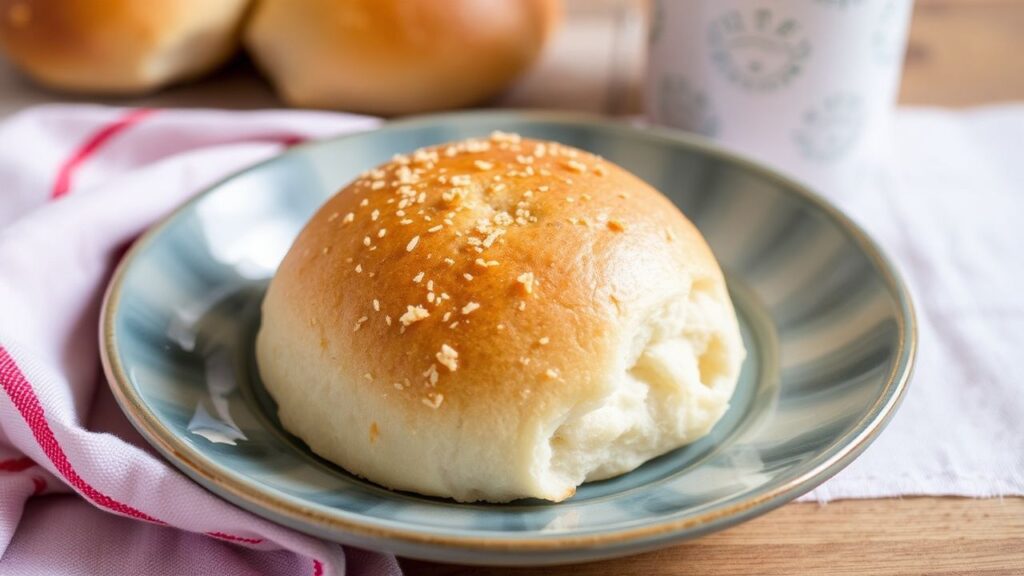
Fluffy Gluten-Free Yeast Rolls deliver true comfort food with a gluten-free crumb. Without wheat gluten, the dough needs starch-driven structure and proper proofing to trap the gas yeast creates. Once you nail hydration and timing, the rolls come out airy, pillowy, and pleasantly tender.
These rolls aren’t only gluten-free. They’re designed to mimic key wheat-bread behaviors: gas expansion, soft starch gel formation, and a crust that doesn’t over-dry the interior. That mix of science and technique is why the texture stays soft, light, and delicious.
Prep and Cook Time
Plan ahead so you can give the dough full rise time. This recipe takes longer than quick breads, but you’ll get better lift and a gentler crumb.
Use the rising schedule as your workflow. While the dough rests, you can measure ingredients and preheat at the right moment.
- Preparation: 20 minutes
- Rising time: 1 hour 15 minutes
- Baking Time: 20 minutes
- Total Time: 1 hour 55 minutes
Yield and Difficulty
This recipe yields 12 rolls. Each roll stays sized for an easy dinner side or a sandwich-ready slice.
Difficulty stays Medium. You don’t need advanced baking skills, but you must respect temperature, proofing, and doneness.
Choosing the Right Gluten-Free Flours for Light and Tender Rolls
The flour blend decides whether your rolls feel airy or heavy. A single gluten-free flour rarely provides both structure and softness.
Use brown rice flour as the main base, then add tapioca starch for chew and elastic bounce. Add potato starch to hold moisture and keep the crumb soft after baking.
Brown rice flour gives body, but it can turn gritty if you underhydrate or bake too long. Tapioca and potato starches help the dough feel more flexible and help the crumb stay tender as starches set in the oven.
For more background on fermentation and dough behavior, see bread. For flour science basics, you can also review starch, since starch gelatinization strongly affects softness.
Why starch blend matters more than “flour amount”
In gluten-free dough, you can’t swap flours one-for-one and expect the same rise. The balance between rice flour and starch changes viscosity and gas retention.
That’s why this recipe uses both tapioca and potato starch. They improve handling and help the crumb set without turning dry or crumbly.
How to mix for smooth dough
Whisk dry ingredients thoroughly before adding liquids. This step prevents lumps that can create uneven rise and pockets of dense crumb.
After you combine wet and dry, expect a sticky dough. That stickiness signals hydration and starch availability, which supports fluffy results.
Mastering Yeast Activation for Maximum Rise and Softness
Yeast activation controls how much gas forms during proofing. If yeast stays cold, the dough rises slowly. If water runs too hot, yeast can die and the crumb turns dense.
Use warm water around 105°F–110°F (40°C–43°C). Stir in active dry yeast with a pinch of sugar and wait for foaming. Foaming means your yeast cells started producing fermentation byproducts.
Yeast fermentation drives dough expansion by producing gas and flavor compounds. If you want a broader science reference, read yeast and fermentation.
Proofing time: follow the dough, not the clock
Use proofing time as a guide, but watch dough volume. Your first rise should nearly double. Your second rise should puff and look slightly domed.
A warm, draft-free spot gives yeast an ideal environment. Cover the bowl so the dough doesn’t form a dry skin.
Mixing technique for airy structure
Once proofed, fold the yeast mixture into your flour blend with eggs, oil, and a touch of honey. Mix until the dough looks cohesive and thick, not runny.
Avoid adding extra flour. Gluten-free dough relies on hydration to stay soft, and extra flour can reduce lift by tightening the crumb.
Tips for Baking and Storing Gluten-Free Yeast Rolls to Retain Freshness
Before baking, let the shaped rolls rise again. This second rise builds final volume and sets the crumb structure for cutting and tearing.
Brush the tops with melted butter for color and flavor. Butter also helps the crust develop without becoming tough.
Bake until tops turn lightly golden and the rolls feel springy. Overbaking dries the starch-rich crumb and reduces that “fresh roll” softness.
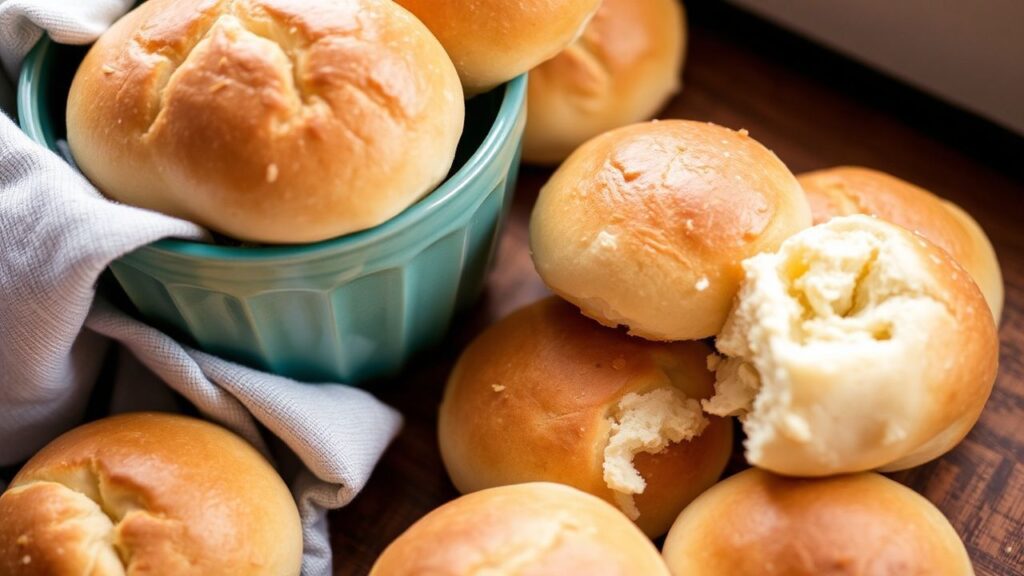
Once cooled, store correctly. Cooling lets steam escape, then wrapping protects the moisture balance that keeps gluten-free bread from drying faster.
Room temperature storage and freezing
Store rolls in an airtight container at room temperature for up to two days. For longer storage, freeze individually wrapped rolls to prevent freezer burn.
To refresh, warm in a 350°F (175°C) oven wrapped in foil. This approach reheats the crumb gently and rebuilds a soft crust.
Ingredients
Use the exact ingredient list for consistent lift and tenderness. Each component supports structure, moisture, chew, or fermentation.
If you substitute, do it thoughtfully and expect small texture changes. For best results, keep the starch blend and yeast quantities the same.
- 1 cup brown rice flour (sifted)
- ½ cup tapioca starch
- ½ cup potato starch
- 2 ¼ tsp active dry yeast (one 7g packet)
- 1 cup warm water (105°F–110°F)
- 2 tbsp honey
- 2 large eggs, lightly beaten
- 3 tbsp olive oil or melted butter
- 1 tsp xanthan gum
- 1 tsp salt
- Melted butter for brushing
Instructions
Follow these steps in order so yeast, hydration, and rise timing stay aligned. Small changes can affect volume in gluten-free dough.
You’ll mix gently, shape with wet hands, and bake when the rolls look fully puffed and lightly browned.
- Activate the yeast: In a small bowl, combine warm water, honey, and yeast. Let sit 5–10 minutes until foamy.
- Mix dry ingredients: In a large bowl, whisk brown rice flour, tapioca starch, potato starch, xanthan gum, and salt. Remove any lumps.
- Combine wet ingredients: In a separate bowl, beat eggs with olive oil. Stir in the activated yeast mixture.
- Create the dough: Slowly add wet to dry. Mix with a sturdy spoon or stand mixer with a paddle. The dough will be sticky but cohesive—this hydration supports softness.
- First rise: Cover with a damp towel or plastic wrap. Rise in a warm, draft-free spot for 45–60 minutes, until nearly doubled.
- Shape rolls: Use wet hands or a spatula to divide into 12 portions. Place on a greased or parchment-lined baking sheet with space for expansion.
- Second rise: Cover loosely. Rise 20–30 minutes while you preheat the oven to 375°F (190°C).
- Prepare for baking: Brush tops with melted butter for shine and flavor.
- Bake: Bake 18–22 minutes until golden and springy.
- Cool & serve: Cool on a wire rack. Serve warm with butter or your favorite spread.
Tips for Success
Small adjustments can fix the two most common gluten-free roll problems: density and dryness. Use these tips to stay on track.
When you notice dough behavior early, you can correct it before baking.
- For fluffier results, skip extra flour. Sticky dough equals proper hydration.
- Use yeast with a fresh expiration date. Old yeast reduces lift and can create a tight crumb.
- Add herbs like rosemary or garlic powder for savory rolls. Mix in small amounts so the dough still rises.
- Make-ahead: freeze shaped rolls before the second rise. Thaw overnight in the fridge, then bring to room temperature and rise before baking.
- If rolls feel dense, slightly increase potato starch by 1–2 tablespoons in your next batch.
Serving Suggestions
These fluffy gluten-free yeast rolls fit right into everyday meals. Serve them with soups, stews, chili, or roasted vegetables for an instant comfort plate.
For extra flavor, brush with herb butter or sprinkle with flaky sea salt right after baking. They also work as a base for small sandwiches.
For more on how bread pairs with meals, see Bread. To understand crust and texture changes during baking, you can also review baking.
To build topical authority and help readers find related methods, add these internal links: Complete Guide to Gluten-Free Baking and Gluten-Free Yeast Bread Techniques.
| Nutrient | Per Roll (approx.) |
|---|---|
| Calories | 120 kcal |
| Protein | 3 g |
| Carbohydrates | 22 g |
| Fat | 3.5 g |
For readers who want more scientific context, yeast and fermentation details can help. Use yeast as a reference, then apply the technique you see in the steps above for your gluten-free dough.
FAQ
What makes fluffy gluten-free yeast rolls rise so well?
The rise comes from active yeast plus full proofing. Warm water helps yeast ferment, and proper second rise lets gas expand before baking. The flour blend supports that gas retention, so the crumb stays light instead of collapsing.
Can I use instant yeast instead of active dry yeast?
Yes. Instant yeast can mix with dry ingredients, but you should still keep the dough temperature in the safe warm range. If you switch yeast types, watch the dough volume during both rises and adjust by 5–15 minutes if needed.
Why do my gluten-free rolls turn dense?
Density usually comes from weak yeast activity, under-proofing, or excess flour. Check that your yeast foams during activation and that the dough nearly doubles in the first rise. Also avoid adding extra flour once you see a sticky but cohesive dough.
How do I store and reheat fluffy gluten-free yeast rolls?
Store rolls airtight at room temperature for up to two days. For longer storage, freeze individually wrapped. Reheat wrapped in foil at 350°F (175°C) for about 5–10 minutes until warm, then serve.
Can I make these rolls vegan?
You can make a vegan version by replacing eggs and butter. Use a flax or chia egg for binding, and swap dairy butter for plant-based butter or oil. Keep the starch blend and yeast steps the same to protect rise and softness.
Closing Remarks
When you build a strong gluten-free flour blend and give yeast enough warm proofing time, fluffy texture becomes repeatable. These rolls show how gluten-free baking can stay soft, light, and genuinely delicious.
Serve them warm, store them correctly, and reheat gently to keep the crumb tender. With each batch, you’ll learn how your dough behaves and how to fine-tune softness for your kitchen.
See also: fluffy gluten-free yeast rolls