
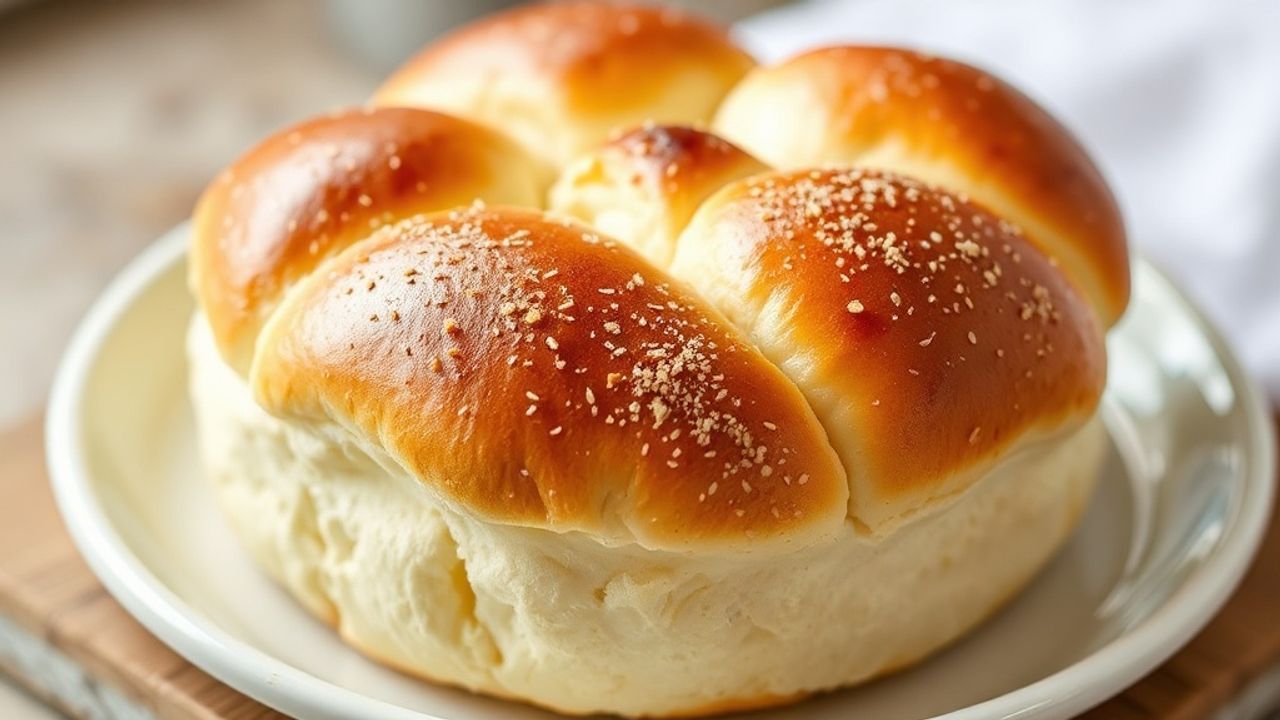
brioche buns deliver a rich, buttery softness that sets bakery rolls apart. This guide gives precise, testable steps for mixing, fermenting, shaping, and baking to reproduce consistent, fluffy brioche buns at home.
- Overview: Why brioche buns rise and stay tender
- Ingredients & Tools for brioche buns
- Technique & Steps for brioche buns
- Tips for Success: Mastering brioche buns
- Serving, storage, and variations
- Common troubleshooting for brioche buns
- Nutrition snapshot
- FAQ
- How do I make brioche buns less sticky?
- Can I use instant yeast instead of active dry?
- What oven tricks improve crust and shine?
- Can I make whole-wheat brioche buns?
- How long can I freeze shaped buns?
- Further reading and references
- Key takeaway: Temperature control and staged butter incorporation yield the tender crumb that defines great brioche buns.
- Time focus: Plan both bulk fermentation and a second proof; active hands-on time is modest but timing affects texture.
- Finish: An egg wash and controlled steam create the shiny, golden crust associated with classic brioche.
- Storage: Chill for flavor development or freeze before the second proof for convenient baking later.
Overview: Why brioche buns rise and stay tender
Brioche buns depend on a rich dough formula—high butter and eggs—balanced with yeast activity to produce a soft, open crumb. The fat coats gluten strands and slows network formation, while eggs add matrix strength and color.
Yeast fermentation produces gas that lightens the dough and develops flavor. Learn more about yeast mechanisms at baker’s yeast to understand why proofing windows matter.
Ingredients & Tools for brioche buns
Use weighed ingredients and room-temperature dairy for predictable dough behavior. We recommend a digital scale; measure flour and butter by weight for repeatable results.
Essential equipment includes a stand mixer with a dough hook, a bench scraper, a proofing container, and an oven thermometer. For a primer on bread varieties and oven basics, consult bread references and our internal bread baking basics guide.
Ingredient list (yields eight 100g buns):
- 400g all-purpose flour
- 2 1/4 tsp active dry yeast
- 50g granulated sugar
- 1 tsp fine sea salt
- 4 large eggs, room temperature
- 120ml whole milk, warmed to 38–43°C
- 170g unsalted butter, softened and cubed
- 1 tbsp milk or egg wash for brushing
Technique & Steps for brioche buns
Successful brioche buns require three controlled stages: mixing, bulk fermentation, and shaping. Each stage has simple, tactile checks that indicate readiness.
Work actively at each step and use sensory cues. The windowpane test and dough temperature tell you more than a timer.
Activate the yeast
Bloom the yeast in warm milk with a pinch of sugar for 5–7 minutes until foamy. This confirms activity without risking heat damage to cells.
Keep milk between 38–43°C to wake the yeast but avoid killing it. For technical context on fermentation and flavor development, see fermentation in food.
Mixing and kneading
Combine flour, salt, eggs, and the yeast liquid then mix on low until a shaggy dough forms and flour hydrates. This first phase encourages protein alignment before adding fat.
Add softened butter gradually in small pieces and knead 8–12 minutes in a stand mixer. Knead until the dough looks smooth, slightly glossy, and passes a windowpane stretch test. For more on gluten chemistry, read gluten.
Bulk fermentation and shaping
Place the dough in a lightly greased bowl and cover; let rise 1.5–2 hours in a warm, draft-free area until roughly doubled. Temperature and salt slow or accelerate this stage.
After bulk rise, gently degas, divide into eight 100g portions, and shape into tight rounds. Proper surface tension helps buns rise up instead of spreading wide during baking.
Second proof and baking
Arrange shaped buns on a parchment-lined tray and proof 45–60 minutes until puffy but not collapsed. The final proof defines internal softness and oven spring.
Preheat the oven to 190°C (375°F). Brush with milk or beaten egg for shine. Place a pan of hot water on the oven bottom for steam and bake 15–20 minutes until deep golden. Rotate trays if needed for even color.
Tips for Success: Mastering brioche buns
Ingredient temperature: Bring eggs to room temperature and warm the milk; cold butter slows mixing and reduces volume. Consistent temperatures yield reliable texture.
Kneading approach: Knead until elasticity develops without overheating the dough. If the dough becomes slack, chill briefly to firm the butter and restore handling control.
For richer flavor, refrigerate the dough overnight after bulk mixing for cold fermentation. This builds complexity while preserving the tender crumb typical of brioche buns.
When shaping, handle the dough gently to retain gas. Excess handling deflates dough and reduces oven spring, which lowers final volume and softness.
Serving, storage, and variations
Brioche buns excel as burger rolls, breakfast sandwiches, or sweet toasts. Warm them briefly before serving to revive aroma and texture.
Cool completely before storing. Wrap tightly and refrigerate up to three days, or freeze before the second proof for up to one month. Thaw overnight in the fridge and proof before baking for best texture.
For a whole-wheat variation, substitute up to 25% of the flour with whole-wheat and increase hydration slightly. Expect a nuttier flavor and slightly denser crumb.

Common troubleshooting for brioche buns
If buns are dense, check yeast freshness, dough temperature, and kneading time. One of these factors is often the root cause.
Tearing instead of stretching indicates underdeveloped gluten or too much fat. Adjust kneading time or chill briefly and reassess to strengthen the network.
Nutrition snapshot
Per bun estimates: ~210 kcal, 6g protein, 26g carbs, and 9g fat. Values vary with ingredient brands and portion sizes.
To reduce sugar or fat, lower sugar modestly or replace part of the butter with neutral oil. Expect texture changes as butter contributes flavor, structure, and crumb tenderness.
FAQ
How do I make brioche buns less sticky?
Chill the dough briefly to firm the butter, which makes shaping easier. Lightly flour your hands and bench, and handle the dough gently to retain gas pockets.
Can I use instant yeast instead of active dry?
Yes. Mix instant yeast directly into the dry ingredients and reduce proofing time slightly. Still rely on dough behavior and visual cues rather than strict timing.
What oven tricks improve crust and shine?
Apply an egg wash for a glossy finish and add steam in the first baking minutes for a more tender crust. Rotate pans if your oven has hot spots to avoid over-browning.
Can I make whole-wheat brioche buns?
Substitute up to 25% whole-wheat flour and increase hydration slightly. Allow a longer rest for full absorption to maintain a softer crumb.
How long can I freeze shaped buns?
Freeze shaped buns before the second proof for up to one month. Thaw in the refrigerator overnight and allow a final proof before baking for best texture.
Further reading and references
For detailed background on brioche history and technique, consult the classic overview at brioche. These references provide technical context and historical notes that support practical baking decisions.
For additional recipes and step-by-step photos, see our internal brioche recipe and refer back to the bread baking basics guide for foundational methods and troubleshooting.
See also: brioche buns