A wedding cake does more than look pretty. It sets the pace for the entire celebration, and every slice should feel light, moist, and balanced. With a gluten-free white cake, you can keep that classic “wedding crumb” while removing gluten-related stress for guests.
- Why Gluten-Free White Cake Feels Different (and How to Fix It)
- Flour Blend Choices for a Bright, White Wedding Cake
- Moisture, Acidity, and Fat: The Tender-Crumb Formula
- Gluten-Free White Wedding Cake Recipe (Two 8-Inch Rounds)
- Ingredients: Tender, Bright, and Wedding-Ready
- Step-by-Step Instructions: From Batter to Perfect Layers
- Step 1: Prep the Pans
- Step 2: Whisk the Dry Mix
- Step 3: Cream Butter and Sugar for Lift
- Step 4: Add Eggs and Vanilla
- Step 5: Alternate Dry Ingredients and Buttermilk
- Step 6: Fold in Yogurt and Honey
- Step 7: Bake and Check Doneness
- Step 8: Cool, Then Chill Before Decorating
- Chef Notes: Troubleshoot Like a Pastry Pro
- Wedding Styling: Frosting Pairings and Clean White Presentation
- Key Takeaways for a Flawless Gluten-Free White Cake
- FAQ: Gluten-Free White Cake for Weddings
At a Glance
- Moisture control matters: yogurt and buttermilk keep the crumb tender and prevent gumminess.
- Structure needs a binder: xanthan gum (or psyllium) supports lift and clean slicing.
- Mixing affects texture: gentle mixing protects air and avoids a dense, heavy center.
- Cooling is non-negotiable: chill layers so frosting stays smooth, not crumbly.
This guide shows you how to bake gluten-free white wedding cake layers that taste like the real deal, not a substitute. You’ll learn what flour blends work best, how to aerate for rise, and how to hit bake timing so the center sets properly.
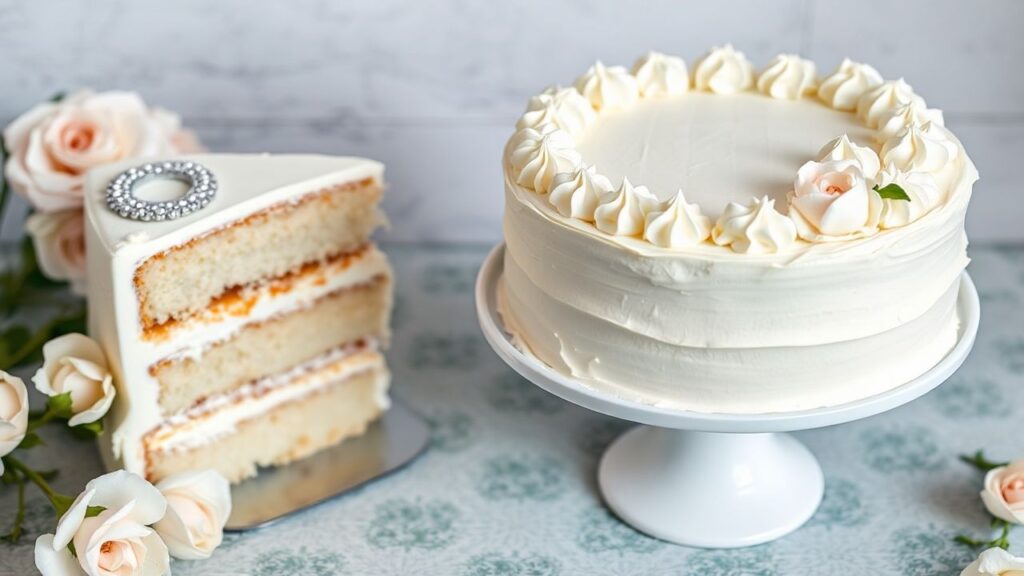
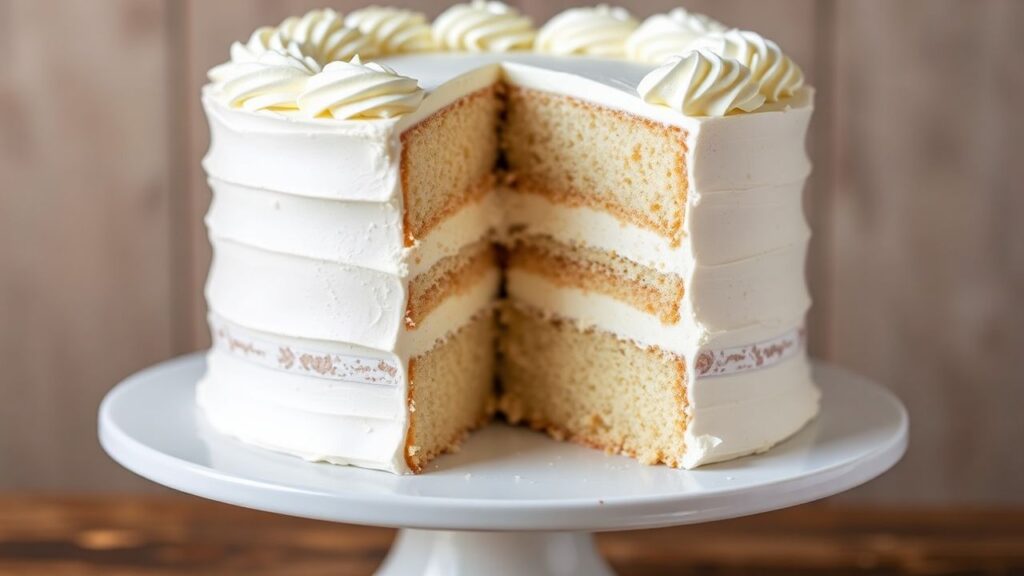
You’ll also get a complete ingredient list and step-by-step instructions for two 8-inch rounds. Follow the process closely, and you’ll end up with neat edges, a bright white finish, and a tender crumb that holds up under buttercream.
Why Gluten-Free White Cake Feels Different (and How to Fix It)
In wheat cakes, gluten forms an elastic network that traps air and shapes the crumb. Gluten-free cake batter uses a different system: starches provide setting while binders hold the structure together as the cake cools.
That’s why “diet-style” gluten-free cakes often taste dry or gummy. If moisture and starch ratios don’t match, the crumb can feel pasty, sticky in the middle, or overly fragile at the edges.
Texture Depends on Starch Set and Binding
Starch granules absorb liquid and swell as the cake bakes. As the cake cools, that starch gel sets and helps the slice hold shape. If you underbake, the center may not set fully, which leads to a gummy feel.
To understand how set happens, review starch. Then tie it to your flour blend choice, because different starches set at different rates and hold moisture differently.
Binders Create Sliceable Structure
Bread-like chew doesn’t belong in a white wedding cake. Instead, you want a tender crumb that slices cleanly, with enough stability for frosting and stacking. Xanthan gum and psyllium both help, but they behave differently.
For a clear reference on xanthan gum, see xanthan gum. Use the binder your recipe specifies so your batter hydrates correctly and your bake timing stays predictable.
Also remember: flour blends should stay consistent batch to batch. If you swap flours without adjusting, your moisture needs and bake time can shift.
Flour Blend Choices for a Bright, White Wedding Cake
White wedding cakes need a blend that bakes evenly and stays pale. Many bakers rely on superfine rice flour plus white starches because they create a softer crumb and a lighter color than blends heavy in brown flours.
Keep your goal simple: fine particles, minimal speckling, and stable structure. When you use a blend designed for cakes, you reduce the guesswork and improve slice consistency.
Build a Light Blend (or Choose One That Performs)
A common approach uses rice flour with tapioca starch and potato starch. Those starches contribute to a tender texture and help the cake set without dryness.
If you want a neutral foundation, check rice flour to see why rice-based flours often keep cakes light. Then test your blend once, so you know how it behaves in your oven.
Avoid “Cookie Blends” for Wedding Layers
Some premixes work well for cookies but don’t perform the same way in tall cake layers. Cookies don’t require the same lift and structure. Wedding cakes need batter that rises, sets, and stays sliceable after cooling.
If your blend already includes a binder, you may not need extra xanthan gum. Always follow the recipe that matches your chosen blend so you don’t over-bind and end up with a gummy texture.
Moisture, Acidity, and Fat: The Tender-Crumb Formula
White wedding cake flavor comes from careful fat and sweetener balance, not heavy browning. For gluten-free cakes, moisture management helps your crumb stay soft without turning sticky.
Buttermilk and yogurt add acidity. That acidity improves tenderness and supports a smooth rise by helping the batter react properly with leavening.
Use Dairy (or a Sound Dairy-Free Substitute)
For the best texture, use room-temperature buttermilk and yogurt. Cold ingredients can cause batter to look split or thick in a way that won’t smooth out during baking.
If you choose dairy-free, use a dairy-free yogurt and a neutral milk plus a measured acid source such as lemon juice. The key is to maintain a similar acidity level and hydration.
If you want a foundation on what leavening agents do, read about leavening agents. It will help you understand why bake timing changes the final texture in gluten-free cakes.
Hydrate Gradually and Watch Batter Feel
Gluten-free batter often looks thicker than wheat batter. That thickness is normal because starches and binders need time to hydrate and form the correct structure.
Mix liquids in gradually and adjust based on batter feel. Don’t chase a thin batter at all costs. For wedding cakes, a thicker, stable batter typically bakes into a cleaner crumb.
Gluten-Free White Wedding Cake Recipe (Two 8-Inch Rounds)
This recipe yields two 8-inch layers designed for a classic wedding-style stack. It bakes evenly and stays sliceable after cooling, which matters when you apply frosting and add decorations.
Plan around chilling time. Gluten-free cakes firm up as they cool, and firm layers protect your crumb when you frost. If you rush this step, buttercream can smear and pull crumbs into the frosting.
Timing and Difficulty
- Preparation: 25 minutes
- Baking: 30–35 minutes
- Cooling: 20 minutes (plus full cooling before frosting)
- Total: About 1 hour 20 minutes
Difficulty: Medium. You’ll get the best result if you measure carefully and mix gently. Avoid overmixing and focus on protecting the crumb during cooling.
Servings
Serves about 12 with elegantly sized slices. This amount works well for a small wedding or a dessert table that includes cupcakes and other treats.
If you plan for a larger guest count, you can scale the recipe to more layers. Keep the bake time similar by using consistent pan sizes.
Ingredients: Tender, Bright, and Wedding-Ready
Use room-temperature eggs and dairy for smoother emulsification. A well-emulsified batter bakes more evenly, which reduces domes and dry edges.
Also, measure dry ingredients by weight when you can. Gluten-free baking depends on ratios. When ratios shift, the center can become under-set or overly dry.
Dry Ingredients
- 2 cups gluten-free flour blend (suggested blend: 40% superfine rice flour, 30% tapioca starch, 30% sweet white sorghum flour)
- 1 ½ tsp xanthan gum (only if your flour blend doesn’t include it)
- 1 ¾ tsp baking powder
- ½ tsp baking soda
- ½ tsp fine sea salt
Wet Ingredients
- ¾ cup buttermilk, room temperature (or dairy-free milk + 1 tsp lemon juice)
- ¾ cup unsalted butter, softened
- 1 cup natural cane sugar (or coconut sugar)
- 3 large eggs, room temperature
- 2 tsp pure vanilla extract
- 1 tsp almond extract (optional)
- ½ cup Greek yogurt (or dairy-free yogurt)
- 1 tbsp honey (or pure maple syrup)
For vanilla and why it tastes better at smaller doses, review vanilla. Quality vanilla helps a white cake taste elegant instead of flat.
Step-by-Step Instructions: From Batter to Perfect Layers
Follow these steps closely for a tender gluten-free white cake with a bright crumb. The biggest variables you can control are aeration, gentle mixing, and cooling.
Before you start, set butter, eggs, and buttermilk on the counter. Then preheat your oven so the batter goes in at the right moment and rises on schedule.
Step 1: Prep the Pans
Preheat the oven to 350°F (175°C). Grease two 8-inch round cake pans and line the bottoms with parchment paper.
Dust the lined pans lightly with a gluten-free flour blend. This extra layer helps release and protects the white crumb when you flip the cakes out.
Step 2: Whisk the Dry Mix
In a medium bowl, whisk flour blend, xanthan gum (if needed), baking powder, baking soda, and salt. Whisk for 20–30 seconds so the leaveners distribute evenly.
Set the dry mix aside. Even distribution reduces speckling and prevents pockets of unmixed starch that can bake into gummy centers.
Step 3: Cream Butter and Sugar for Lift
Beat softened butter and sugar on medium speed for about 3–4 minutes. Stop when the mixture looks lighter and smoother.
This aeration helps the cake rise, which matters in gluten-free batters where structure alone doesn’t trap as much air. You build lift through both chemistry and mixing.
Step 4: Add Eggs and Vanilla
Add eggs one at a time, mixing well after each addition. Then mix in vanilla and almond extract if you’re using it.
The batter may look thick. That’s expected in gluten-free cake formulas, and thick batter usually indicates the starches and binder can set correctly.
Step 5: Alternate Dry Ingredients and Buttermilk
Add dry ingredients and buttermilk in three additions, starting and ending with dry. Mix on low speed just until combined.
Overmixing can make gluten-free cakes tougher, because starch and binders can tighten too much. Keep mixing short and controlled for the tender crumb you want.
Step 6: Fold in Yogurt and Honey
Fold in yogurt and honey gently using a spatula. Use slow, deliberate folds so you don’t knock out the air you built during creaming.
This step keeps the crumb tender and helps the cake bake evenly through the center.
Step 7: Bake and Check Doneness
Divide batter evenly between pans and smooth the tops. Bake for 30–35 minutes, keeping the oven door closed as much as possible.
Test with a toothpick in the center. It should come out clean or with a few moist crumbs, not wet batter. The edges should pull slightly away from the pan.
Even ovens vary, so start checking at minute 28. If your centers seem pale or soft, bake closer to 35 minutes rather than pulling early.
For a quick reference on how sugar supports moisture and color, read about sugar. It helps explain why the crumb stays moist and why the cake looks bright after baking.
💡 Expert Insight
Expert Insight: For the cleanest “white” crumb, use a blend with superfine rice flour plus white starches, and stick to clear, quality vanilla. Also keep your pans on the same oven rack position each time so browning stays consistent.
Step 8: Cool, Then Chill Before Decorating
Cool the cakes in the pans for about 10 minutes. Turn out onto a wire rack and cool completely before frosting.
If you plan to stack and decorate, chill the layers briefly once fully cooled. Firm layers resist smearing and help you achieve sharp edges under buttercream.
In hot weather, refrigeration also helps your frosting behave. If your buttercream feels loose, chill it until it thickens slightly.
Chef Notes: Troubleshoot Like a Pastry Pro
Gluten-free baking reacts to flour brand and room conditions. Humidity, ingredient temperature, and pan material can all change how much liquid the starches absorb and how fast the cake sets.
Use these adjustments to get repeatable wedding-level layers.
- Flour blend tip: Choose superfine rice flour and white starches for a smoother crumb. If your flour tastes gritty, switch brands instead of adding more liquid.
- Moisture balance: Yogurt and buttermilk improve tenderness. If your cake turns gummy, reduce liquid slightly next time and bake a minute longer.
- Sweeteners: Honey and maple add moisture, but they can darken more than plain sugar. Keep your flour blend and extracts as your main “white” controls.
- Binder level: Xanthan gum supports sliceability. For this blend, 1 ½ tsp works well, but don’t double it unless your recipe states it.
- Make-ahead: Bake up to 2 days ahead, cool fully, wrap tightly, and refrigerate. Frost after bringing layers to a workable temperature.
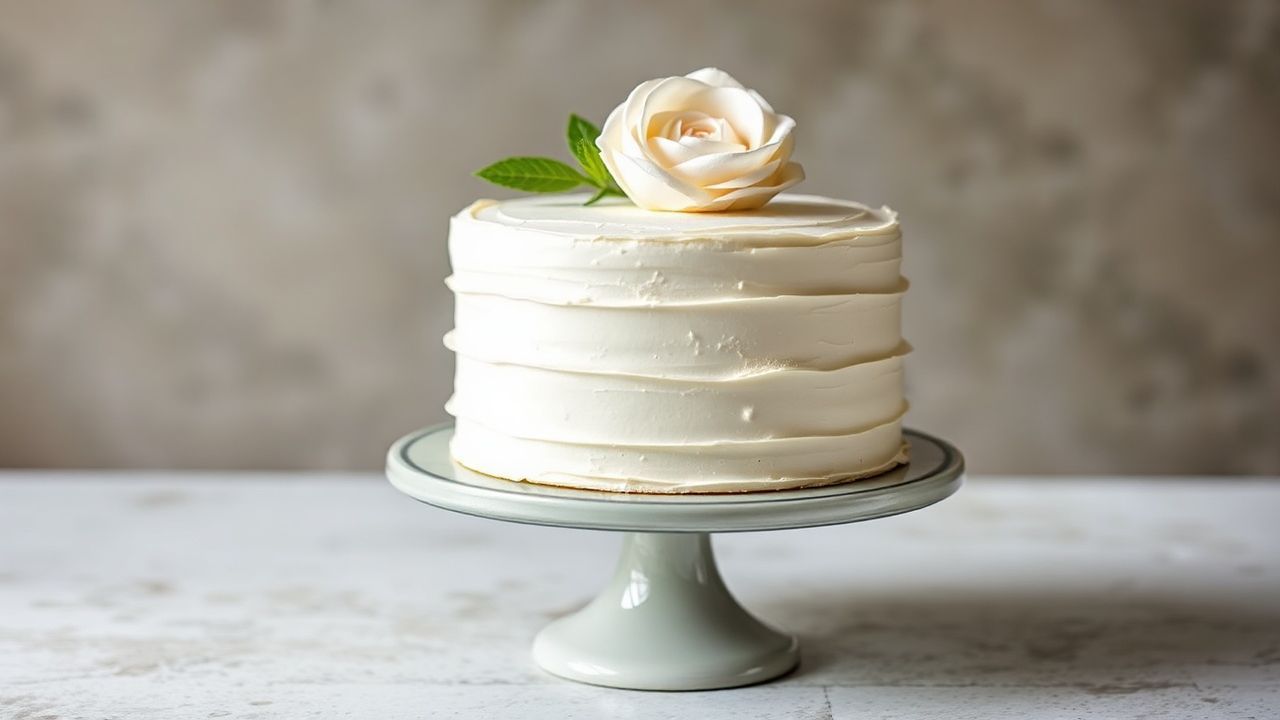
Wedding Styling: Frosting Pairings and Clean White Presentation
A wedding cake should look intentional, not “covered to hide flaws.” The best results come from smooth frosting that seals the crumb without pulling it apart.
Choose a frosting that matches your style. A Swiss meringue buttercream gives a silky finish, while a whipped coconut cream works for dairy-free weddings.
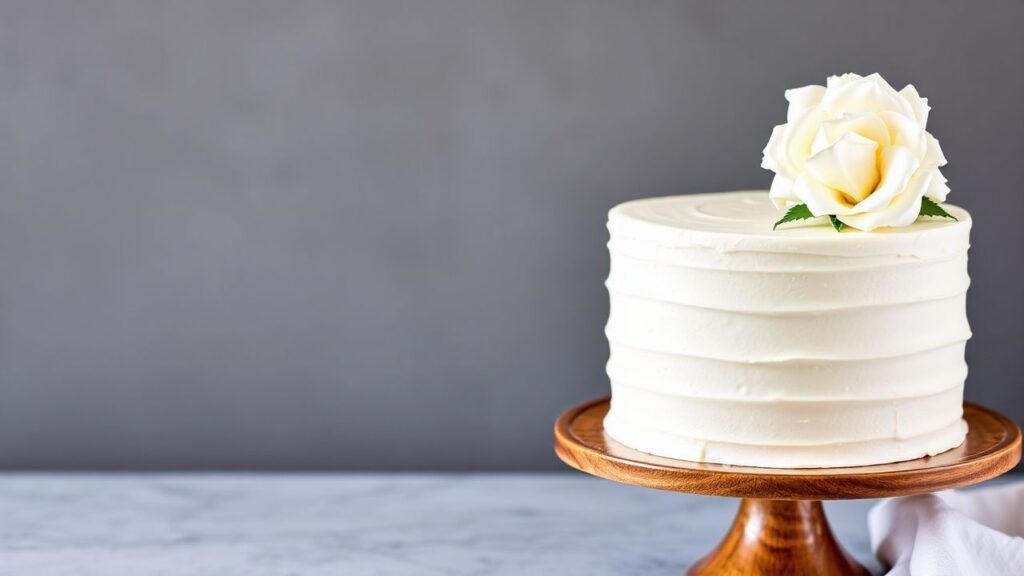
Decorate Small and Even
Keep decorations simple for a true white cake. Even spacing looks more polished than heavy clusters that can drag the frosting texture.
Edible flowers and white chocolate shards add contrast and visual height without overwhelming the tender crumb underneath.
If you need gluten-free context for safety planning and cross-contact awareness, review celiac disease. That background helps explain why the recipe must stay truly gluten-free from start to finish.
| Nutrient | Per Serving |
|---|---|
| Calories | 320 kcal |
| Protein | 5 g |
| Carbohydrates | 38 g |
| Fat | 16 g |
Key Takeaways for a Flawless Gluten-Free White Cake
Wedding baking rewards precision. When you match your flour blend, hydrate the batter properly, and bake until the center sets, a gluten-free white cake can taste like a true wedding centerpiece.
Keep your frosting schedule realistic, cool layers fully, and maintain steady oven timing. With those habits, your cake will hold clean edges and a tender crumb that everyone can enjoy with confidence.
Wedding-ready checklist
- Measure accurately for sliceable structure.
- Mix gently to keep the crumb light.
- Cool fully before frosting to prevent smearing.
- Stick to timing so the center sets, not sinks.
FAQ: Gluten-Free White Cake for Weddings
Can I make this gluten-free white cake ahead of time?
Yes. Bake the layers up to 2 days ahead, cool completely, wrap tightly, and refrigerate. Frost after the cake returns to a workable temperature so your buttercream spreads smoothly.
If you freeze, cool fully first, then wrap well. Thaw in the refrigerator overnight for best texture.
Why does my gluten-free cake turn gummy in the center?
Most gummy centers come from underbaking or too much liquid for your specific flour blend. Bake closer to 35 minutes and test with a toothpick for moist crumbs, not wet batter.
Also avoid overmixing and confirm your binder level. Extra moisture plus insufficient set leads to that sticky middle.
How do I keep the cake from browning too much?
Use a white-leaning flour blend and avoid sugary toppings before baking. Keep your oven stable at 350°F (175°C) and don’t extend bake time beyond what the toothpick test indicates.
If your oven runs hot, reduce temperature by 10°F (about 5°C) and check a few minutes earlier.
Should I use xanthan gum or psyllium husk?
Xanthan gum often creates a softer, sliceable crumb in white cake recipes. Psyllium can work, but it hydrates differently and may change texture, so use it only if your recipe developed for psyllium.
Hydration matters. If you switch binders, you usually need a formula adjustment, not a simple 1:1 swap.
Can I decorate this cake like a traditional wedding cake?
Yes, but chill the layers before frosting so they handle cleanly. A smooth crumb helps fondant and piping look neat, and Swiss meringue buttercream supports a polished finish.
Apply a thin crumb coat first, chill briefly, then add the final layer for the cleanest white look.
See also: gluten-free white cake