

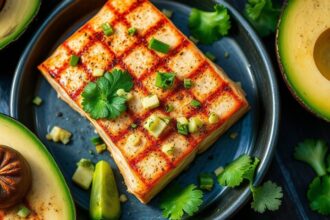
Imagine a crepe that tastes bright, nutty, and lightly sour, then snaps with a crisp edge. That’s the heart of crispy tangy dosa, a South Indian batter made from fermented lentils and rice. Fermentation builds flavor and texture, so the batter cooks into a golden, lacy crunch.
- Crispy Tangy Dosa: What Makes It Taste Bright and Crisp?
- Prep and Cook Time
- Yield and Difficulty
- Ingredients for Crispy Tangy Dosa
- Instructions: How to Make Crispy Tangy Dosa Batter and Cook Dosas
- Step 1: Soak the Ingredients
- Step 2: Grind the Lentil Batter
- Step 3: Grind the Rice Mix
- Step 4: Combine and Ferment
- Step 5: Adjust Batter Consistency
- Step 6: Heat the Pan Correctly
- Step 7: Spread the Dosa Thin
- Step 8: Cook Until Golden and Crisp
- Step 9: Serve Immediately
- Tips for Success (Crispness + Tang Control)
- Serving Suggestions for Crispy Tangy Dosa
- Nutrition Snapshot
- FAQ
At a Glance — Key Takeaways
- Ferment for tang: Warm, breathable fermentation creates the sour aroma that signals readiness.
- Thin spread = crisp: Spread batter fast and thin so it sets before it steams.
- Hot pan matters: A well-heated skillet drives quick browning and crispness.
- Right rice helps: Parboiled rice or idli rice improves crisp-yet-pliable results.
This crispy tangy dosa centers on a simple method: soak, grind, ferment, then cook on a hot pan with a light oil coat. You’ll also learn how to control batter thickness so the crepe stays tender inside while the edges turn crisp. For background on fermentation chemistry, see fermentation.
Traditional dosa batter relies on microbial activity to develop acidity and aroma. Those acids help the flavor taste “tangy,” while gas and batter structure help create the classic thin, lacy texture. For an overview of how yeast and bacteria work in food, read lactic acid bacteria.
Crispy Tangy Dosa: What Makes It Taste Bright and Crisp?
A crispy tangy dosa stands out because the batter ferments before it ever hits the pan. During fermentation, microbes break down parts of the batter, which changes both flavor and cooking behavior. The result tastes gently sour and smells aromatic, not “yeasty.”
Then, cooking finishes the job. When you spread a thin layer on a hot skillet, water evaporates quickly and starches set fast. That quick set helps the crepe brown and crisp along the edges while the center stays soft enough to fold.
If you want a useful science anchor, start with starch. Starch gelatinization and drying affect how crispness forms in batter-based foods. You’ll see the same idea in many rice and grain crepes worldwide.
To understand why acidity shapes flavor, review acidity. In dosa batter, the “tang” comes from organic acids produced during fermentation, not from added lemon juice. That’s why a properly fermented batch tastes clean and balanced.
Also keep in mind that different grinders and climates change results. A high-powered blender may foam less than a wet grinder, which can slightly affect texture. Your goal stays the same: a smooth, airy batter for thin spreading and even browning.
Prep and Cook Time
Planning time matters because dosa batter needs fermentation. Most people get consistent tang when they follow a soak-and-ferment rhythm, then cook the dosas right after the batter ripens.
- Planning: 12 hours (soaking + fermentation)
- Active Cooking Time: 20–30 minutes
Yield and Difficulty
This recipe makes enough for family-style serving. You can also store extra batter and cook fresh dosas later.
- Yield: Serves 4–6
- Difficulty Level: Medium (requires fermentation and careful heat control)
Ingredients for Crispy Tangy Dosa
Use simple pantry staples. Measure carefully at first, then fine-tune once you know your grinder and climate.
For accurate ratios, focus on the batter’s feel after fermentation: it should flow easily yet stay thick enough to spread without pooling.
- 3/4 cup split urad dal (black gram), rinsed
- 1 1/4 cups raw white rice (idli rice or parboiled rice), rinsed
- 1/4 cup poha (flattened rice), rinsed
- 1 teaspoon fenugreek seeds
- 1 1/2 teaspoons salt, or to taste
- Water (for soaking, grinding, and batter adjustment)
- Vegetable oil or ghee for cooking
Instructions: How to Make Crispy Tangy Dosa Batter and Cook Dosas
Follow the steps in order. Fermentation builds tang, while grinding and pan heat build crispness. Skip ahead and you’ll likely miss the “snap.”
Let’s make it step by step.
Step 1: Soak the Ingredients
Soak urad dal with fenugreek seeds in one bowl, and soak rice with poha in another bowl. Cover well and soak for at least 8 hours, preferably overnight.
Soaking softens the grains and helps grinding create a better texture. It also supports consistent fermentation because the microbes get access to a hydrated batter.
Step 2: Grind the Lentil Batter
Drain the urad dal. Grind it with a little water until smooth and fluffy. The batter should look airy, with a light texture rather than thick paste.
If you’re using a blender, grind in short pulses to avoid overheating. Overheating can affect batter texture and fermentation pace.
Step 3: Grind the Rice Mix
Grind the rice and poha until you get a slightly coarse paste. You don’t want flour-smooth like the lentil batter; a gentle grain helps crisp formation.
This rice texture supports rapid evaporation during cooking. That evaporation speed contributes to crispy lacy edges in the final crispy tangy dosa.
Step 4: Combine and Ferment
Combine lentil batter and rice batter in a large bowl. Add salt after fermentation ripens, not before. Cover the bowl with a breathable cloth and keep it in a warm place for 8–12 hours.
Look for bubbles and a mild sour aroma. Fermentation time varies by kitchen temperature, so judge by aroma and activity rather than clock alone.
Step 5: Adjust Batter Consistency
After fermentation, stir gently. Add water a little at a time until batter flows but remains thick enough to spread easily.
Think of pancake-thickness with pourable control. If it runs, dosas will spread too fast and may turn thin and dry. If it’s too thick, the center won’t set into crisp layers.
Step 6: Heat the Pan Correctly
Use a cast iron skillet or a well-seasoned non-stick pan. Heat it over medium-high until it’s hot enough to sizzle a few drops of water quickly.
A hot pan encourages immediate setting and browning. That’s the key step behind crispy edges.
Step 7: Spread the Dosa Thin
Pour a ladle of batter into the center. Spread quickly in a circular motion using the back of the ladle, aiming for a thin, even layer.
Work fast because the pan heat starts cooking instantly. If you pause, the batter can stick and cook unevenly.
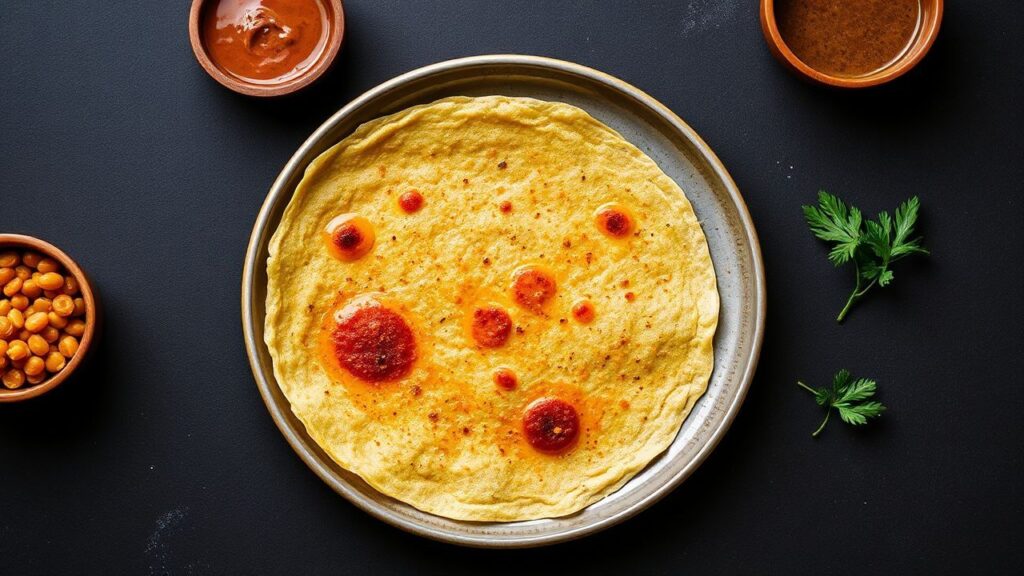
Step 8: Cook Until Golden and Crisp
Drizzle a few drops of oil or ghee around the edges. Cook until the underside turns deep golden and crisp, usually about 2–3 minutes.
Avoid flipping. Many dosa styles rely on one-side crisping for the classic lacy crunch and clean fold.
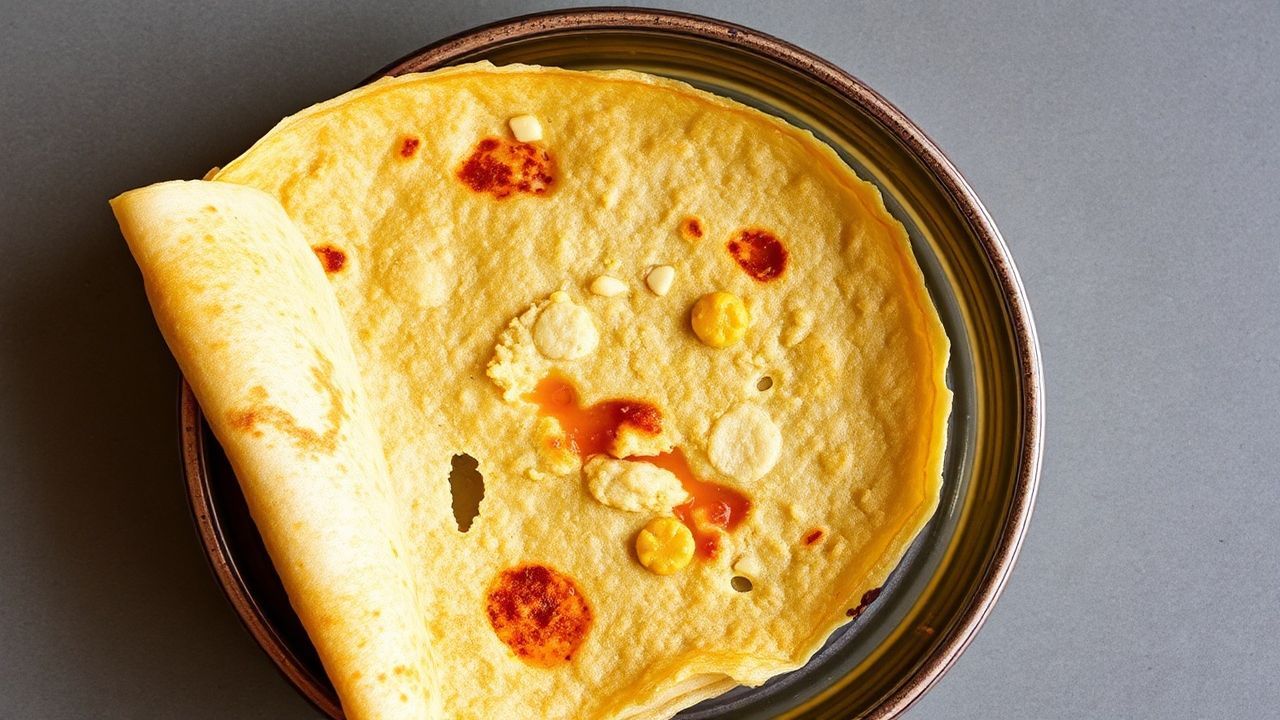
Step 9: Serve Immediately
Lift the dosa gently with a spatula and place it on a plate. Serve right away for the best crisp texture and tangy taste.
If you stack them, the steam can soften the edges. Keep a light cover if needed, then serve promptly.
Tips for Success (Crispness + Tang Control)
Small adjustments can change everything. Use these tips to diagnose issues fast, and then repeat the winning version.
- Rice selection: Use idli rice or parboiled rice for better starch behavior and crisp-yet-pliable results.
- Fermentation environment: If your kitchen is cool, keep batter in a warm spot. Watch bubbles and aroma, not just time.
- Batter consistency: Too thin batter tears; too thick batter turns dense. Adjust water in small steps.
- Pan care: Keep cast iron seasoned. For non-stick, use a light oil coat to prevent uneven browning.
- Make-ahead batter: Refrigerate up to 3 days. Stir before use. Longer storage can increase sourness.
For more on how grains behave in cooking, you can reference rice and its starch properties. That helps explain why rice type affects crispness and texture.
When tang feels too strong, you can ferment for a shorter time next batch or refrigerate earlier. When tang feels weak, give the batter more warm time until bubbles and aroma match your preference.
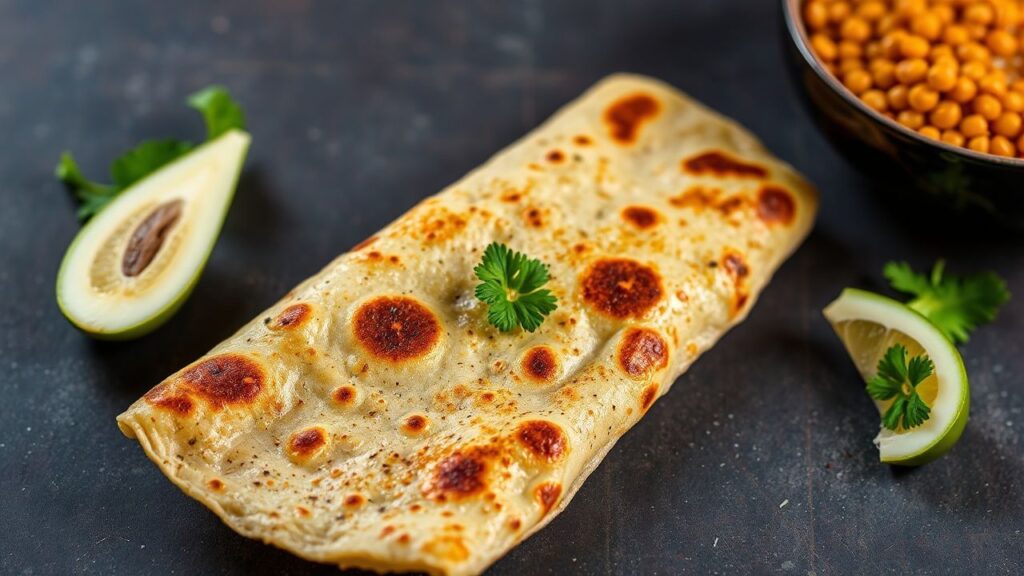
Serving Suggestions for Crispy Tangy Dosa
Pairing shapes the whole eating experience. A tangy dosa loves chutneys and sides that balance sourness with salt, heat, and fresh aromatics.
Classic options include coconut chutney, tomato chutney, and sambar. Add a sprinkle of chopped coriander for brightness and finish with a small spoon of ghee if you want extra aroma.
For variety, try a yogurt-based dip with cumin and mint. For a more filling meal, serve dosa with spiced potato masala or mixed vegetable curry. If you want to learn more about fermented dairy culture, visit yogurt for background on why it pairs well with spicy, tangy foods.
To keep the dosa experience crisp, serve hot and eat soon after cooking. Crisp edges soften fast as steam rises, so plan your cooking flow: cook chutneys first, then cook dosas last.
Nutrition Snapshot
Calories vary by portion size and how much oil or ghee you use. The numbers below assume a moderate oil coat and a typical 1-dosa serving size.
Use this table as a general guide, not a medical measurement. For deeper dietary context, consider nutrition.
| Nutrient | Per Serving (1 dosa) |
|---|---|
| Calories | 140 kcal |
| Protein | 5 g |
| Carbohydrates | 25 g |
| Fat | 3 g |
FAQ
Below are common questions people ask when making crispy tangy dosa. Use these answers to troubleshoot quickly and improve your results.
1) What makes dosa different from other crepes or pancakes?
Dosa relies on a fermented batter made from lentils and rice. That fermentation creates tang and a light batter structure, so the dosa cooks into a crisp, lacy texture instead of a flat, thick pancake.
2) Why is fermentation crucial for tangy flavor and crispness?
Fermentation develops acidity and aroma. It also changes batter behavior during cooking, helping create a porous structure that crisps well on the skillet.
3) Can I make crispy tangy dosa without soaking and fermenting?
You can make a faster version, but it won’t match the classic tang and texture. Soaking helps grinding and fermentation, while ripening builds the flavor profile that defines crispy tangy dosa.
4) How long can I refrigerate dosa batter?
Refrigerate dosa batter for up to 3 days for best results. Keep it covered and stir before use. If it smells very sour, reduce fermentation time next batch.
5) Why does my dosa tear or turn dense?
Most tearing comes from batter that’s too thick or from spreading too slowly on an insufficiently hot pan. Dense dosas usually result from under-fermentation or batter that’s too heavy. Adjust heat, spread speed, and consistency first.
When you nail fermentation and cooking heat, crispy tangy dosa delivers a memorable combination: tangy flavor, crisp edges, and a tender center that folds cleanly. Cook in small batches, learn your batter feel, and you’ll make restaurant-style dosas at home.
See also: crispy tangy dosa