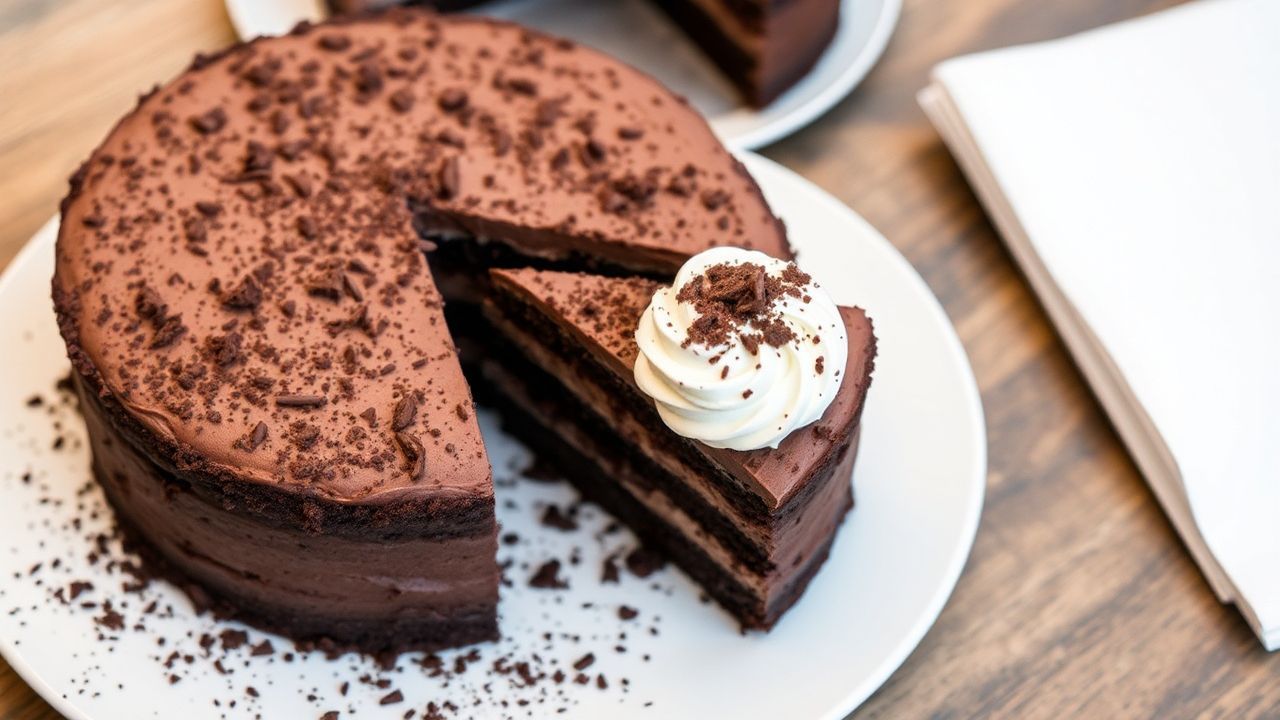
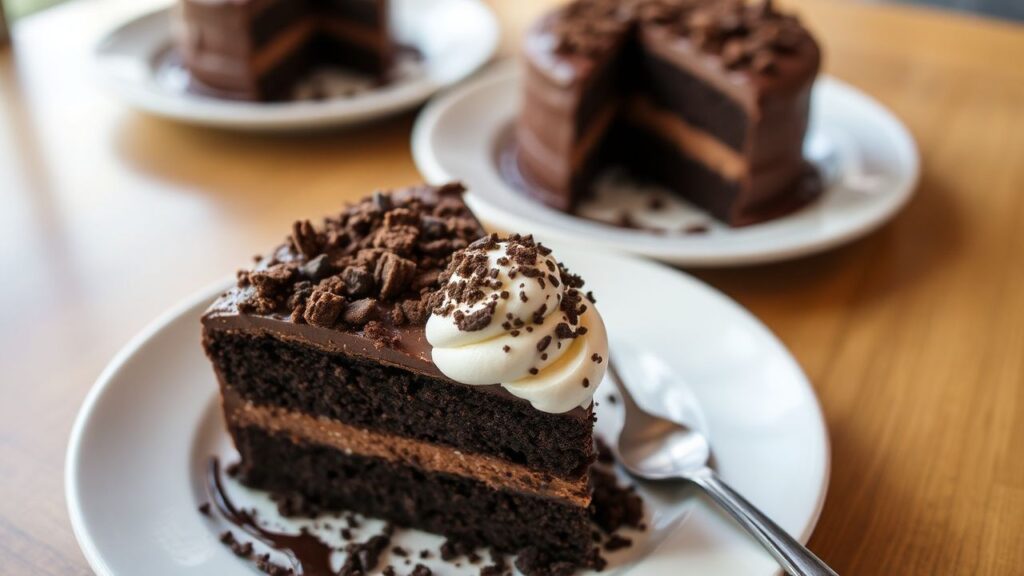
Brooklyn Blackout Chocolate Cake delivers a classic New York style dessert with bold cocoa flavor, moist cake layers, and a rich pudding filling. The signature “blackout” look comes from a thick coating of chocolate crumbs that turns every slice dark, glossy, and unmistakable.
- What Makes Brooklyn Blackout Chocolate Cake So Decadent?
- Prep and Cook Time
- Yield and Difficulty
- Ingredients for Brooklyn Blackout Chocolate Cake
- Instructions: Build the Layers Step by Step
- Tips for Success (Texture, Timing, and Flavor)
- Serving Suggestions
- Where to Taste a Brooklyn Blackout Cake (Without Baking)
- Q&A: Brooklyn Blackout Chocolate Cake
- What is a Brooklyn Blackout Chocolate Cake?
- What makes it different from other chocolate cakes?
- Can I make Brooklyn Blackout Chocolate Cake at home?
- What kind of chocolate works best?
- How do I get the perfect texture?
- Key Takeaways
- FAQ
At a Glance
- Key flavor: dark chocolate pudding with a cocoa-forward finish.
- Key texture: tender cake layers plus crumb coating for contrast.
- Key method: chill the pudding so it layers cleanly.
- Key timing: cooling and resting make the cake slice beautifully.
In many households, this cake stands for Brooklyn’s love of layered, bakery-style desserts. It pairs cocoa bitterness with a sweet, creamy middle so each bite tastes deeper than plain chocolate cake.
For the best results, treat Brooklyn Blackout Chocolate Cake like a system: bake evenly, cook the pudding until thick, then build while the filling holds its shape. If you rush one step, the layers may slide.
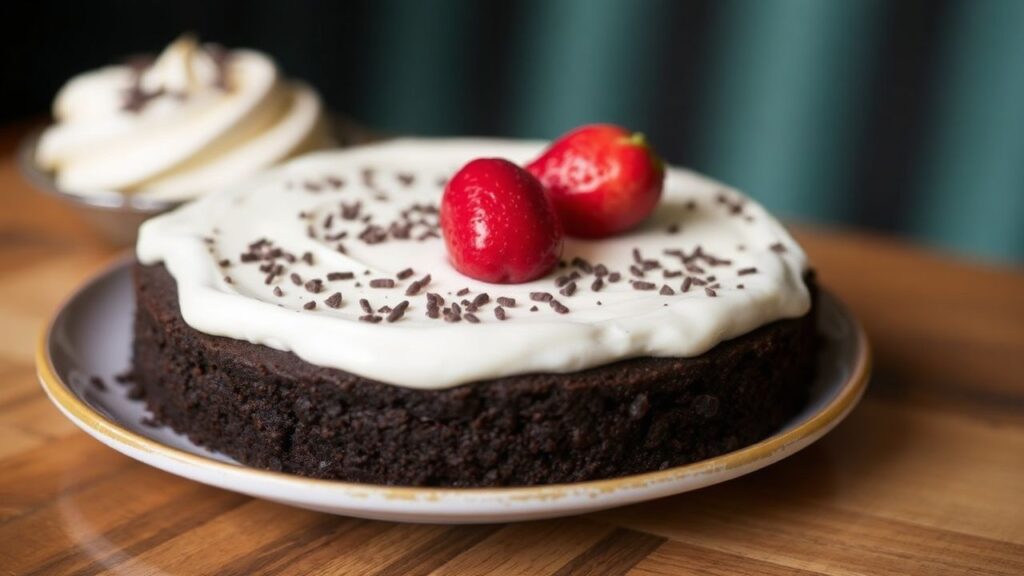
Brooklyn Blackout Chocolate Cake is known for its dense, chocolate-forward crumb and thick pudding layers. Bakers typically flavor both the cake and the filling with cocoa and then finish with cake crumbs or chocolate crumbs for a dramatic, “blackout” surface.
The pudding acts like a custard-style layer that stays creamy at serving time. If you cook it to the right thickness, it supports the stack and helps each slice hold together.
What Makes Brooklyn Blackout Chocolate Cake So Decadent?
Start with the flavor profile. Dark cocoa powder brings a deep, slightly bitter taste, and melted chocolate adds a smooth chocolate aroma. Together, they create the “punch” many chocolate lovers seek.
Next, focus on contrast. The cake layers feel tender and moist, while the pudding layer feels silky. Then the crumb coating adds a dry, crunchy bite that makes the dessert feel more complex than a simple frosted cake.
Classic pudding relies on thickening agents and controlled heat. Cornstarch, for example, thickens by gelatinizing starch granules, which helps the filling set cleanly after cooling. See the basics in cornstarch.
For cocoa flavor, Dutch-processed cocoa often tastes deeper and less acidic than natural cocoa. You can learn more about cocoa processing at cocoa processing.
Prep and Cook Time
Planning: 30 minutes
Cooking: 35 minutes
- Cooling and Assembling: 2 hours
Use the extra time to chill the pudding and cool the cake layers. This step helps the filling spread without turning runny.
Yield and Difficulty
Yield: serves 10–12 slices.
Difficulty Level: Medium. You need steady baking timing and careful layering.
To keep the build clean, you’ll slice cake layers evenly and assemble in layers that stay flat. That’s why chilling matters.
If you want a reference for even baking and pan behavior, check cake for general structure and baking principles.
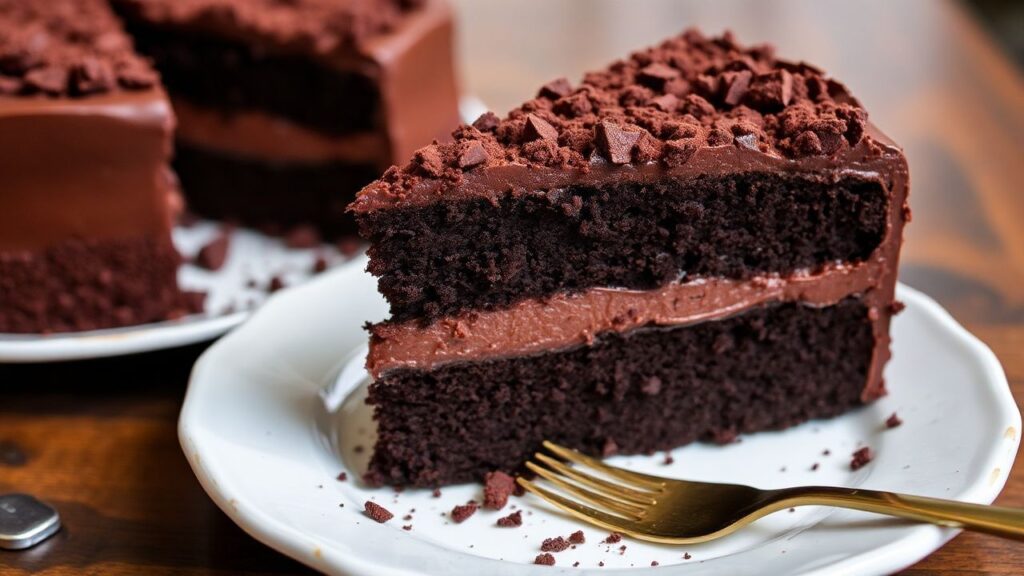
Ingredients for Brooklyn Blackout Chocolate Cake
Use fresh ingredients and measure by weight when possible. Cocoa and flour can vary by brand, and small differences affect moisture.
- 2 cups all-purpose flour, sifted
- 2 cups granulated sugar
- 3/4 cup unsweetened cocoa powder (Dutch-processed preferred)
- 1 1/2 tsp baking powder
- 1 1/2 tsp baking soda
- 1 tsp fine sea salt
- 1 cup whole milk, room temperature
- 1/2 cup vegetable oil (neutral-flavored)
- 2 large eggs, room temperature
- 2 tsp pure vanilla extract
- 1 cup boiling water
- For the fudge glaze and pudding:
- 1 1/4 cups heavy cream
- 8 oz bittersweet dark chocolate, finely chopped
- 3/4 cup whole milk
- 1/3 cup granulated sugar
- 3 tbsp unsweetened cocoa powder
- 4 tbsp cornstarch
- Pinch of salt
- Optional garnish: fresh raspberries, shaved dark chocolate, or chocolate curls
For a quick overview of why chocolate melts smoothly, see chocolate. Proper chopping also helps melting stay glossy.
Instructions: Build the Layers Step by Step
Preheat and prep first. Once you start cooking the pudding, keep your workflow moving so the filling thickens evenly.
- Preheat your oven to 350°F (175°C). Butter and flour three 8-inch round cake pans. Or line with parchment for clean release.
- Whisk the dry ingredients. In a large bowl, whisk flour, sugar, cocoa powder, baking powder, baking soda, and salt until uniform.
- Mix in wet ingredients. Add milk, vegetable oil, eggs, and vanilla. Beat on medium for about 2 minutes until smooth.
- Thin the batter with boiling water. Stir in the boiling water slowly. The batter will look thin, and that’s normal for a moist chocolate crumb.
- Bake evenly. Divide batter into pans. Bake 30–35 minutes, until a toothpick in the center comes out clean.
- Cool correctly. Cool cakes in pans for 15 minutes. Then invert onto wire racks and cool completely.
- Cook the chocolate pudding layer. In a saucepan, whisk milk, sugar, cocoa powder, cornstarch, and salt over medium heat until smooth and thick (about 5–7 minutes). Remove from heat and stir in chopped dark chocolate until melted and glossy.
- Chill to set. Cover and chill in the fridge until cool, thick, and spreadable. It should hold its shape between cake layers.
- Whip for body. Whip heavy cream to soft peaks. Fold about one-third into the cooled pudding to lighten it. Keep the rest for frosting.
- Slice and stack. Slice each cake layer horizontally to create six thin layers total. Assemble by alternating cake and pudding mixture, then finish with whipped cream on top and sides.
- Finish and rest. Chill the assembled cake for at least 2 hours so flavors meld and the crumb coating sets firmly.
For best slice stability, use a chilled knife and wipe between cuts. That prevents crumbs from smearing across the pudding layers.
[TIP]Expert Insight:
When you whisk the pudding base, whisk constantly during heating. This prevents cocoa lumps and helps the cornstarch thicken evenly, which improves layer texture.
Also, keep your cake layers level. If one pan domes, trim lightly so the pudding spreads in an even band.
[WARNING]Pro-Caution:
Don’t overbake the cake to “dry it out.” Overbaked layers fight moisture and make the final crumb feel tough instead of tender.
After mixing, check your oven calibration if you bake often. Even a small temperature drift can change bake time by a few minutes.
Tips for Success (Texture, Timing, and Flavor)
Use a cake leveler or a serrated knife for even slices. Evenness matters because uneven layers create gaps where pudding can seep.
Choose quality Dutch-processed cocoa powder and bittersweet chocolate for the richest taste. These ingredients carry stronger cocoa notes and a cleaner chocolate finish.
- Cool cakes fully before slicing to prevent crumb tearing.
- Bring eggs and milk to room temperature for smoother batter.
- If you want stronger cocoa intensity, use a small amount of brewed coffee in place of part of the liquid.
- Prepare pudding up to a day ahead and chill overnight for easier assembly.
For chocolate texture, keep in mind that cocoa and chocolate form a structured matrix as they cool. This helps the pudding and frosting hold shape. See background at Chocolate.
Serving Suggestions
Serve Brooklyn Blackout Chocolate Cake chilled to keep the layers firm, then let it sit 10–15 minutes before cutting. That short wait softens the crumb and improves flavor.
Present slices on white plates so the dark coating contrasts with garnish. A dusting of cocoa, a few raspberries, or a light chocolate curl turns the dessert into a ready-to-share centerpiece.
Pair it with a simple scoop of vanilla ice cream or freshly whipped cream. If you like contrast, add berries for bright acidity.
| Nutrient | Per Serving (1 slice) |
|---|---|
| Calories | 450 kcal |
| Protein | 6 g |
| Carbohydrates | 55 g |
| Fat | 22 g |
Where to Taste a Brooklyn Blackout Cake (Without Baking)
If you want to compare your homemade version with bakery-style texture, look for local bakeries that sell layered chocolate cakes or “blackout” style desserts.
Use the flavor benchmarks you care about: thick crumb coating, creamy pudding consistency, and a moist cake base. Then adjust your pudding thickness and bake timing next time.
For broader background on regional desserts and cake styles, browse cake and dessert.
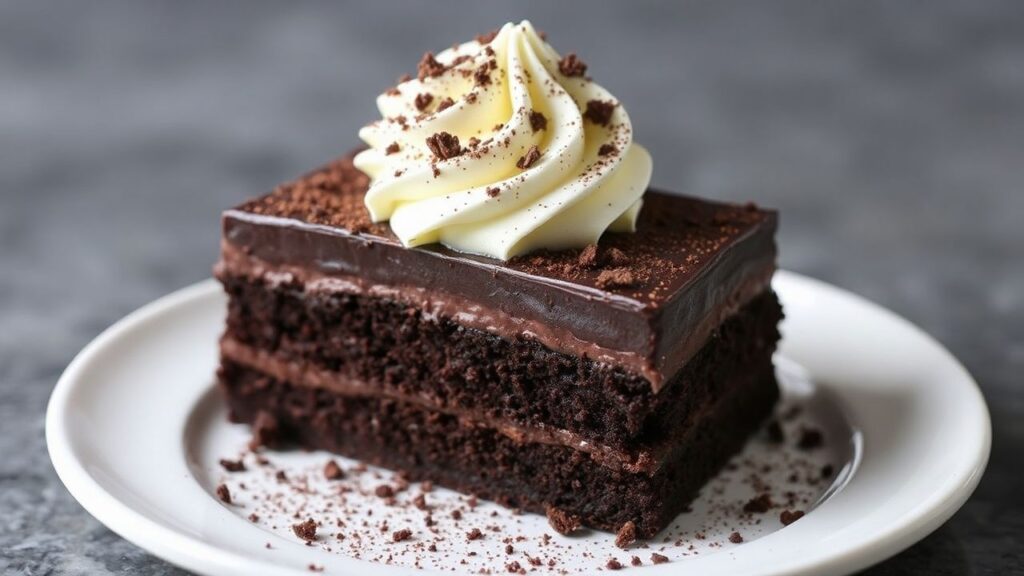
Q&A: Brooklyn Blackout Chocolate Cake
What is a Brooklyn Blackout Chocolate Cake?
Brooklyn Blackout Chocolate Cake is a layered chocolate dessert known for a rich cocoa flavor and a creamy pudding filling. Its defining look comes from a thick crumb-style topping that darkens the surface.
The goal stays the same in every variation: moist cake, pudding-like filling, and a bold chocolate finish. For general chocolate background, see Chocolate.
What makes it different from other chocolate cakes?
Many chocolate cakes focus on one texture, such as frosting or ganache. Brooklyn Blackout emphasizes layered cake plus a custard-style pudding filling, then adds a crumb coating for contrast.
That combo creates a more complex bite: creamy middle, tender crumb, and a darker crust-like finish on top.
Can I make Brooklyn Blackout Chocolate Cake at home?
Yes. You can make it at home with baked chocolate cake layers and a pudding filling thickened until spreadable. Then you chill before serving so slices stay neat.
Plan for time. Chilling does more than cool the cake; it helps the filling set so the layers don’t collapse.
What kind of chocolate works best?
Use bittersweet dark chocolate for a balanced flavor. It brings cocoa depth without making the dessert taste purely sweet.
Also, use cocoa powder you like. Dutch-processed cocoa often gives a smoother, darker tone. Learn more via cocoa processing.
How do I get the perfect texture?
Cook the pudding until thick, then chill until it turns spreadable, not watery. Over-thick pudding can feel heavy, while under-thick pudding can seep between layers.
For the cake layers, avoid overbaking and let them cool fully before slicing. That keeps the crumb tender and prevents cracks.
Key Takeaways
Brooklyn Blackout Chocolate Cake stands out because it balances three textures: tender chocolate cake, creamy pudding filling, and a dark crumb-style finish. When you cook the filling to the right thickness and chill it, you get clean slices and rich flavor in every bite.
- Cook pudding thick for stable layers.
- Chill so the crumb and filling set properly.
- Slice cake evenly for a smooth build.
- Serve slightly chilled for best texture.
If you follow these steps, you’ll taste the classic “blackout” style right at home. It’s a dessert that feels special, yet it still relies on straightforward baking fundamentals.
FAQ
How long does Brooklyn Blackout Chocolate Cake last?
Store it in the refrigerator for up to 3 days in an airtight container. Chilling keeps the pudding layer stable and helps the crumb stay intact.
For best texture, let slices sit at room temperature for 10–15 minutes before serving.
Can I freeze Brooklyn Blackout Chocolate Cake?
You can freeze individual slices for best results. Wrap slices tightly to limit freezer burn, then thaw in the fridge overnight.
After thawing, serve slightly chilled so the pudding feels creamy again.
Why does my pudding layer seem runny?
Runny pudding usually comes from undercooking the cornstarch or skipping the cooling/chilling step. Heat thickens starch, but it needs time to reach the right thickness.
Cook until the mixture looks glossy and thick, then chill until spreadable.
What can I use instead of Dutch-processed cocoa?
You can use natural cocoa powder, but the flavor and acidity will shift slightly. Adjustments may affect how the cake browns and tastes.
If you switch cocoa, keep the bake time close and watch the toothpick test.
How do I prevent crumbs from falling off the top?
Let the cake rest in the fridge so the crumb coating sets and adheres to the filling. Also, press gently and evenly.
When slicing, use a sharp chilled knife and wipe between cuts for clean edges.
See also: Brooklyn Blackout