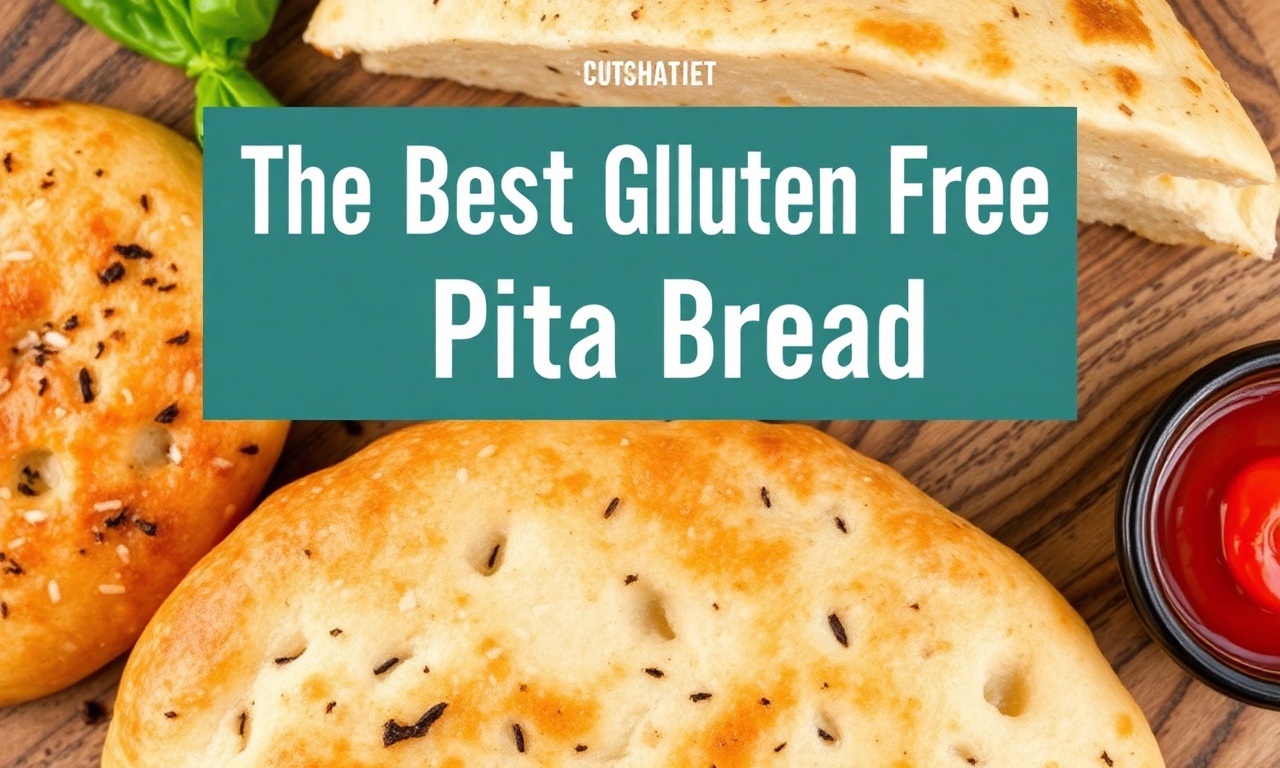
There’s something undeniably magical about pita bread-the way it puffs up into perfect little pockets, ready to cradle your favorite fillings or scoop up vibrant dips. But for those navigating the world of gluten-free living, finding a pita that’s both fluffy and tasty can feel like chasing a mirage. Fear not: this guide is here to make the most of crafting delicious gluten-free pita bread that doesn’t just imitate the original but celebrates its own soft, airy charm. Whether you’re a seasoned baker or a curious kitchen adventurer, prepare to embark on a flavorful journey where gluten-free meets irresistible, one fluffy pocket at a time.
- Understanding the Science Behind The Best Gluten-Free Pita Bread Texture
- Choosing the Best Gluten-Free Flours for Soft and Fluffy Results
- Prep and Cook time
- Yield
- Difficulty Level
- Ingredients
- Step by Step Techniques to Achieve Perfectly Puffy Pitas Every Time
- Creative Filling Ideas to Elevate Your Gluten-Free Pita Experience
- Chef’s Notes and tips for Success
- Serving Suggestions
- Q&A
- The Way Forward
Understanding the Science Behind The Best Gluten-Free Pita Bread Texture
Fluffy & Delicious gluten-free pita bread offers more than just a safe option-it’s a party of textures achieved through precise science. The key to soft,pillowy pockets lies in replicating the gluten network’s elasticity and moisture retention using strategic flour blends and hydration ratios. Gluten-free flours lack the natural stretch that traditional wheat provides,which means balancing starches and proteins to create a dough that can trap steam effectively is essential. When exposed to high heat, this steam creates those iconic puffy pockets inside pita bread.
Choosing the Best Gluten-Free Flours for Soft and Fluffy Results
To achieve a texture that mimics the traditional pita’s inviting softness and springiness, selecting a smart flour blend is vital. Combining tapioca starch or arrowroot powder with almond flour and brown rice flour gives the ideal balance of chewiness and lightness.Tapioca starch plays a starring role by imparting elasticity and stretch, while almond flour lends a tender crumb thanks to its fat content, enriching flavor and moisture. Brown rice flour adds structure and prevents crumbliness without sacrificing softness.
Prep and Cook time
- prep Time: 20 minutes
- Rising time: 1 to 1.5 hours
- Cook Time: 3-5 minutes per batch
Yield
Makes 8 medium-sized pitas
Difficulty Level
Medium – simple techniques, but requires attention to dough hydration and baking temperature
Ingredients
- 1 cup brown rice flour, sifted
- ¾ cup tapioca starch
- ½ cup almond flour
- 2 tsp xanthan gum
- 1 tbsp sugar
- 1 ½ tsp active dry yeast
- ¾ cup warm water (about 110°F)
- 2 tbsp olive oil, plus extra for greasing
- 1 tsp salt
Step by Step Techniques to Achieve Perfectly Puffy Pitas Every Time
- Activate the yeast: In a small bowl, combine warm water, sugar, and yeast. Stir gently and let it sit for 5-10 minutes until foamy and bubbling-this signals the yeast is alive and ready.
- Mix dry ingredients: in a large mixing bowl, whisk together brown rice flour, tapioca starch, almond flour, xanthan gum, and salt until evenly combined.
- Combine wet and dry: Add the olive oil and yeast mixture to the dry ingredients. Stir well using a wooden spoon or dough hook on low speed until the dough comes together. It will be slightly sticky but manageable.
- Knead lightly: Turn the dough onto a clean surface dusted lightly with tapioca starch. Knead gently for about 2 minutes to ensure even texture and elasticity. Add minimal extra starch if dough feels too wet.
- Rest and rise: Transfer dough to an oiled bowl,cover with a damp towel or plastic wrap,and let rise in a warm spot for 1 to 1.5 hours until doubled.
- Divide and shape: Punch down the dough gently and divide into 8 equal pieces. Roll each into a smooth ball. Using a rolling pin, flatten into 5 to 6-inch diameter discs approx. ¼ inch thick,dusting occasionally to prevent sticking.
- Heat your pan and bake: Preheat a heavy-bottomed skillet or cast iron pan over medium-high heat. Place one disc into the dry pan and cook for 2-3 minutes until puffed and golden brown on the bottom.
- Flip and cook: Flip carefully and cook the other side for another 2 minutes. Watch for the classic pocket to form as the steam inflates the dough. Transfer to a cooling rack wrapped in a kitchen towel to keep soft.
- Repeat: Repeat the process with the remaining dough disks, adjusting heat as necessary to avoid burning.
Creative Filling Ideas to Elevate Your Gluten-Free Pita Experience
The real magic unfolds once you’ve mastered the perfect fluffy pockets. These gluten-free pitas become vibrant canvases for flavors and textures:
- Mediterranean Delight: Fill with creamy hummus, roasted red peppers, fresh cucumber ribbons, and crumbled feta cheese for a refreshing bite.
- Spiced Chickpea Salad: Toss cooked chickpeas with smoked paprika,lemon zest,tahini,and chopped parsley for a hearty vegetarian meal.
- Grilled chicken Shawarma: Marinate chicken strips in garlic, cumin, and coriander, grill until smoky, then nestle inside your pita with crisp pickled onions and a drizzle of garlic yogurt sauce.
- Roasted Veggie & Avocado: Layer roasted zucchini, eggplant, cherry tomatoes, and sliced avocado with a tahini drizzle for a creamy, earthy combo.
Chef’s Notes and tips for Success
- Temperature matters: Use a hot pan to trigger steam formation inside the dough-puffy pita bread depends on that puff!
- Don’t skip the xanthan gum: It’s essential for structure and elasticity in gluten-free bread, mimicking gluten’s role.
- Dough consistency: the dough should be moist but not overly sticky-adjust flour or water in small increments if needed.
- Alternative flours: Sorghum flour can replace brown rice flour for more complexity, but start with ¾ cup and adjust hydration.
- Storage: store baked pitas in an airtight container at room temperature for up to 3 days or freeze for longer keeping.
Serving Suggestions
Warm your gluten-free pita just before serving to revive its softness. Slice open gently and stuff with your favorite fillings. Garnish with chopped fresh herbs like mint or cilantro, a sprinkle of sesame seeds, or a drizzle of extra virgin olive oil to heighten the sensory experience. Pair it with vibrant sides such as tabbouleh, babaganoush, or a crisp Israeli salad for a wholesome, colorful meal.
| Nutrient | Per 1 Pita |
|---|---|
| Calories | 140 |
| Protein | 4g |
| Carbohydrates | 22g |
| Fat | 4.5g |
| Fiber | 2g |
Discover additional gluten-free flatbread recipes to diversify your baking! For deeper insights into the science of gluten-free baking, visit Wikipedia’s explanation of gluten.

Q&A
The Best Gluten-Free Pita Bread: Fluffy & Delicious
Q1: What makes traditional pita bread different from gluten-free pita bread?
A: Traditional pita bread typically relies on wheat flour, which contains gluten-a protein that gives the bread its signature chewiness and puffed pocket. Gluten-free pita, conversely, uses alternative flours like rice, tapioca, or sorghum, combined with binders such as xanthan gum or psyllium husk to mimic that elasticity. The challenge is achieving that perfect airy puff and soft texture without gluten’s natural stretch.
Q2: How can I achieve a perfect puff in my gluten-free pita pockets?
A: The magic lies in steam and heat. Baking your gluten-free pita at a high temperature (usually around 450°F or 230°C) on a preheated baking stone or steel allows the dough to quickly puff up, creating that coveted pocket. Also, the dough should be rolled evenly and rested adequately to help the binders activate and trap air inside during baking.
Q3: Which gluten-free flours work best for pita bread?
A: A blend is often key! Brown rice flour offers a mild, nutty taste and good structure, while tapioca starch adds chewiness and elasticity.Sorghum or millet flours can contribute a wholesome flavor. Combining these with a stabilizer like xanthan gum or psyllium husk helps replicate that stretchy consistency classic pita flour has.
Q4: Can gluten-free pita bread be made ahead and stored?
A: Absolutely! Once baked and cooled, gluten-free pita bread can be stored in an airtight container at room temperature for 2-3 days. For longer storage, freeze the pitas in a zip-lock bag for up to a month.To refresh, warm them in a hot pan or oven for a few minutes-this helps bring back that soft, fluffy texture.
Q5: What are some creative ways to enjoy gluten-free pita bread?
A: Beyond the classic hummus dip or falafel pocket, gluten-free pita can be an excellent base for mini pizzas with your favorite veggies and dairy-free cheese. you can also slice and toast pita pockets to create crunchy chips perfect for salsas, guacamole, or spicy eggplant dips. The fluffy texture pairs wonderfully with Mediterranean-inspired salads or roasted vegetable stacks.
Q6: Are there any special tips to make gluten-free pita dough easier to work with?
A: Gluten-free doughs can be sticky and less forgiving, so lightly oiling your hands and rolling surface helps prevent sticking. Also, don’t over-flour the dough; using too much flour can lead to dense bread. cover the dough while resting to retain moisture, and handle it gently to keep the air bubbles intact, ensuring fluffiness.
Q7: Can I make gluten-free pita bread without any gums or binders?
A: It’s challenging but possible! Some recipes use psyllium husk powder or ground flaxseed as natural binding agents, which help hold the dough together and add moisture. However, omitting all binders usually results in a crumbly, less stretchy pita that might not puff as well.Experimenting with combinations will help you find what works best for your taste and texture preferences.
Q8: What’s the best way to store gluten-free pita bread dough before baking?
A: After mixing, letting the dough rest for about 30 minutes at room temperature improves hydration and elasticity. If planning ahead, you can refrigerate the dough tightly wrapped for up to 24 hours-just bring it back to room temperature before rolling out. Avoid freezing the raw dough, as gluten-free doughs can lose moisture and structure.
This Q&A aims to inspire you to embrace the joy of baking gluten-free pita bread that’s just as fluffy,delicious,and versatile as the traditional kind-without the gluten but all the flavor!
The Way Forward
Whether you’re a seasoned gluten-free baker or just beginning to explore the world of allergy-conscious baking,mastering the art of fluffy and delicious gluten-free pita bread opens up a world of culinary possibilities. From sandwiches bursting with fresh fillings to dipping into your favorite hummus or baba ganoush, these pitas bring all the charm of traditional bread-without the gluten. So roll up your sleeves,gather your ingredients,and embrace the satisfying joy of crafting pitas that are as tender on the inside as they are perfectly puffy on the outside. Your gluten-free journey just got a whole lot more delicious!

See also: Gluten