
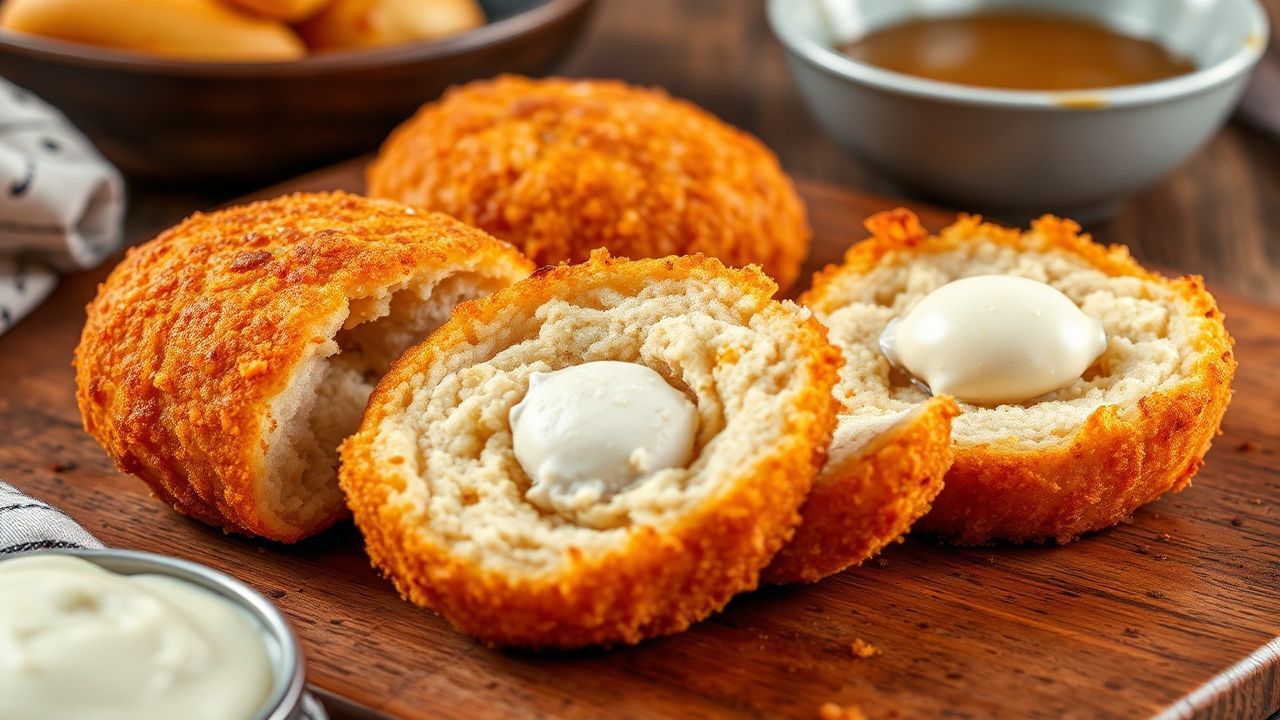
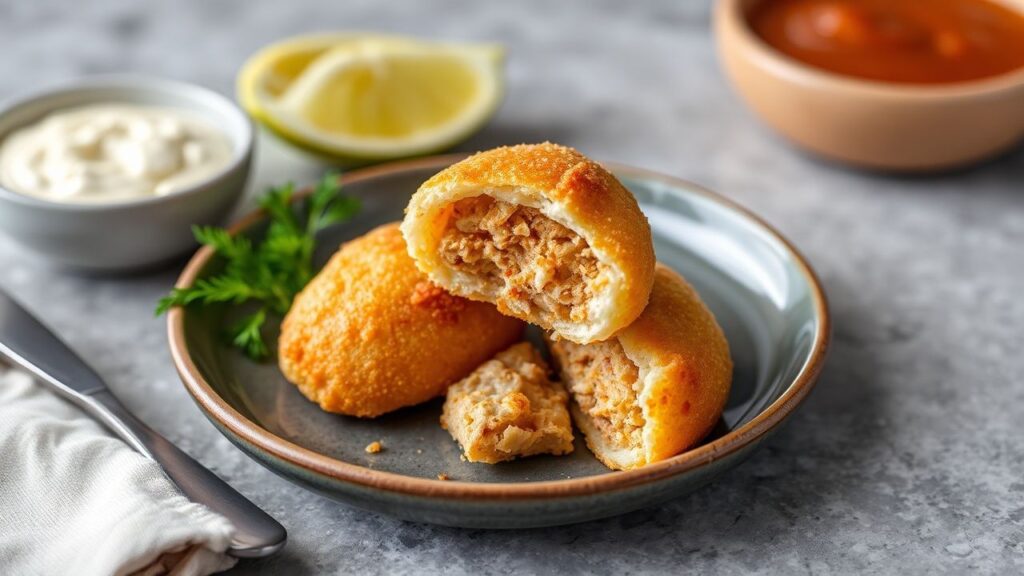
Creamy Brazilian chicken croquettes—known as coxinha—are one of the most loved street snacks in Brazil. They pair a tender, savory filling with a stretchy dough and a crunchy, golden coat. If you want that iconic “teardrop” shape and a soft center that stays juicy, follow the method below.
- Prep and Cook Time
- Yield
- Difficulty Level
- Ingredients
- Step-by-Step Guide to Crafting the Perfect Coxinha Dough and Filling
- 1) Cook the chicken filling
- 2) Cook the dough to the right texture
- 3) Shape the coxinhas (teardrop method)
- Secrets to Achieving the Ideal Crispy Golden Exterior
- Expert Tips for Serving and Pairing Your Coxinha Like a Pro
- Chef’s Notes for Ultimate Success
- Nutrient Snapshot
- FAQ
These coxinha are built in three parts: a chicken filling, a dough cooked to the right texture, and a crisp breading for deep-frying. Work step-by-step and you’ll get clean shaping, even cooking, and a creamy bite every time. For dough technique and starch behavior, see guidance on starch, then use the steps here to cook your paste until it holds shape.
At a Glance
- Cook the dough until it forms a smooth ball that leaves the pan.
- Cool the filling so it won’t melt the dough during shaping.
- Fry at ~350°F (175°C) for crisp crust without greasy texture.
- Use fine crumbs for a tight, even coating.
Crispy Creamy Coxinha brings a warm, comforting Brazilian flavor to your kitchen. The classic look matters: a teardrop or small drumstick shape helps the crust stay thin where you want crispness and thick where you need a tender bite. Traditional versions use chicken filling and a broth-flour dough, then fry until golden.
In São Paulo and beyond, coxinha shows up at gatherings because it’s handheld, shareable, and easy to portion. The “creaminess” comes from mixing the chicken with a soft dairy ingredient so the center stays silky instead of dry. If you want the best texture, read about deep frying to understand why temperature control changes the final crust.
Prep and Cook Time
Plan for under an hour total. This timeline assumes you shred cooked chicken and you keep your station tidy for shaping and breading.
Preparation: 35 minutes
Cooking: 20 minutes
Total Time: 55 minutes
Yield
This recipe makes about 20–24 coxinhas. The count varies based on how large you make each teardrop and how thick you wrap the filling.
If you want consistent results, weigh dough portions or aim for a similar disc size each time. When you batch-cook, let the shaped pieces rest briefly before frying so the dough relaxes and seals better.
Difficulty Level
Medium. You’ll do simple cooking steps, but shaping takes practice. Don’t rush the dough stage—proper cooking creates a workable dough with clean folds.
When you treat the dough like a cooked paste, it becomes stretchy and sturdy. That behavior depends on how gelatinization works in starch-based doughs.
Ingredients
Measure carefully for the dough and use good-quality dairy for the creamy filling. Below is a tested ingredient set for flavorful chicken coxinha.
When possible, choose low-sodium broth so you control seasoning. Keep salt balanced across filling and dough.
For the creamy chicken filling
- 2 cups cooked chicken breast, shredded
- 1 tablespoon olive oil
- 1 medium onion, finely chopped
- 2 cloves garlic, minced
- 1/4 cup tomato sauce
- 1/3 cup fresh parsley, chopped
- 1/2 cup cream cheese, softened
- Salt and black pepper to taste
For the dough
- 2 cups chicken broth (preferably homemade or low sodium)
- 2 cups all-purpose flour, sifted
- 2 tablespoons unsalted butter
- Salt to taste
For the exterior coating
- 2 large eggs, beaten
- 2 cups fine bread crumbs
- Vegetable oil, for deep frying
Step-by-Step Guide to Crafting the Perfect Coxinha Dough and Filling
Start with filling, because it must cool before shaping. Then make the dough to a firm, smooth paste so it won’t tear or leak.
Use consistent heat and stir well. These steps rely on how flour cooks and thickens in hot liquid—basic food science that follows emulsion and thickening principles in mixed dairy and starch systems.
1) Cook the chicken filling
- Heat olive oil in a skillet over medium heat and sauté onion until translucent, about 3–4 minutes.
- Add garlic and cook 1 minute until fragrant.
- Stir in shredded chicken and tomato sauce. Simmer for 5 minutes so flavors blend.
- Turn off heat, then stir in softened cream cheese and parsley until smooth and creamy.
- Season with salt and black pepper. Cool completely before shaping.
2) Cook the dough to the right texture
- Bring chicken broth, butter, and salt to a rolling boil in a saucepan.
- Reduce heat to low and add sifted flour all at once.
- Stir vigorously with a wooden spoon until the mixture forms a ball and pulls away from the pan, about 3–4 minutes.
- Let the dough cool slightly so you can handle it comfortably.
3) Shape the coxinhas (teardrop method)
- Divide dough into small portions. Flatten each into a disc.
- Spoon a generous amount of cooled filling into the center.
- Fold dough around the filling and pinch to seal, forming a teardrop shape.
- Work gently to avoid cracks. If dough sticks, lightly wet your hands.
Secrets to Achieving the Ideal Crispy Golden Exterior
A crisp crust comes from tight coating and correct frying temperature. If oil runs too cool, the crust absorbs oil and feels heavy.
For best control, use a thermometer and keep the oil stable between batches. Understanding how heat transfer works during frying helps you avoid sudden temperature drops, as discussed in frying.
4) Bread and fry
- Dip each shaped coxinha into beaten eggs.
- Roll thoroughly in fine bread crumbs for even coverage.
- Heat vegetable oil to about 350°F (175°C).
- Fry in batches until deep golden brown, about 4–5 minutes, turning for even color.
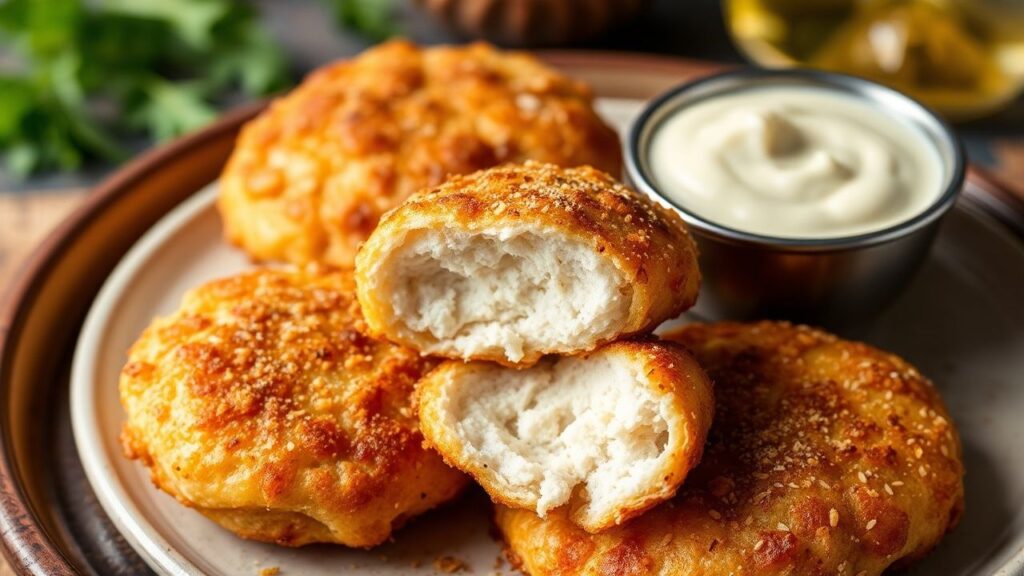
- Drain on paper towels and serve warm.
When you fry in batches, you reduce oil temperature swings. That’s how you keep the crust crisp and the center cooked through.
If you want even texture across the whole tray, keep your crumb layer consistent. Uneven crumbs create thin spots that brown too fast or turn dull.
Expert Insight: For consistent shaping, keep dough portions covered with a clean towel while you work. Dry dough edges crack faster, which creates leaks and uneven frying.[/TIP>
Expert Tips for Serving and Pairing Your Coxinha Like a Pro
Serve coxinhas immediately for the best crunch. The crust softens as steam rises from the filling, so timing matters.
Pair them with sauces that cut richness. Look for tangy, spicy, or herby flavors to balance the creamy chicken center.
- Serve with freshly chopped parsley or a light dusting of smoked paprika for color and aroma.
- Offer spicy pepper sauce (molho de pimenta) or tomato salsa to brighten each bite.
- Pair with chilled Brazilian-style beer or a zesty mango juice for a refreshing contrast.
- For a party setup, arrange on a rustic board with small bowls of creamy aioli and lime wedges.
Chef’s Notes for Ultimate Success
Small choices make a big difference in texture and flavor. Use these notes to reduce stress during busy prep days.
Also, think about handling time. Coxinhas hold shape best when filling stays cold and dough stays warm-but-not-hot.
- Make-ahead tip: Prepare filling and dough up to a day in advance. Store separately in airtight containers, then assemble and fry fresh.
- Substitution ideas: If available, swap cream cheese with requeijão for a more classic Brazilian creamy profile.
- Frying temperature is key: Too hot burns crumbs before the center warms. Too cool makes crust oily and heavy.
- Healthier option: Bake at 400°F (200°C) for about 20 minutes, turning halfway, then crisp further under high heat if needed.
- Crumb coating variations: For extra crunch, blend fine bread crumbs with panko-style crumbs.
When you bake, expect a different bite. Deep-frying creates the classic crisp crust because rapid cooking drives moisture out quickly, as covered in Maillard browning principles. Baking can still brown, but it won’t match deep-fry texture fully.
Nutrient Snapshot
Here’s an approximate view per piece. Exact values change with oil absorption, crumb thickness, and portion size.
Use this as a rough reference when planning a snack spread.
| Nutrient | Per Coxinha (approx.) |
|---|---|
| calories | 150 kcal |
| Protein | 8 g |
| Carbohydrates | 16 g |
| Fat | 6 g |
FAQ
If you still have questions about timing, texture, or storage, these answers cover the most common issues home cooks face.
Use these fixes to rescue a batch and get the results you want—creamy inside and crisp outside.
What exactly is a coxinha?
Coxinha is a Brazilian croquette shaped like a teardrop and filled with seasoned chicken. The dough cooks from broth and flour, then it’s breaded and fried until golden.
You’ll often see similar “stuffed croquette” formats across Latin cooking, but coxinha stands out for its specific dough and signature shaping.
Why does my dough crack when I shape it?
Cracks usually mean the dough edges dried out or the filling was too warm. Keep dough covered, and cool your filling fully before assembly.
Also, handle gently. Pinch and seal slowly so the dough bonds without splitting.
How do I prevent greasy coxinhas?
Grease usually comes from low oil temperature or overloading the fryer. Keep oil near 350°F (175°C) and fry in small batches.
Drain on paper towels right after frying. Also, use fine crumbs so the coating forms a tight layer instead of absorbing extra oil.
Can I freeze coxinhas before frying?
Yes. Freeze shaped coxinhas on a tray until firm, then move them to a freezer bag or container.
When frying from frozen, cook in batches and avoid crowding so the oil stays stable.
Can I make a vegetarian version?
Absolutely. Swap the chicken for sautéed mushrooms or jackfruit, then season well and combine with the same creamy dairy ingredient.
With good seasoning and a fully cooled filling, the vegetarian coxinhas keep the same cozy, creamy texture.
What oil works best for frying coxinhas?
Use a neutral frying oil with a high smoke point, such as vegetable or canola oil. Neutral flavor lets the chicken and dough notes shine.
For more background on frying oils and heat behavior, review vegetable oil basics.
See also: coxinha