

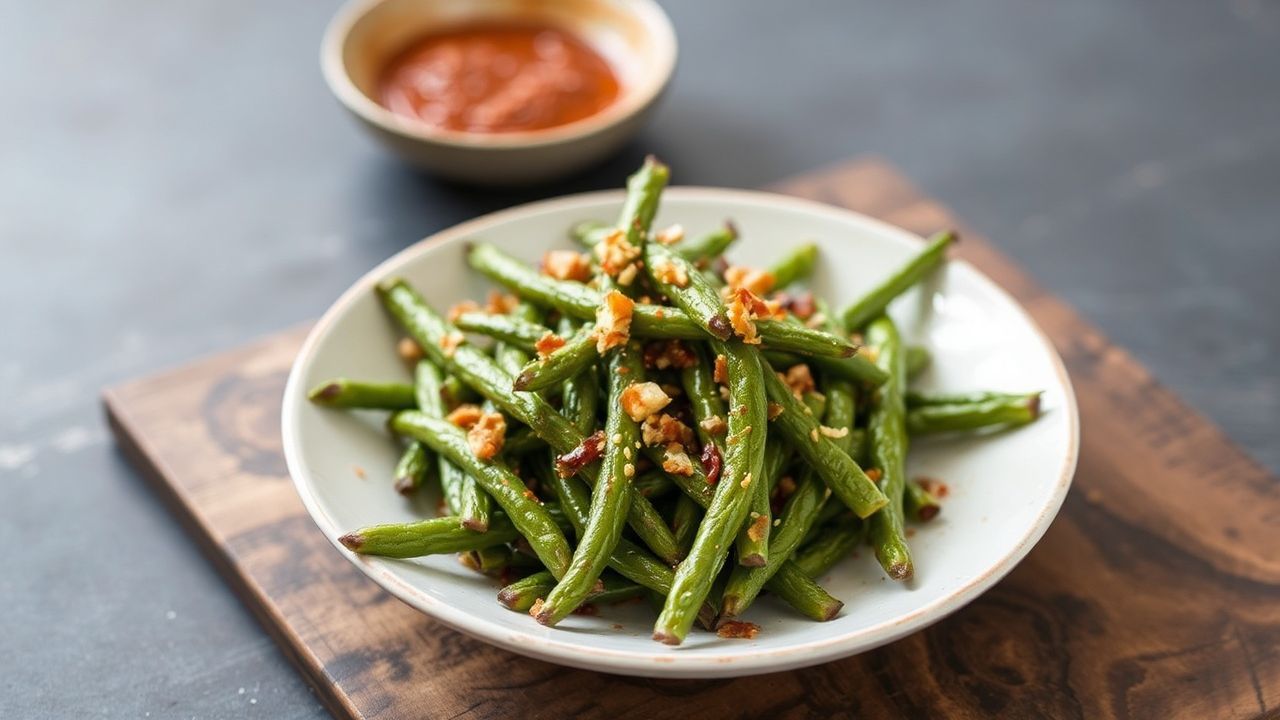
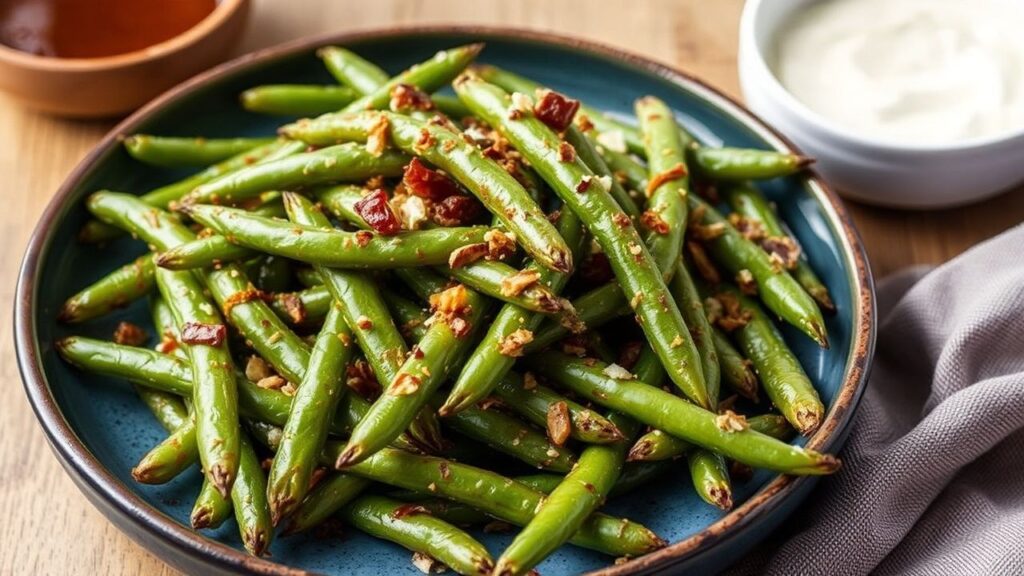
Crispy dry-fried green beans turn a fast vegetable side into a crunchy, craveable plate. This method uses high heat and moisture control to create blistered edges, then a savory glaze to lock in flavor. The result stays bold and crisp-tender instead of soggy.
- Dry-frying drives surface browning without deep oil.
- Glaze timing matters: add sauce after blistering, then toss fast.
- Heat + spacing prevent steaming and keep beans crisp.
- Reheat strategy helps leftovers regain crunch.
For flavor, the glaze blends umami from soy-based ingredients with garlic and ginger. A small amount of sweetness helps the sauce cling and caramelize lightly. If you love fast stir-fry techniques, this recipe follows the same logic, but it focuses harder on dryness first—then glossy coating second.
the Secret to Perfectly Crispy Green Beans Without Oil
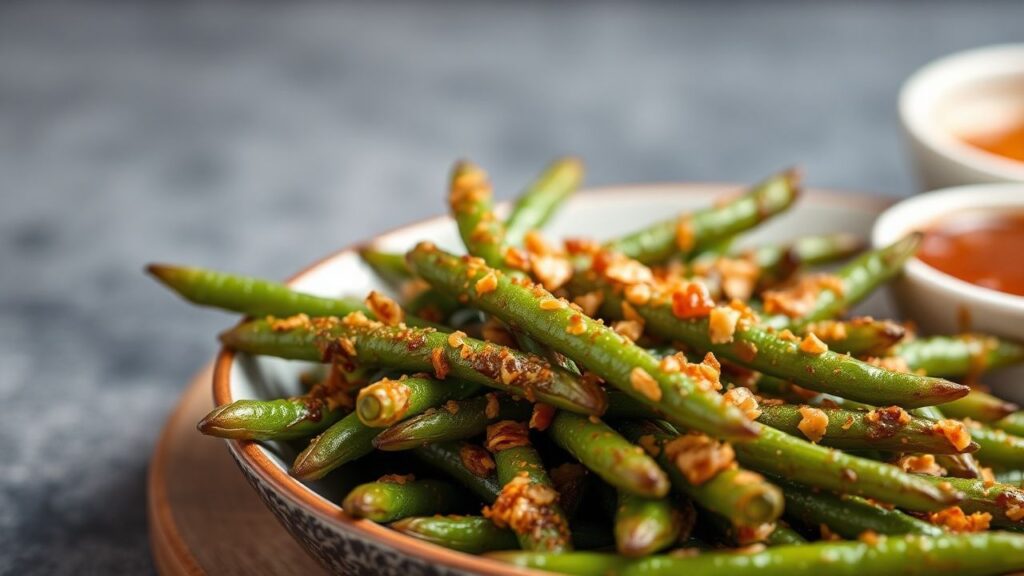
Crispy dry-fried green beans rely on one idea: surface moisture must leave the pan before browning begins. When you heat the skillet until hot and keep the beans spaced, the water on their surface turns to steam and escapes. That escape creates crisp, blistered spots.
The cooking mechanics come from fast heat transfer and controlled browning. You can think of it like dry sautéing that builds a crust, then uses a short deglaze to loosen browned bits. For a helpful background on browning reactions, see Maillard reaction.
Next, add the glaze only after the beans develop color. If you pour sauce too early, the pan cools and the steam effect flips into steaming. You lose the ridges that make the glaze cling.
Dry-frying also benefits from the Maillard-friendly proteins and sugars already in the beans and aromatics. Even a quick toss with garlic and ginger builds a fragrant base without needing a lot of fat. For more on umami perception, visit umami.
[TIP]Expert Insight: If your beans look wet when you add them, pat them dry with a clean towel. Less surface water means faster blistering and less steaming. Aim for beans that look “shiny-dry,” not damp.
What sets this technique apart from steamed green beans is texture. High heat with minimal liquid drives crisp-tender results. Once blistered, the beans act like tiny ridged carriers for savory glaze.
To keep the crunch intact, use a heavy pan or wok for even heat. Uneven heat creates soft spots and burnt aromatics at the same time. Maintain steady medium-high heat and toss often enough to avoid scorching.
Prep and Cook Time
Preparation: 10 minutes. Trim and rinse the beans, then dry them well so the pan stays hot.
Cooking: 15 minutes. You’ll dry-fry first, then glaze quickly with a short caramelizing finish.
Total: 25 minutes. It works on weeknights because it follows a simple heat sequence.
Yield
Serves: 4 as a side dish. For larger groups, double the batch and cook in 2 rounds for best crispness.
This yield fits about 1/2 lb to 1 lb of beans depending on thickness and how crunchy you like them.
Difficulty Level
Easy to Medium. You control the outcome with heat level and spacing, not complicated steps.
If you’ve made stir-fry before, you’ll adjust quickly. Just watch for blistering color and avoid letting garlic burn.
Ingredients
Use fresh green beans for the cleanest snap. For the glaze, keep ingredients simple and measure them so timing stays precise.
- 1 lb fresh green beans, trimmed and rinsed
- 3 cloves garlic, finely minced
- 1 tablespoon low-sodium soy sauce
- 1 tablespoon tamari (gluten-free alternative)
- 1 teaspoon freshly grated ginger
- 1 teaspoon maple syrup or honey
- 1/2 teaspoon toasted sesame oil (optional for finishing)
- 1/4 teaspoon crushed red pepper flakes (adjust to taste)
- Sea salt, to taste
- Water or vegetable broth, for deglazing (about 2–3 tablespoons)
- 1 tablespoon toasted sesame seeds (for garnish)
Sesame oil adds aroma, not bulk. If you skip it, the glaze still tastes complete because soy, garlic, and ginger do the heavy lifting.
Step by Step Guide to Dry-Frying Green Beans Like a Pro
- Heat your wok or large non-stick skillet over medium-high heat until hot. You want an active sizzle when the beans hit.
- Add the green beans directly to the dry pan. No oil. Sauté and toss every 30–45 seconds so the beans cook evenly, about 8–10 minutes.
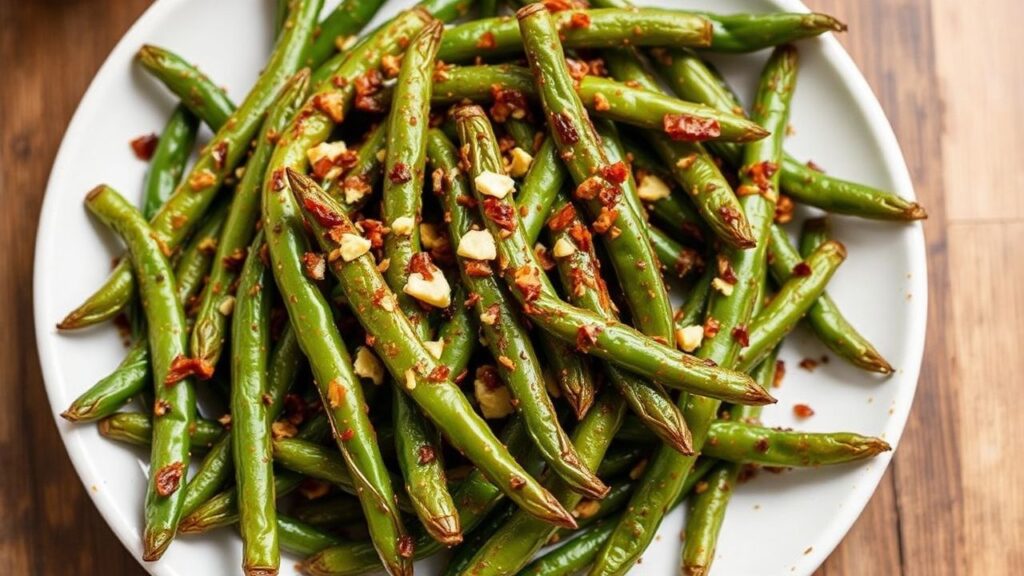
- Look for blistering. The skins should shrivel and show crisped edges while centers stay tender. If beans steam instead of sizzle, reduce moisture and spread them out.
- Add garlic and ginger once the beans show golden spots. Stir rapidly for about 30 seconds to avoid burning.
- Deglaze the pan with 2 tablespoons water or broth. Scrape up browned bits with a wooden spatula. This step lifts flavor for the glaze base.
- Pour in soy sauce, tamari, and maple syrup. Toss fast to coat. Cook 1–2 minutes until the sauce clings and lightly caramelizes.
- Finish with sesame oil if using. Taste and add a pinch of salt only if needed. Sprinkle red pepper flakes for gentle heat.
- Serve immediately and garnish with toasted sesame seeds. Crispness peaks right after glazing.
For the best crispness, keep your timing tight. Once the glaze hits, you only need enough time to thicken and coat. Overcooking after glazing can soften the crust.
If you want a deeper flavor, reduce the glaze slightly in the last 60 seconds. A thicker coating sticks better to ridged beans and boosts the savory-sweet balance.
Expert Tips for Serving and Storing Crispy Green Beans
- Serve fast for peak crunch. Pair with steamed jasmine rice or cold soba for a clean, satisfying contrast.
- Balance the glaze with a light cucumber salad or pickled vegetables. Acid helps cut through the savory coating.
- Store up to 3 days in an airtight container. The crunch fades as moisture redistributes.
- Re-crisp properly by reheating in a dry skillet over medium heat. Heat until the surface dries and the beans feel crisp again.
- Boost aroma at the end with sliced scallions or fresh cilantro right before serving.
- Scale with batches. Double the recipe only if you can cook beans in a single layer each round.
For reheating, avoid microwaves when possible. A microwave warms through but tends to add moisture back to the surface. Dry skillet reheating keeps the crisp texture closer to fresh.
If you love spice, add extra red pepper flakes after glazing. Heat right at serving protects aromatics and keeps the sauce from tasting bitter.
Chef’s Notes
Patience drives crisp results. You need time for the skins to blister and shrink before you add aromatics or sauce. If the beans brown too quickly, lower heat slightly and add deglazing liquid earlier.
Replacing maple syrup with molasses or date syrup gives a deeper sweetness. Use less if the syrup is thick, and watch the glaze as it caramelizes.
For a vegan umami boost, keep the soy base consistent and add a richer plant-based option if you use it. Umami amplifies the perception of savory even at lower salt levels; see glutamate for background.
Make-ahead tip: Mix the glaze ahead of time. Dry-fry the beans fresh so the crust stays intact, then toss with glaze right at serving.
| Nutrient | Per Serving |
|---|---|
| Calories | 85 |
| Protein | 4g |
| Carbohydrates | 10g |
| Fat | 1g |
If you enjoy this style of cooking, explore stir-fry principles like heat control and sauce thickening. For a science-friendly overview, read soy sauce and how it contributes salt and umami.
You can also swap seasoning structures while keeping the same dry-fry technique. For example, pair sesame and ginger flavors and adjust sweetness to match your glaze. If you’re curious about heat and pepper flavor, see chili pepper.
Variations That Keep the Same Crispy Dry-Fry Texture
Once you nail the dry-fry steps, you can change the glaze without changing the crunch. Keep the same heat order: dry-fry until blistered, then aromatics, then quick glazing.
This method works best with firm, fresh vegetables that can release moisture quickly. Green beans, asparagus, and snap peas all benefit from this “dry first, sauce last” structure.
Spicy Garlic Sesame Glaze
Boost heat by increasing red pepper flakes slightly and adding a touch more ginger. Then finish with sesame oil for aroma instead of extra fat.
For a richer pepper profile, use fresh cracked black pepper after glazing. It lifts scent without overpowering the savory-sweet balance.
Sticky Miso-Glaze Style (Optional)
If you want a more fermented savory flavor, use a small amount of white or yellow miso mixed into the glaze. Stir it in during the last minute so it warms without turning harsh.
Fermented flavors deepen the overall taste because they add complexity. For reference on fermentation, see fermentation (food).
Sweet-and-Savory Orange Kick
Add a little orange zest and a small splash of juice to the syrup. The glaze becomes brighter while still clinging well.
Keep it subtle. Too much liquid cools the pan and softens the crisp surface.
FAQ
Why do my green beans turn out soggy?
Sogginess usually comes from excess moisture in the pan or overcrowding. Pat beans dry, cook in a single layer, and dry-fry until you see real blistering before adding sauce.
Can I make crispy dry-fried green beans without tamari or soy sauce?
You can, but you’ll need another salty umami source. Try a reduced vegetable broth plus a small amount of miso or coconut aminos, then adjust sweetness to help the glaze cling.
How do I keep the glaze from burning?
Burning happens when sugar sits too long at high heat. Add sweet ingredients after deglazing, then toss for only 1–2 minutes until glossy.
What’s the best reheating method?
Use a dry skillet on medium heat. Reheat until the surface dries and the beans feel crisp again, then serve immediately.
What can I serve with this dish?
Serve with rice bowls, noodle dishes, or grilled proteins. For contrast, add a fresh cucumber salad or pickled vegetables to balance the savory glaze.
Final cue: Treat this recipe like a two-stage process—crisp first, gloss second. Once you follow that order, you’ll get consistent crunchy dry-fried green beans every time.
See also: Crispy dry-fried green beans