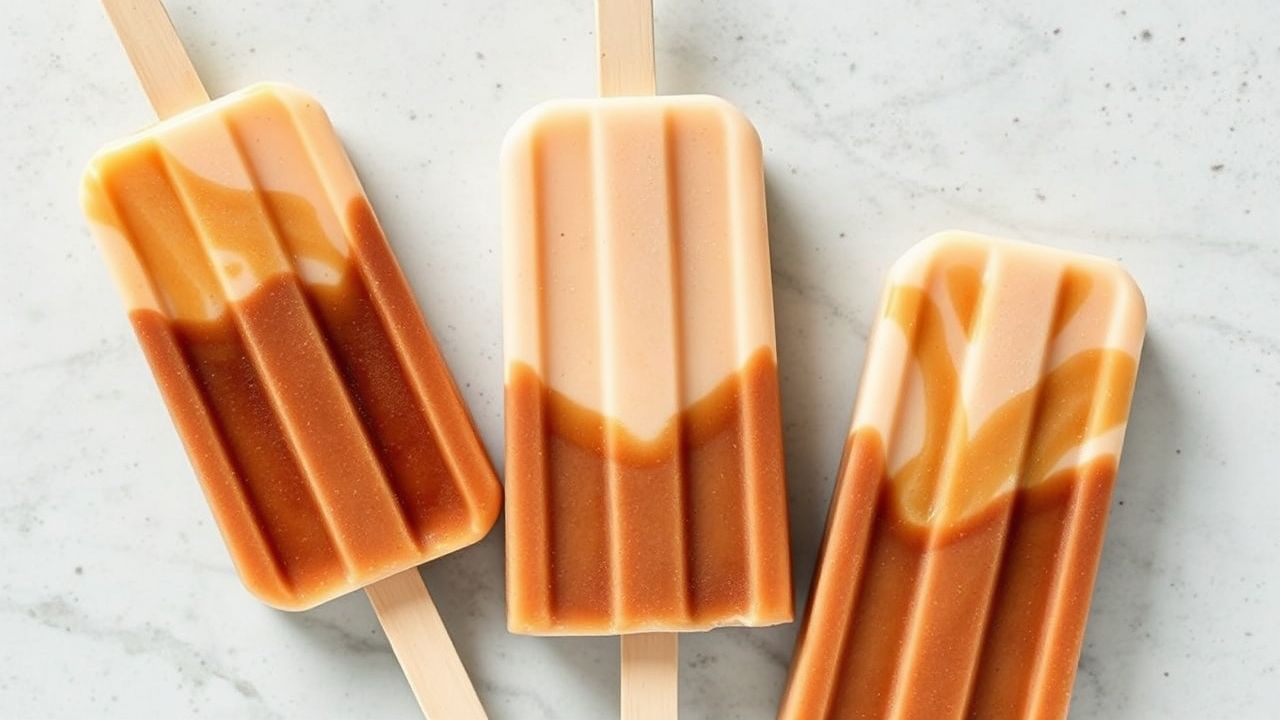
When the summer heat hits its peak, a frozen treat can cool you down fast. Creamy cold brew coffee popsicles blend a smooth, low-acid coffee base with rich dairy or dairy-free creaminess. The result feels like an iced latte, but it melts slowly and tastes bold.
- Crafting the Perfect Cold Brew Base for Smooth, Bold Flavor
- Choosing the Creamiest Ingredients to Elevate Your Popsicles
- Step-by-Step Guide to Freezing and Storing Your Pops
- Tips for Customizing Your Cold Brew Popsicles with Fun Add-Ins
- Q&A
- What makes creamy cold brew coffee popsicles different from regular coffee popsicles?
- Can I use any type of milk in the recipe?
- How do I achieve the creamy texture?
- How can I make pops without a popsicle mold?
- How long should I freeze them?
- Key Takeaways
Below, you’ll learn how to build the cold brew concentrate, choose cream that stays stable in the freezer, and freeze pops for clean, scoopable texture. You’ll also get storage guidance and easy mix-in ideas so your batch tastes custom every time.
- Cold brew matters: steep longer for sweeter, less bitter coffee.
- Cream needs balance: use full-fat dairy or stable non-dairy for a smooth bite.
- Freeze evenly: proper mold fill and overnight freezing improve texture.
- Adjust sweetness: freeze dulls flavor, so sweeten slightly more than you would for drinking coffee.
Crafting the Perfect Cold Brew Base for Smooth, Bold Flavor
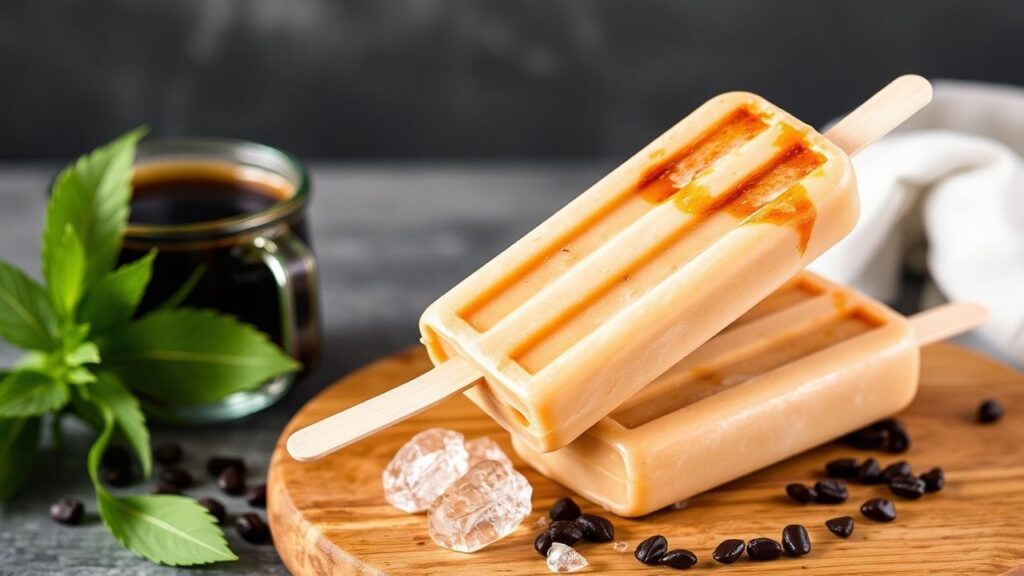
Creamy cold brew coffee popsicles start with a concentrate that tastes good on its own. Cold brewing uses room-temperature or cold water, which helps reduce harsh notes and keeps acidity in check.
Use freshly ground beans and a medium-dark roast if you want deep cocoa tones. If you want to understand why roast level changes flavor, see coffee bean on Wikipedia for background on how beans and processing affect taste.
Coarsely grind the coffee. Then steep it in clean water for 12 to 18 hours so the water pulls out sugars and aromatic compounds without the sharpness you may get from hot brewing.
After steeping, strain through a fine mesh or cheesecloth. For a clearer drink and smoother popsicle texture, take your time here and remove as many fines as possible.
At this stage, you can taste the concentrate and adjust sweetness. Many coffee drinkers like cold brew less bitter, but pops need more built-in sweetness because freezing mutes flavor.
Choosing the Creamiest Ingredients to Elevate Your Popsicles
The creamy texture comes from ingredients that stay cohesive in a frozen base. Full-fat milk or coconut milk works well because fat rounds out coffee flavor and improves mouthfeel.
If you want a dairy-free option, pick a milk that you trust to emulsify. For general guidance on fats and emulsions, refer to emulsion on Wikipedia, which explains why stable mixtures stay smooth.
Start with whole milk, full-fat coconut milk, or homemade cashew cream. These options add body so your pops don’t feel icy or watery when they thaw slightly at the edges.
For sweetness and extra creaminess, consider condensed coconut milk or a small amount of sweetener like maple syrup. Add vanilla for aroma and warmth, then use cinnamon if you want a gentle spice note.
[TIP]Expert Insight: If you plan to add mix-ins (like chocolate or caramel), keep the base cream-forward. A higher fat-to-water ratio helps suspended bits stay evenly distributed during freezing.
That tip supports texture because fat slows ice crystal growth. You don’t need science jargon to use the result—just keep the base rich and steady.
Step-by-Step Guide to Freezing and Storing Your Pops
Once your concentrate and creamy base are ready, you can combine them and pour into molds. Stir slowly so the mixture stays uniform from the bottom of the bowl to the top of the mold.
Combine the cold brew concentrate with your chosen cream. If your concentrate tastes strong, that’s normal. Cold brew concentrate should hold its own, then soften once mixed.
Add sweetener to taste. Freezing dulls sweetness, so aim for slightly sweeter than what you would drink right away.
Fill molds about ¾ full. As the mixture freezes, it expands, and leaving headspace prevents messy overflow.
Insert sticks and freeze for at least 6 hours. Overnight freezing gives the best structure and helps the pops release cleanly.
[WARNING]Pro-Caution: Avoid frequent refreezing after partial thawing. Temperature swings can increase ice crystals, which can make pops feel grainy instead of creamy.
To release, run warm water over the outside for a few seconds. Don’t soak too long. You want loosened edges, not melted centers.
Store leftovers in an airtight container or freezer bag. Label the date and aim to eat within 2 weeks for best flavor and texture.
Tips for Customizing Your Cold Brew Popsicles with Fun Add-Ins
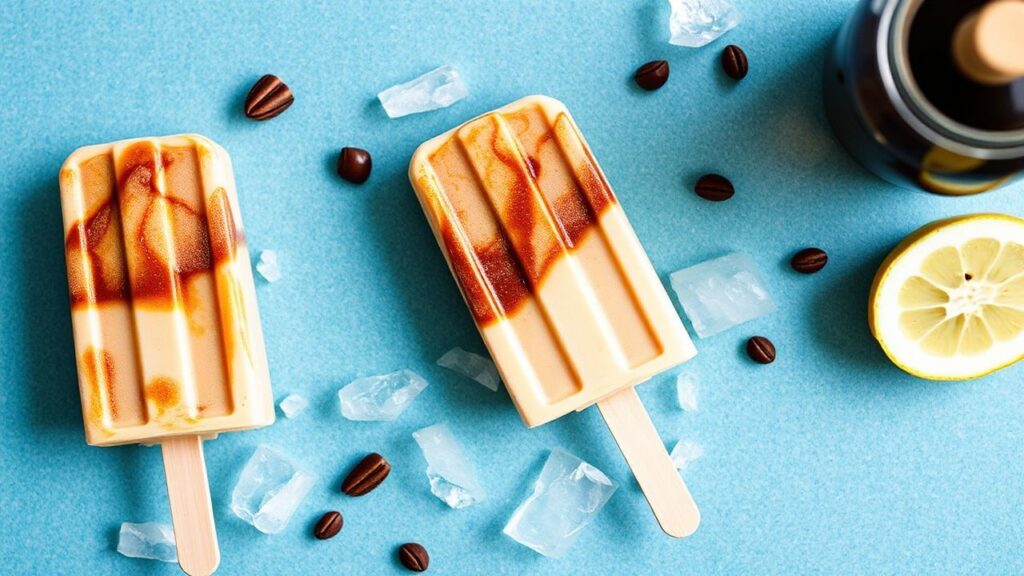
Customization keeps this recipe from feeling repetitive. You can add chocolate for a mocha vibe, or add spices for a cozy flavor profile.
Try finely chopped dark chocolate or a sprinkle of instant espresso powder. For context on caffeine and how coffee compounds act, you can read caffeine on Wikipedia.
If you want crunch, fold in chopped nuts. Keep pieces small so every bite includes coffee and cream with consistent texture.
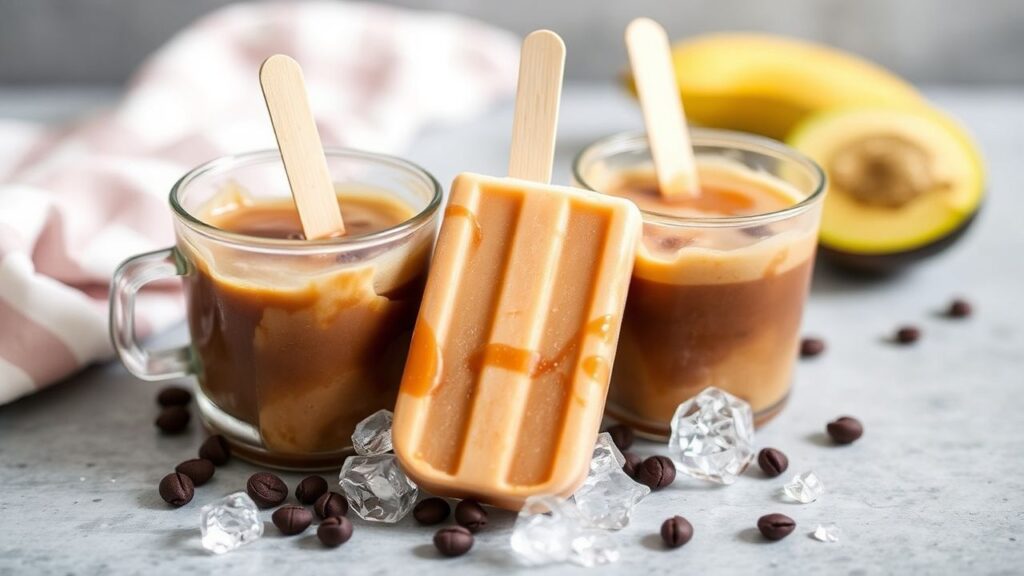
For a fruity twist, consider ribbons of banana or a swirl of caramel sauce. Caramel adds sweetness and a deeper flavor, but use it in moderation so the base still freezes well.
If you layer whipped coconut cream, freeze more slowly by pouring in layers and letting each set briefly. Layering creates swirls that look impressive and taste richer.
Balance matters most. Very watery fruits or sugary sauces can change freezing time and texture, so choose additions that mix cleanly and stay thick.
Prep and Cook Time
Cold brew concentrate steeping takes the longest part of the timeline. Plan ahead so you get the full 12–18 hour extraction window.
After steeping, assembly and freezing come next. With simple prep, you can go from concentrate to pops in under an hour of active work.
- Cold Brew Concentrate Steeping: 12–18 hours
- Mixing and Pouring: about 15 minutes
- Freezing Time: 6–8 hours (overnight recommended)
Yield
This recipe typically makes 6 pops, depending on mold size. Smaller molds create more pops with shorter portion thickness.
If you use larger molds, you may get fewer servings, but each pop will hold more flavor depth. Adjust sweetness only after you taste your base.
6 pops (approx.)
Difficulty Level
This is an easy recipe once you commit to two key steps: long steeping and careful straining. No special equipment beyond molds and a strainer is required.
If you can whisk and wait, you can make it. The freezing step does the heavy lifting.
Easy
Ingredients
Choose ingredients that fit your diet and taste. Full-fat options create the creamiest result, while lighter milks can taste flatter.
Keep add-ins optional until the base tastes right. Once the coffee is balanced, customization becomes simple.
- 1 cup coarsely ground medium-dark roast coffee beans
- 4 cups filtered cold water
- 1 cup full-fat coconut milk (or substitute with whole milk, cashew cream, or oat milk)
- ¼ cup sweetened condensed coconut milk (optional)
- 2 tablespoons organic maple syrup or cane sugar (adjust to taste)
- 1 teaspoon pure vanilla extract
- Pinch of ground cinnamon (optional)
- Optional add-ins: dark chocolate flakes, chopped nuts, whole coffee beans, or spices
Instructions
Follow the steps in order for consistent results. The concentrate needs time, and the creamy base needs smooth mixing.
When you combine coffee and cream, mix gently but thoroughly. That’s how you prevent pockets of strong coffee flavor.
- Prepare the cold brew concentrate: Combine coffee grounds and cold water in a large jar or pitcher. Cover and steep in the refrigerator for 12–18 hours.
- Strain the concentrate: Pour through a fine mesh sieve lined with cheesecloth into a clean container. Discard grounds.
- Mix the creamy base: Whisk coconut milk, sweetened condensed coconut milk, maple syrup, vanilla, and cinnamon until smooth.
- Combine coffee and cream: Slowly fold the cold brew concentrate into the creamy mixture until fully combined.
- Add mix-ins (optional): Stir in chopped chocolate, nuts, or spices evenly.
- Pour into popsicle molds: Fill to about ¾ full to allow for expansion.
- Insert sticks and freeze: Freeze at least 6 hours, or overnight until solid.
- Unmold and serve: Dip molds briefly in warm water, then serve right away or wrap for storage.
Chef’s Notes
These notes help you dial in flavor and texture. Make small changes instead of large swaps so you can learn what works best.
If you track your taste preferences, you’ll improve your batches with each round.
- Make it vegan/dairy-free: Use coconut milk or oat milk and skip any dairy sweeteners.
- Sweetness tip: Freeze dulls sweetness, so aim slightly sweeter than your ideal drinking coffee.
- Flavor boost: A teaspoon of instant espresso powder can deepen coffee flavor without adding extra bitterness.
- Storage: Keep pops in airtight freezer bags to protect from freezer burn and flavor loss.
- Make-ahead: Brew the cold brew concentrate up to 3 days in advance. Mix and freeze when you’re ready.
Serving Suggestions
Presentation helps your pops taste even better. Serve them in clear glasses or rustic molds so the creamy layers show.
Add a light cocoa dusting or a thin caramel drizzle for visual contrast. Pair with berries or toasted coconut flakes for extra texture.
Q&A
If you still have questions, use this section to solve common issues. These answers focus on flavor, texture, and practical steps.
You’ll get clear guidance so your next batch comes out creamy and consistent.
What makes creamy cold brew coffee popsicles different from regular coffee popsicles?
Creamy cold brew coffee popsicles use a smooth, low-acid cold brew concentrate. That concentrate tastes mellow and less harsh than many hot-brewed coffee bases once frozen.
The creamy dairy or dairy-free layer then softens sharp edges and creates a latte-like mouthfeel.
Can I use any type of milk in the recipe?
You can use whole milk, oat milk, almond milk, or coconut milk. Each adds a different flavor and texture because fats and proteins behave differently when frozen.
For a general reference on how milk components affect texture, see milk on Wikipedia.
How do I achieve the creamy texture?
Use a full-fat base and balance coffee strength with sweetener. Also, freeze long enough so the pops set evenly through the center.
Fat helps keep the texture smooth, while proper steeping reduces bitterness that can taste rough when frozen.
How can I make pops without a popsicle mold?
You can use small paper cups or mini muffin tins lined with parchment. When the mixture thickens slightly, insert sticks so they stay centered.
After fully freezing, peel away the paper or parchment and serve.
How long should I freeze them?
Freeze for at least 4 to 6 hours, but overnight gives the best firmness. You want a fully solid center so the bite stays creamy.
Once they’re solid, store them airtight to protect taste and texture.
Key Takeaways
These creamy cold brew coffee popsicles turn your favorite coffee flavor into a cool summer dessert. You’ll get bold coffee taste, smooth creaminess, and a slow-melting texture.
Make a concentrate, mix with a rich dairy or dairy-free base, and freeze until solid. Then customize with chocolate, nuts, or caramel for a new twist every batch.
Finally, brew for sweetness, strain for smoothness, and freeze for structure. That combo delivers a popsicle you’ll want to make again.
See also: Creamy cold brew