


there’s something utterly magical about the crusty, tangy allure of sourdough bread-the kind that fills your home with a warm, inviting aroma and transforms a simple meal into an experience. Yet, for many, the thought of making sourdough feels intimidating: the endless kneading, the precise timing, the mysterious starter. But what if you could skip the hassle and still enjoy that perfect loaf? Enter the easiest no-knead sourdough bread-a wonderfully simple method that lets time and patience do the work, turning a few basic ingredients into a beautifully risen, golden masterpiece.
In this article, we’ll unravel the straightforward steps to achieving sourdough success without breaking a sweat, so you can savor the art of breadmaking with ease and confidence.
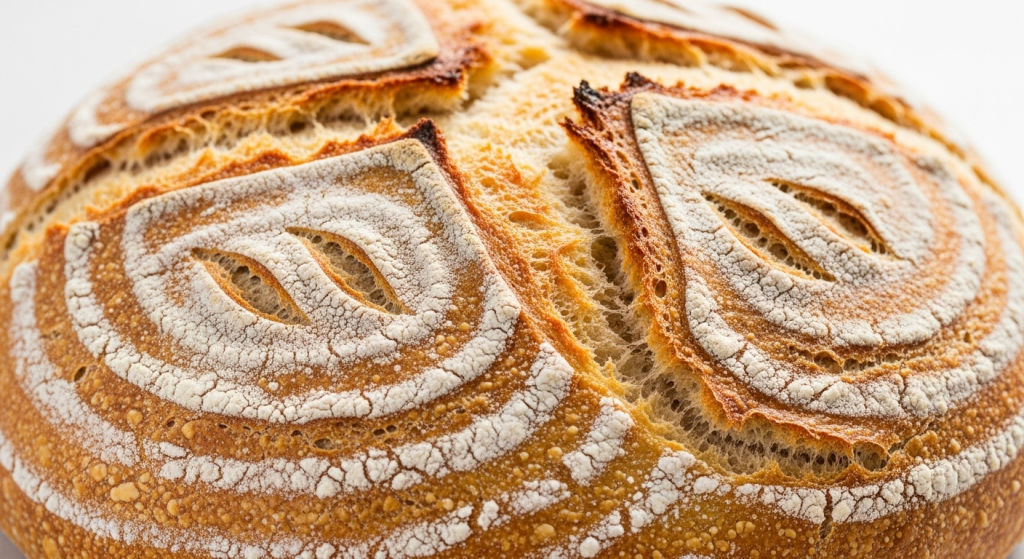
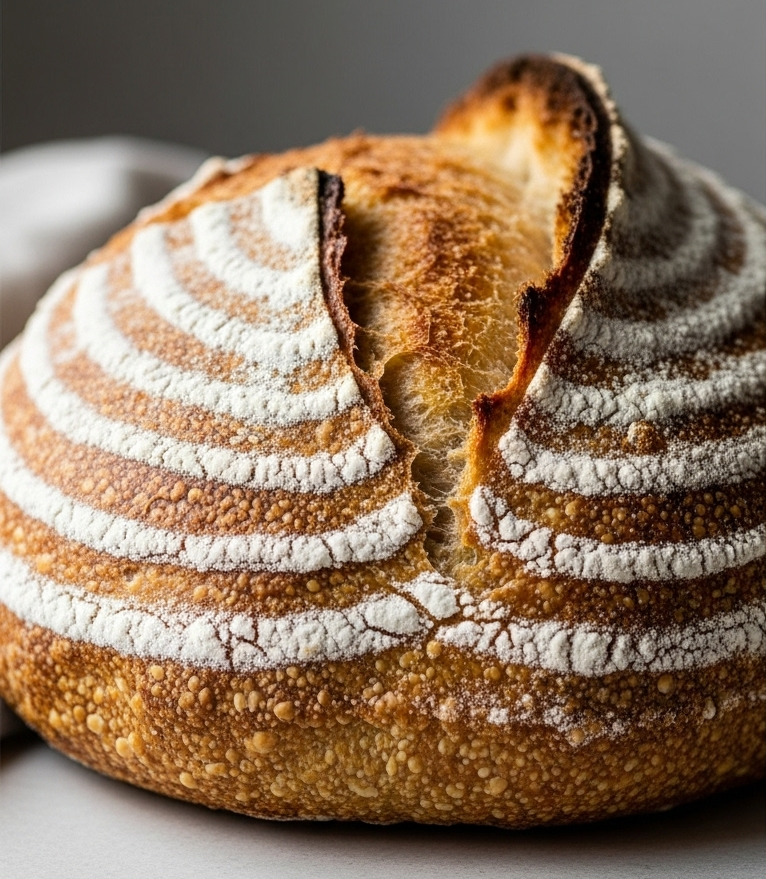
The easiest no-knead sourdough bread invites both novice and seasoned bakers into a world were slow fermentation crafts unparalleled flavor and a perfect rise, all without the fuss of vigorous kneading. This method hails from centuries-old baking traditions, refined through modern simplicity to give you that quintessential crusty loaf at home. Imagine waking up to the intoxicating aroma of freshly baked sourdough, its golden crust crackling under your fingertips and revealing a tender, aerated crumb-this is the magic slow fermentation delivers.
Prep and Cook time
- Readiness: 10 minutes
- Fermentation: 12-18 hours (overnight)
- Baking: 45 minutes
- Total Time: Approximately 14 hours
Yield
One rustic loaf, serving 8-10 slices.
Difficulty Level
Easy – perfect for home bakers seeking an effortless, rewarding sourdough experience.
Ingredients
- 1 cup active sourdough starter (fed and bubbly)
- 3 cups all-purpose flour, sifted
- 1 ½ cups lukewarm water (room temperature)
- 2 tsp fine sea salt
- Optional: 1 tbsp whole wheat flour (for additional depth)
Instructions
- In a large mixing bowl, combine the active sourdough starter and lukewarm water. Stir until the starter dissolves completely, creating a slightly bubbly slurry.
- Add the all-purpose flour and optional whole wheat flour, stirring gently with a wooden spoon until absorbed.The dough will be shaggy and sticky; resist the urge to knead.
- Sprinkle the sea salt over the dough and fold it in carefully, ensuring even distribution without deflating the mixture. Cover the bowl loosely with a clean kitchen towel or plastic wrap.
- Let the dough ferment at room temperature (ideally 70°F/21°C) for 12 to 18 hours, until it doubles in size with visible bubbles signaling active fermentation.
- Once risen, generously flour a clean surface and gently transfer the dough. With floured hands, shape it into a round boule, using light folds to create surface tension without pressing out the air pockets.
- Place the dough seam-side down into a well-floured proofing basket or a bowl lined with a clean kitchen towel. Cover and allow it to proof for another 1 to 2 hours, or until puffed and about 1.5 times its size.
- About 30 minutes before baking, preheat your oven to 450°F (230°C) with a Dutch oven or heavy lidded pot inside to create a steamy environment.
- Carefully invert the dough onto parchment paper, score the top with a sharp blade to control expansion, and place it into the hot Dutch oven. Cover with the lid.
- Bake for 20 minutes covered, then remove the lid and bake an additional 25 minutes, letting the crust turn deep golden and crunchy.
- Transfer the loaf to a wire rack to cool completely before slicing. This resting ensures the crumb sets perfectly without becoming gummy.
Tips for Success
- Use water at room temperature-not too warm-to encourage steady fermentation.
- Maintain a loose cover during fermentation to allow the dough to breathe while preventing a dry skin.
- If your sourdough starter is less active, extend the bulk fermentation by a few hours for better rise.
- Experiment with using a mix of flours like rye or spelt to introduce complex flavors.
- for an even crustier loaf, bake on a baking stone or incorporate steam by placing a tray of water in the oven.
- Save excess starter by feeding it regularly or sharing with fellow bakers!
Serving Suggestions
This artisanal loaf shines simply spread with creamy butter and a sprinkle of flaky sea salt. For an elevated twist, serve alongside aged cheddar, a drizzle of honey, or creamy avocado topped with chili flakes. Pair with homemade soups like tomato bisque or roasted vegetable stew for a cozy meal. Garnish with a fresh sprig of rosemary on your serving board to enhance the sensory experience.
| Nutrient | per Slice (1/10 Loaf) |
|---|---|
| Calories | 160 kcal |
| Protein | 5 g |
| Carbohydrates | 30 g |
| fat | 0.5 g |
For those eager to deepen their sourdough journey, explore our complete guide on maintaining your sourdough starter. Additionally, the King Arthur Baking No-Knead Bread recipe offers great insights into beginner-pleasant baking techniques.
Q&A
Q&A: The Easiest No-Knead Sourdough Bread – Simple Steps to Rise
Q1: What makes no-knead sourdough bread different from traditional sourdough?
A1: No-knead sourdough is the magic of minimal effort meeting maximum flavor. unlike traditional sourdough, which requires vigorous kneading and multiple hands-on steps, no-knead lets time do the heavy lifting. The dough naturally develops gluten strength during a slow,leisurely rise,resulting in a rustic crust and airy crumb without the need for elbow grease.
Q2: Do I need any special equipment to bake no-knead sourdough bread?
A2: The beauty of no-knead sourdough is its simplicity. A mixing bowl, a kitchen scale, a wooden spoon, and a Dutch oven or heavy oven-safe pot with a lid will do the trick. These humble tools help trap steam inside the oven, coaxing that perfect crispy crust and tender interior.
Q3: How does the no-knead method work without kneading the dough?
A3: Patience is the secret ingredient. The long fermentation slowly strengthens gluten strands through hydration and time. Resting periods between gentle folds give the dough structure. This gentle process allows the flour and water to mingle deeply, creating a dough that’s stretchy, elastic, and ready to rise beautifully without requiring traditional kneading.
Q4: what is the role of the sourdough starter in this recipe?
A4: Think of your sourdough starter as the artisan conductor orchestrating the fermentation symphony. It’s a live culture of wild yeast and lactic acid bacteria that naturally leavens the dough and infuses it with that signature tangy complexity and delightful aroma.A healthy starter is the heart and soul of your no-knead sourdough.
Q5: How long does the no-knead sourdough bread take from start to finish?
A5: While the hands-on time is minimal-usually under 15 minutes-the magic unfolds over 12 to 24 hours of fermentation. This slow rise not only develops flavor but also gives your dough that inviting texture and crumb. baking usually takes about 30 to 40 minutes, so plan for a bit of patience to enjoy the reward.
Q6: Can I bake no-knead sourdough bread without a Dutch oven?
A6: Absolutely! A Dutch oven is ideal for steam retention, which helps create a crispy crust, but you can improvise with a heavy roasting pan covered with a large, oven-safe bowl or foil tent. Alternatively, placing a tray of water in the oven adds humidity.These hacks help mimic the steamy environment your bread loves.
Q7: What tips ensure my no-knead sourdough rises well?
A7: Feeding your starter regularly to keep it bubbly and active is key. Use room temperature water and flour, and give your dough plenty of time to ferment; slow and steady wins the rise.Folding the dough gently during bulk fermentation strengthens its structure. Lastly,don’t rush baking-preheat your oven and Dutch oven thoroughly for best crust development.
Q8: Can I customize the no-knead sourdough with add-ins like herbs or seeds?
A8: Definitely! Once your dough is mixed and before the first rise, gently fold in your favorites-think rosemary, olives, sunflower seeds, or even dried cranberries. Just be careful to maintain the dough’s delicate balance and avoid adding too much extra flour or moisture.
Q9: Why does the dough need to be stretchy but not sticky?
A9: stretchiness indicates well-developed gluten strands that trap gases and help the bread rise, leading to an airy crumb. However, stickiness signals too much moisture or underdeveloped gluten, making the dough hard to handle and shape. Achieving the sweet spot means the dough will feel tacky but manageable, almost like a soft pillow.
Q10: How can beginners avoid common pitfalls when making no-knead sourdough?
A10: Start with a reliable sourdough starter and measure your ingredients precisely. Resist the urge to rush fermentation-it’s where the flavor and texture come alive. Use a kitchen thermometer to ensure your water is around 75°F (24°C),helping the yeast thrive.And remember: flour and yeast can behave differently depending on climate, so adjust timing and hydration so the dough feels right-not too wet or dry.
Embark on this effortless sourdough journey, and soon you’ll savor the deep flavors and crisp crust of homemade bread-no kneading required!
Final Thoughts
Baking sourdough no longer needs to be an intimidating artisan craft reserved for seasoned bakers. with these simple, no-knead steps, you can unlock the magic of a beautifully risen loaf right from your own kitchen-crusty, tangy, and full of character.Embrace the patience of fermentation, trust the gentle rise, and savor the rewarding aroma that fills your home. This easy approach not only makes sourdough accessible but also transforms bread baking into a peaceful, creative ritual.
So, dust off your mixing bowl, nurture your starter, and let the simple science of no-knead sourdough bring warmth and wonder to your table-one delicious loaf at a time.